Setting up and connecting to your server
Currently there are no settings to be configured from the panel for satisfactory as all of the configuration is done when you first connect to your server. The guide below will go through the steps of connecting and configuring your server.
Setting up the server
Start the server up on the panel using the green power button in the top right and then start up Satisfactory on your computer
Once the game has started and you are on the main menu, click on Server Manager
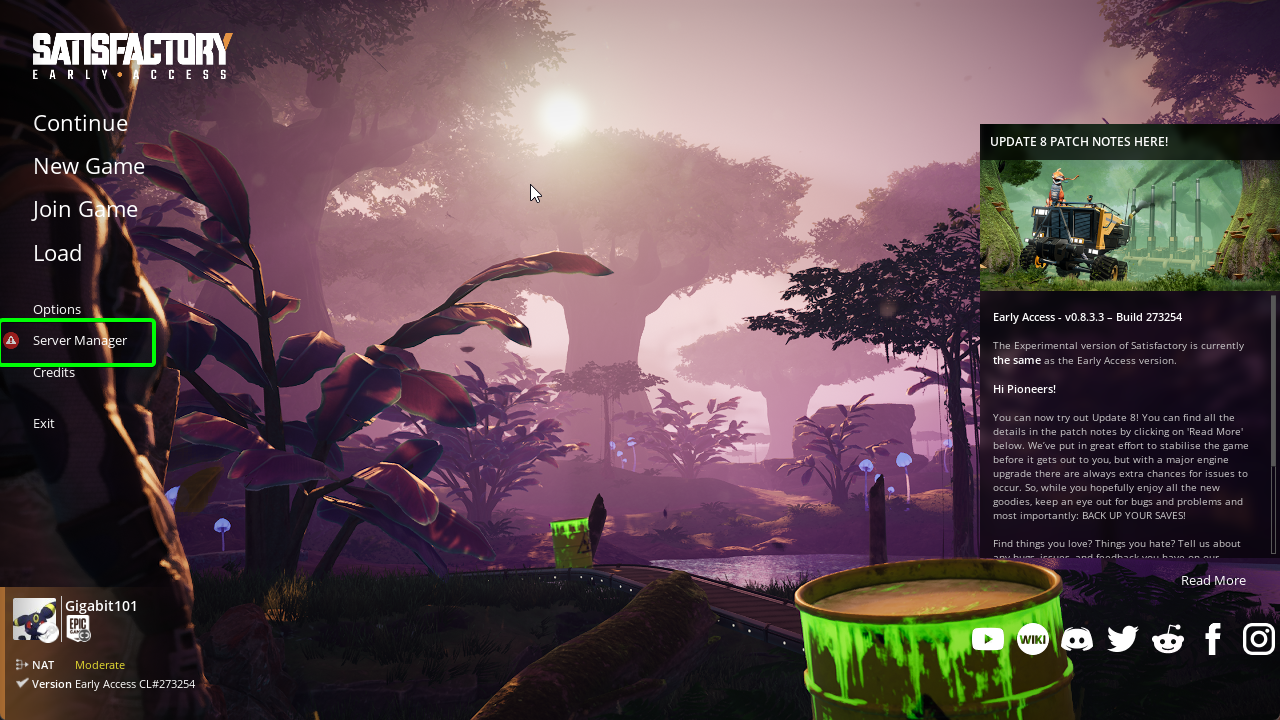
Now click on the Add Server button
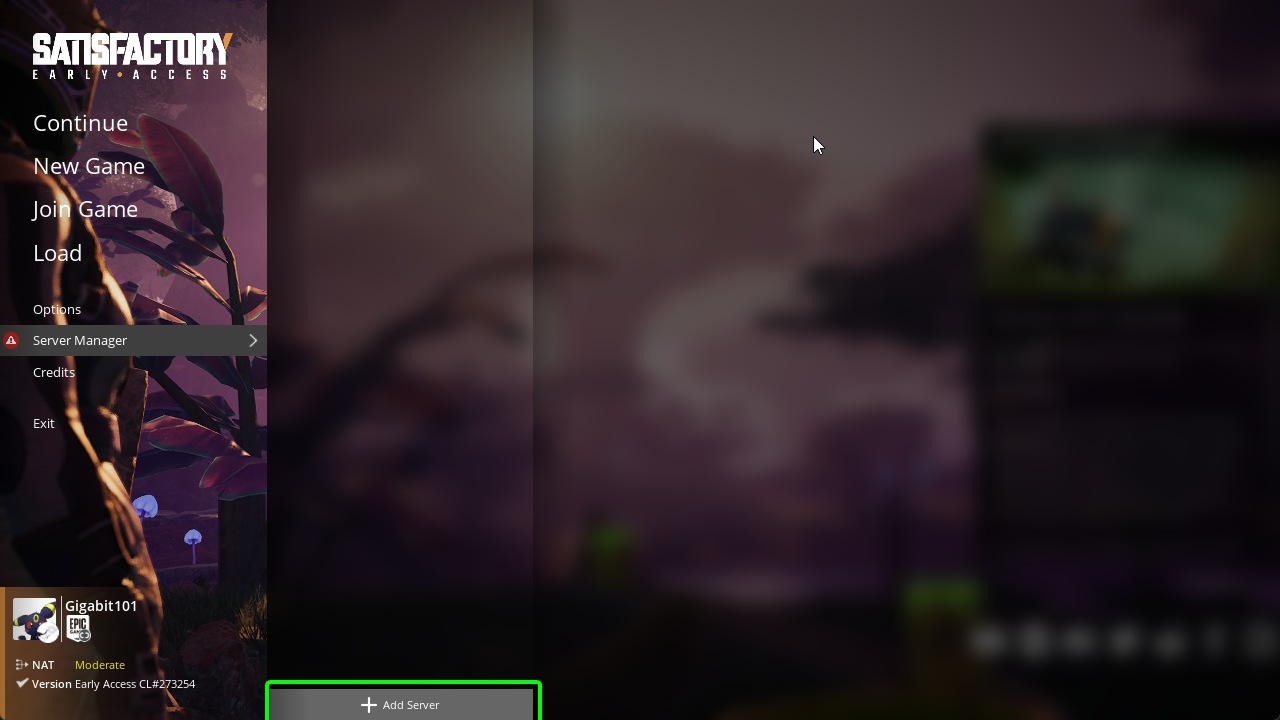
You will now get a box asking you to enter the Address and Port, leave the port as default, you can find the address on the Access page of the panel (you can use either the IP or hostname, we recommend using the hostname).
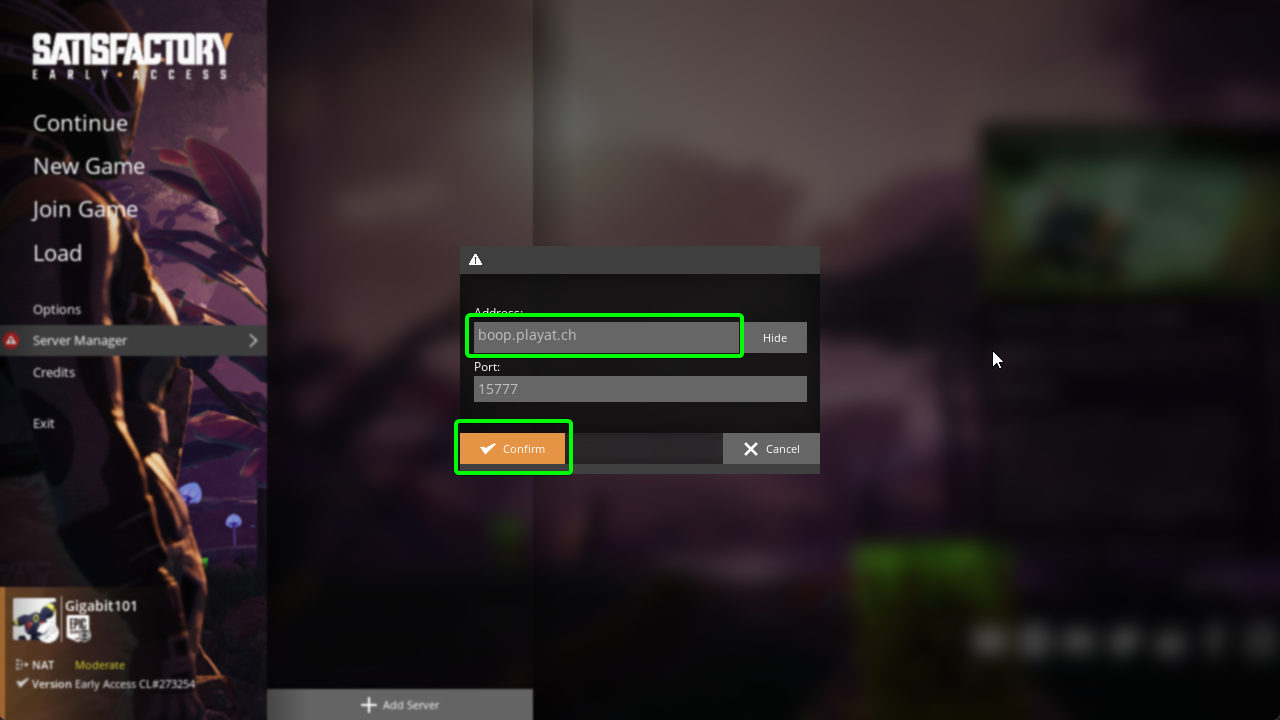
After clicking confirm you will now get a message box asking you to name your server, you can name this anything you want.
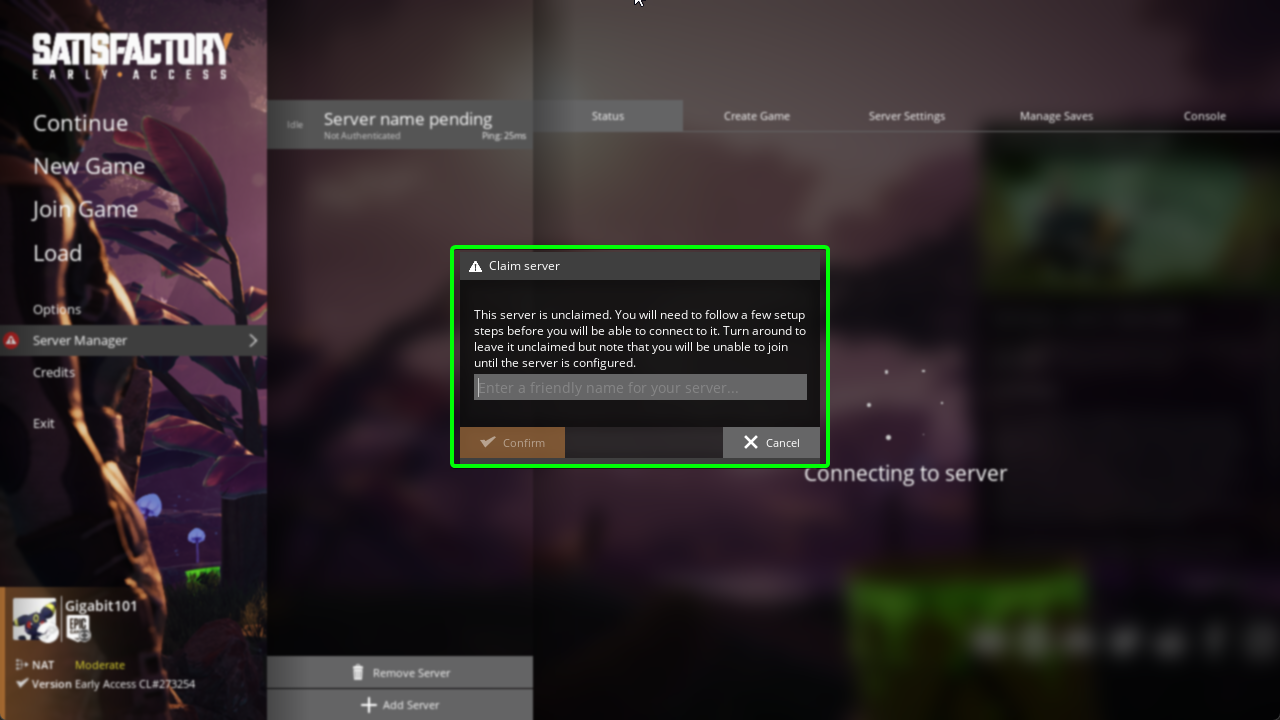
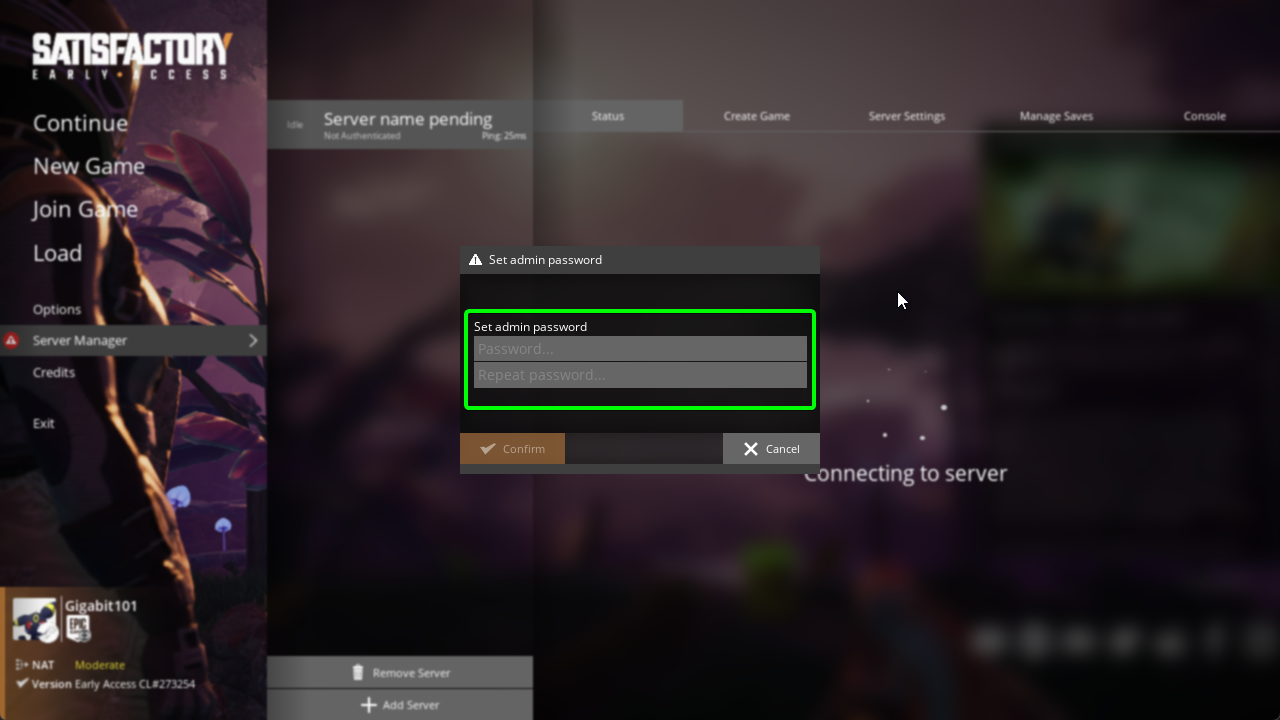
Upon clicking confirm you will then be asked to enter a password for the server, again this can be anything you want it to be (we recommend you not use a password that is simple to guess or one you use for any online accounts.)
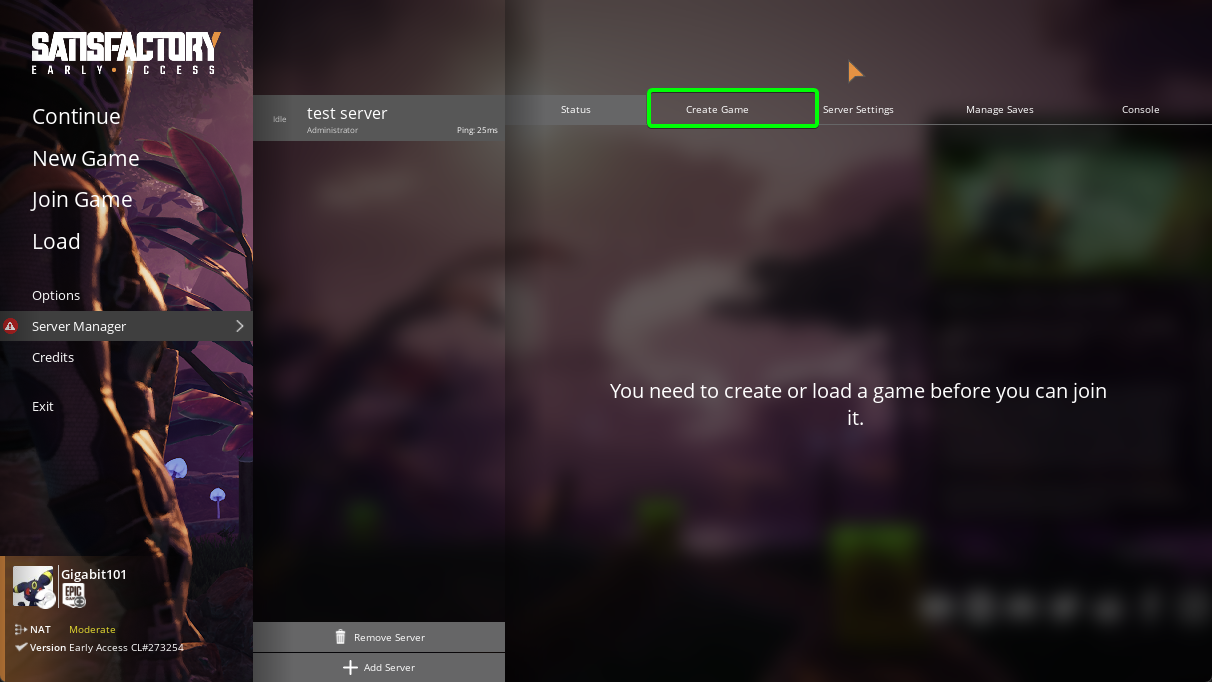
After clicking confirm you will now be shown the "Status" screen which will tell you to create or load a game. To create a game click on Create Game at the top of the screen
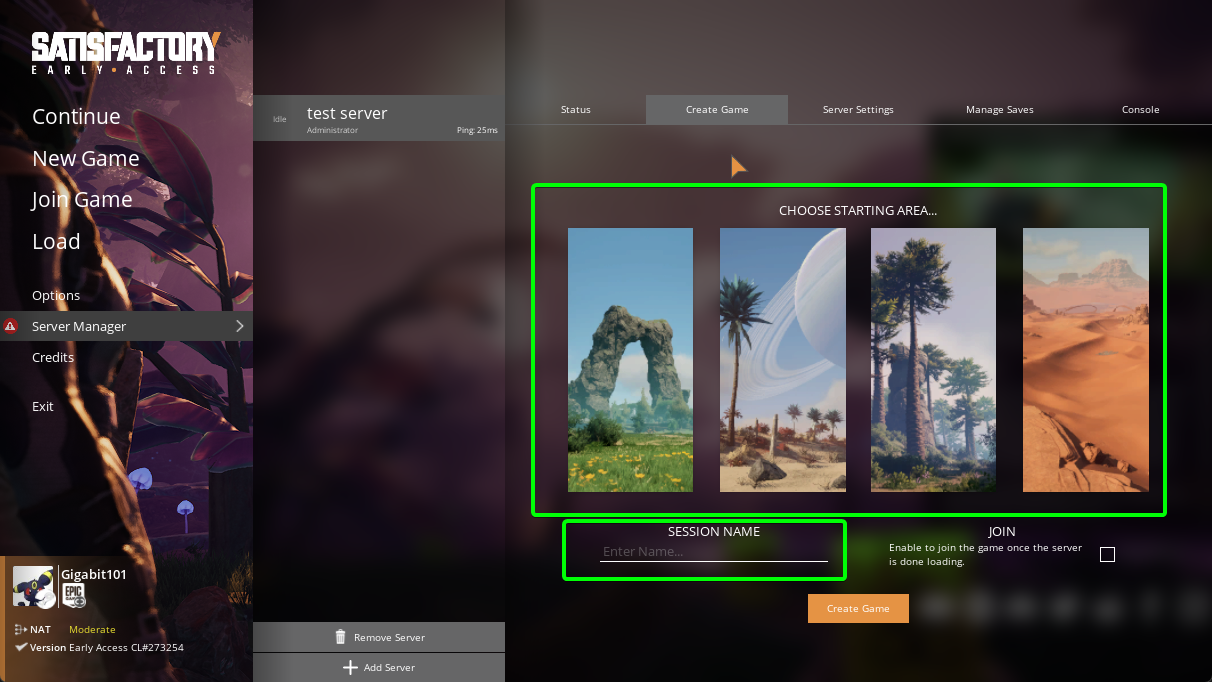
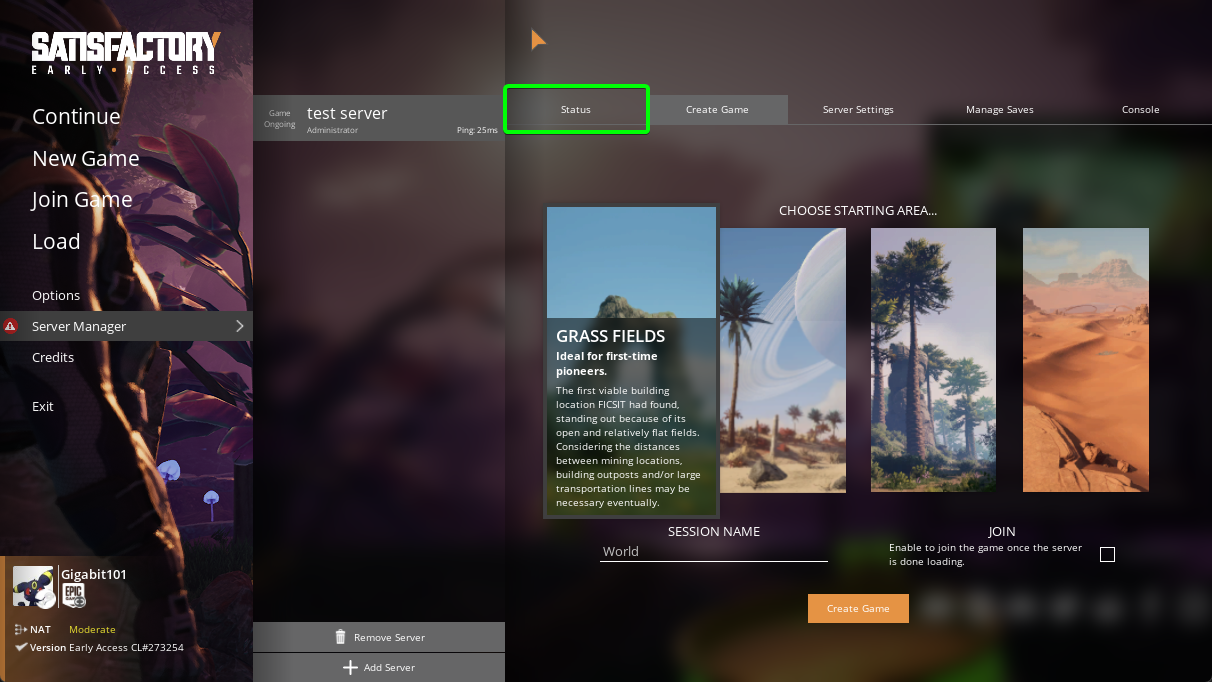
You will now have the option to choose the starting area of the game along with setting the name of the session (this name can be anything).
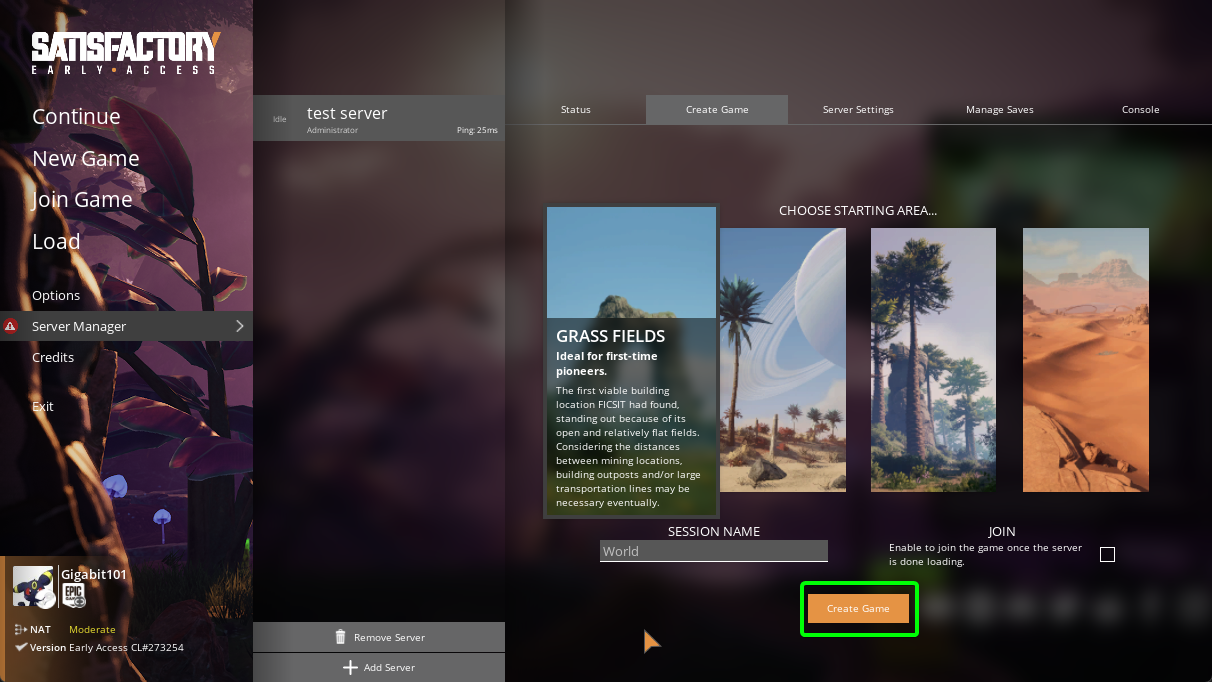
After selecting the starting area and naming the session click on create game (you can optionally check the Join option which will connect you to the server once the world is ready)
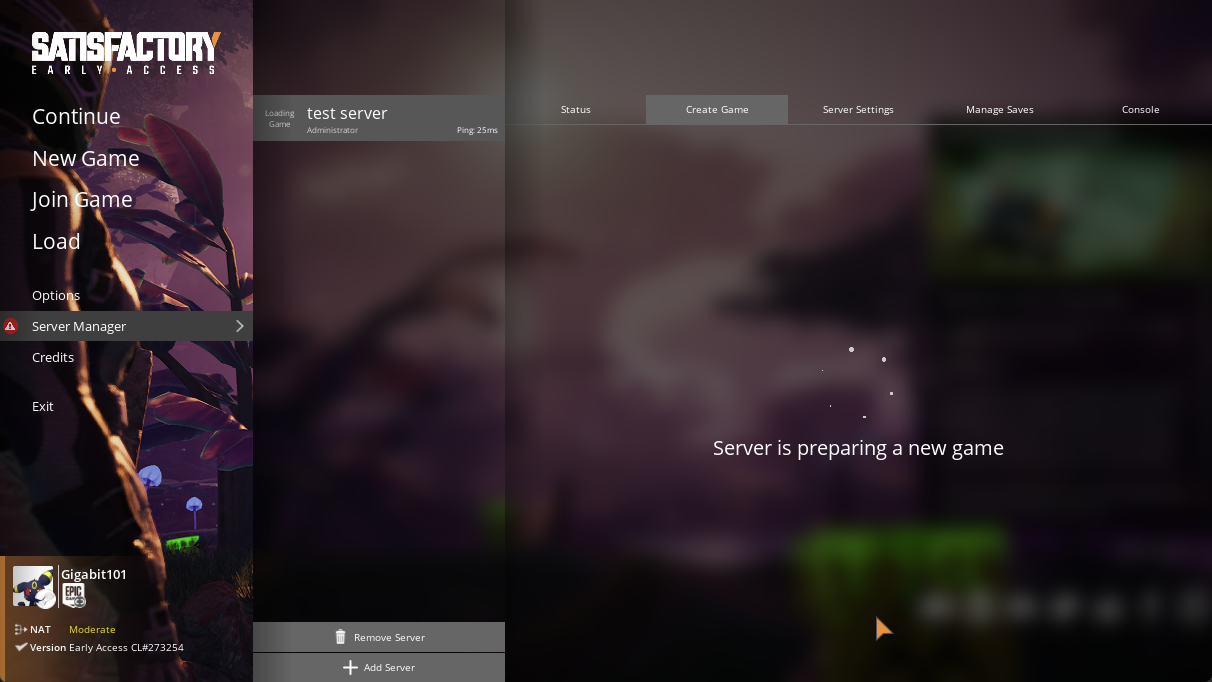
You will now be shown a screen that shows the progress of creating a new game and once its done you will be taken back to the Create Game screen.
To connect to your server click on the Status tab at the top
Now click on the Join Game button
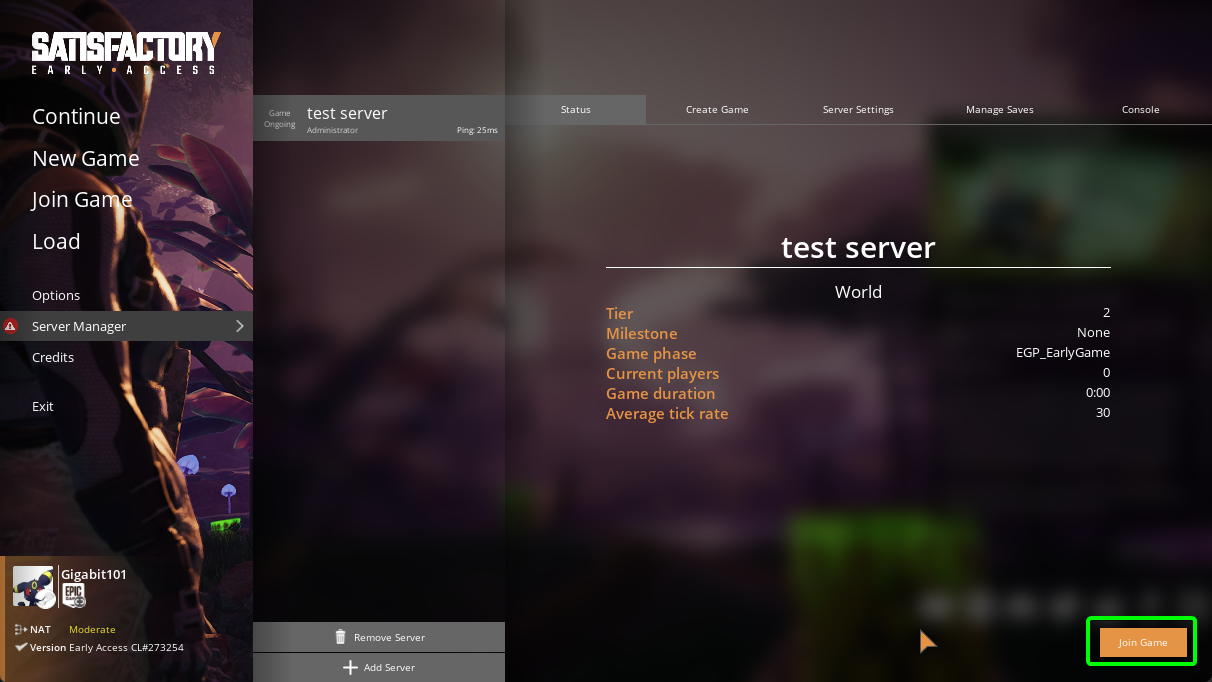
Congratulations you have now connected to your server, enjoy playing and if you have any issues do let us know.