File Management
Editing, adding, removing, backup restoration...
- Installation Location
- Restoring Backups
- Adding Mods
- Importing your world
- Adding Plugins
- Adding datapacks
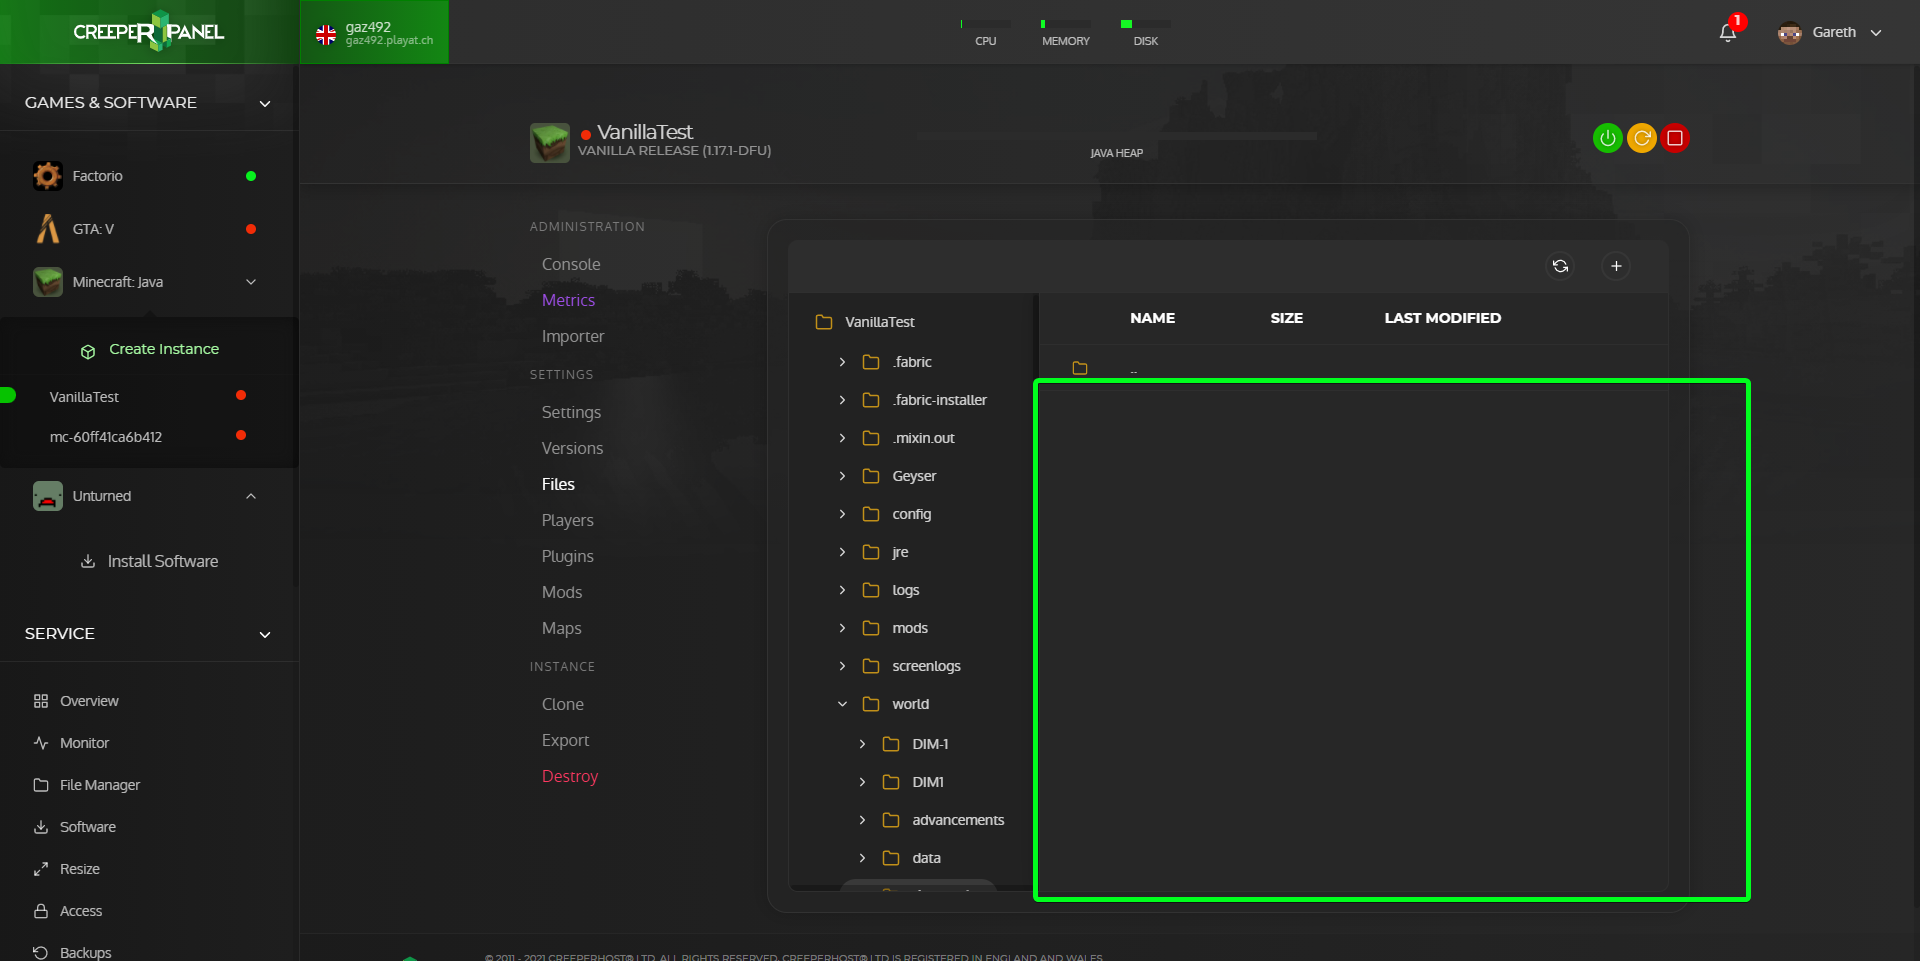
Installation Location
Minecraft: Java Edition is stored in the ./home/minecraft/mc-instances/mc-INSTANCEIDHERE/ directory, it can be accessed via the Files menu for your game instance, or, sFTP/SSH. Files added to the instance's directory will be detected by the control panel and software utilizing them.
The instance ID is in your browser URL, eg: "panel.creeper.host/TestServer/services/mc/mc-5c604c6ddc398/files" when visiting any submenu for that instance.
Uploading files using the 'root' login details for SSH/sFTP may cause problems with the control panel being able to access files/folders. Where possible, always login using the standard 'minecraft' level key.
An example of a healthy structure listing (Note: "Files" menu does not show the /home/minecraft/* part of the file structure):
- /home/minecraft/mc-instances/mc-INSTANCEIDHERE/server.jar
- /home/minecraft/mc-instances/mc-INSTANCEIDHERE/configs/
- /home/minecraft/mc-instances/mc-INSTANCEIDHERE/mods/
- /home/minecraft/mc-instances/mc-INSTANCEIDHERE/world/level.dat
- /home/minecraft/mc-instances/mc-INSTANCEIDHERE/server-icon.png
Any files dropped into the /home/minecraft/ directory via sFTP/SSH will not be detected by the instances sub-menus, they must be within the /home/minecraft/mc-instances/mc-INSTANCEIDHERE/ directory.
Restoring Backups
Backup Restoration:
To restore a backup created by mods such as FTBU (Feed The Beast Utilities) or Aroma1997's Backup:
1) Visit your instances Console page - Make sure the server is shut down via the red stop button on the right.
2) Click on the Files, since you were on the console you'll now be loaded into the installation directory for that Minecraft instance.
3) Right-click on your current /worldname/ folder and rename or delete it (make sure you have backups before deleting!) - We want to replace it, not overwrite it.
4) Open the /backups/ directory, find the backup you want to use (The backups are named as follows: Year-Month-Day-Hour-Minute-Second, the most recent backup is usually the last one listed in the directory: Filename formats may vary depending on the mod or mod version). If it is a .zip file, right-click > Extract to extract the files from the backup.
6) Start the server via the green start button on the right side of the Console page - You're done!
Backup configuration (FTBU):
The FTBU backup configuration file is located in /configs/ftbutilities.cfg.
FTBU configurations for ranks etc, are stored within /local/ftbu/*
Note: /local/ftbutilities/ may show as /local/ftbu/ depending on mod version, and, older versions store the 'master configuration' in the /local/ftbu/, it can be accessed via the instances Files menu or sFTP (see Installation Location ).
backups {
# Timer in hours
# 1.0 - backups every hour
# 6.0 - backups every 6 hours
# 0.5 - backups every 30 minutes
# Min: 0.05
# Max: 600.0
D:backup_timer=2.0
# The number of backup files to keep
# More backups = more space used
# 0 - Infinite
# Min: 0
# Max: 32000
I:backups_to_keep=12
# 0 - Disabled (output = folders)
# 1 - Best speed
# 9 - Smallest file size
# Min: 0
# Max: 9
I:compression_level=1
# Prints (current size | total size) when backup is done
B:display_file_size=true
B:enabled=true
# Absolute path to backups folder
S:folder=
B:silent=false
# Run backup in a separated Thread (recommended)
B:use_separate_thread=true
Reducing "backups_to_keep" is recommended if:
a) You have a very large world, as you can quickly fill your SSD disk space.
b) You use our own backup system (Service > Backups menu) - This system will backup the entire Minecraft installation directory, you can easily end up exceeding your SSD disk space limit as the backup will backup FTBU's backups too. Backup inception!
If you reduce the backups_to_keep (3~6), it is also recommended to increase the backup_timer to 6.0, 12.0 or 24.0 to spread out the backups over a larger range of time, so you have plenty of time intervals to easily distinguish between and roll back to.
Adding Mods
To find your instance please follow this guide:https://www.creeperhost.net/wiki/books/minecraft-java-edition/page/finding-your-instances
On the instance page of the server you want to add a mod to click on Mods in the instance navigation list.
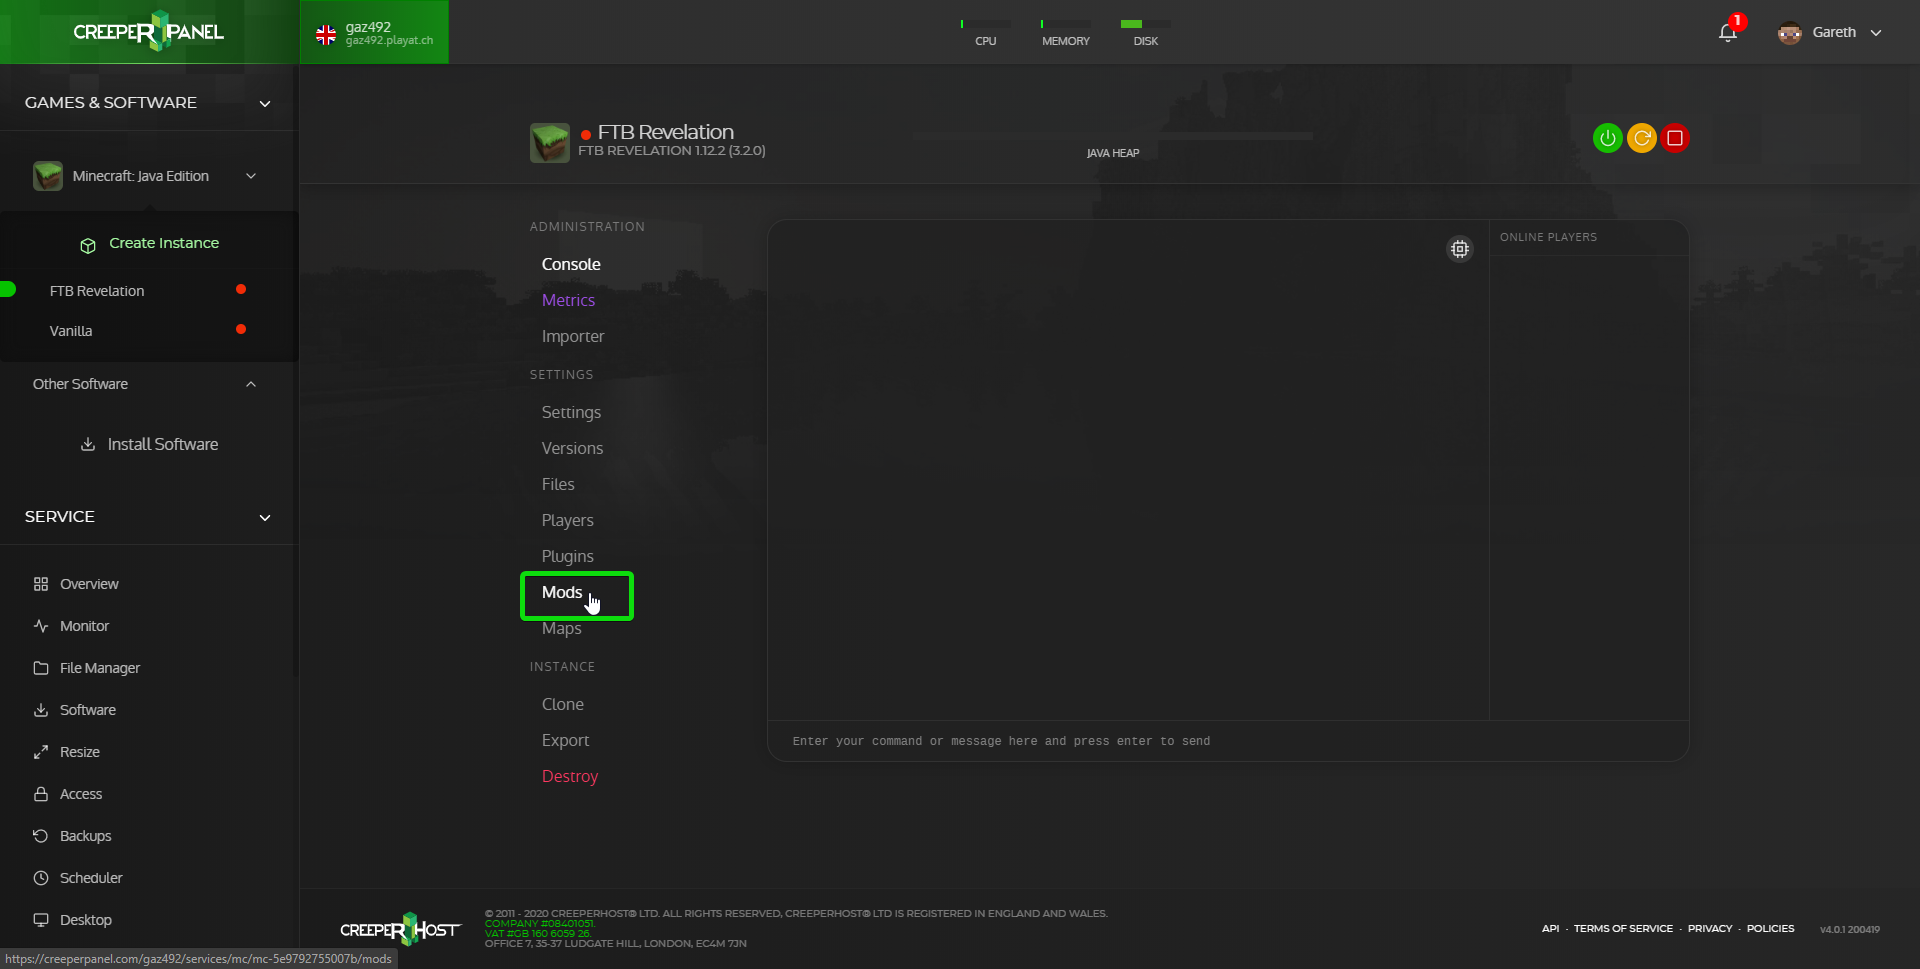
Once on the Mods page there are multiple methods to install a mod. Each method has been described below.
Method 1
Click on the large textbox that says Find On Curse and search for the mod you want to install
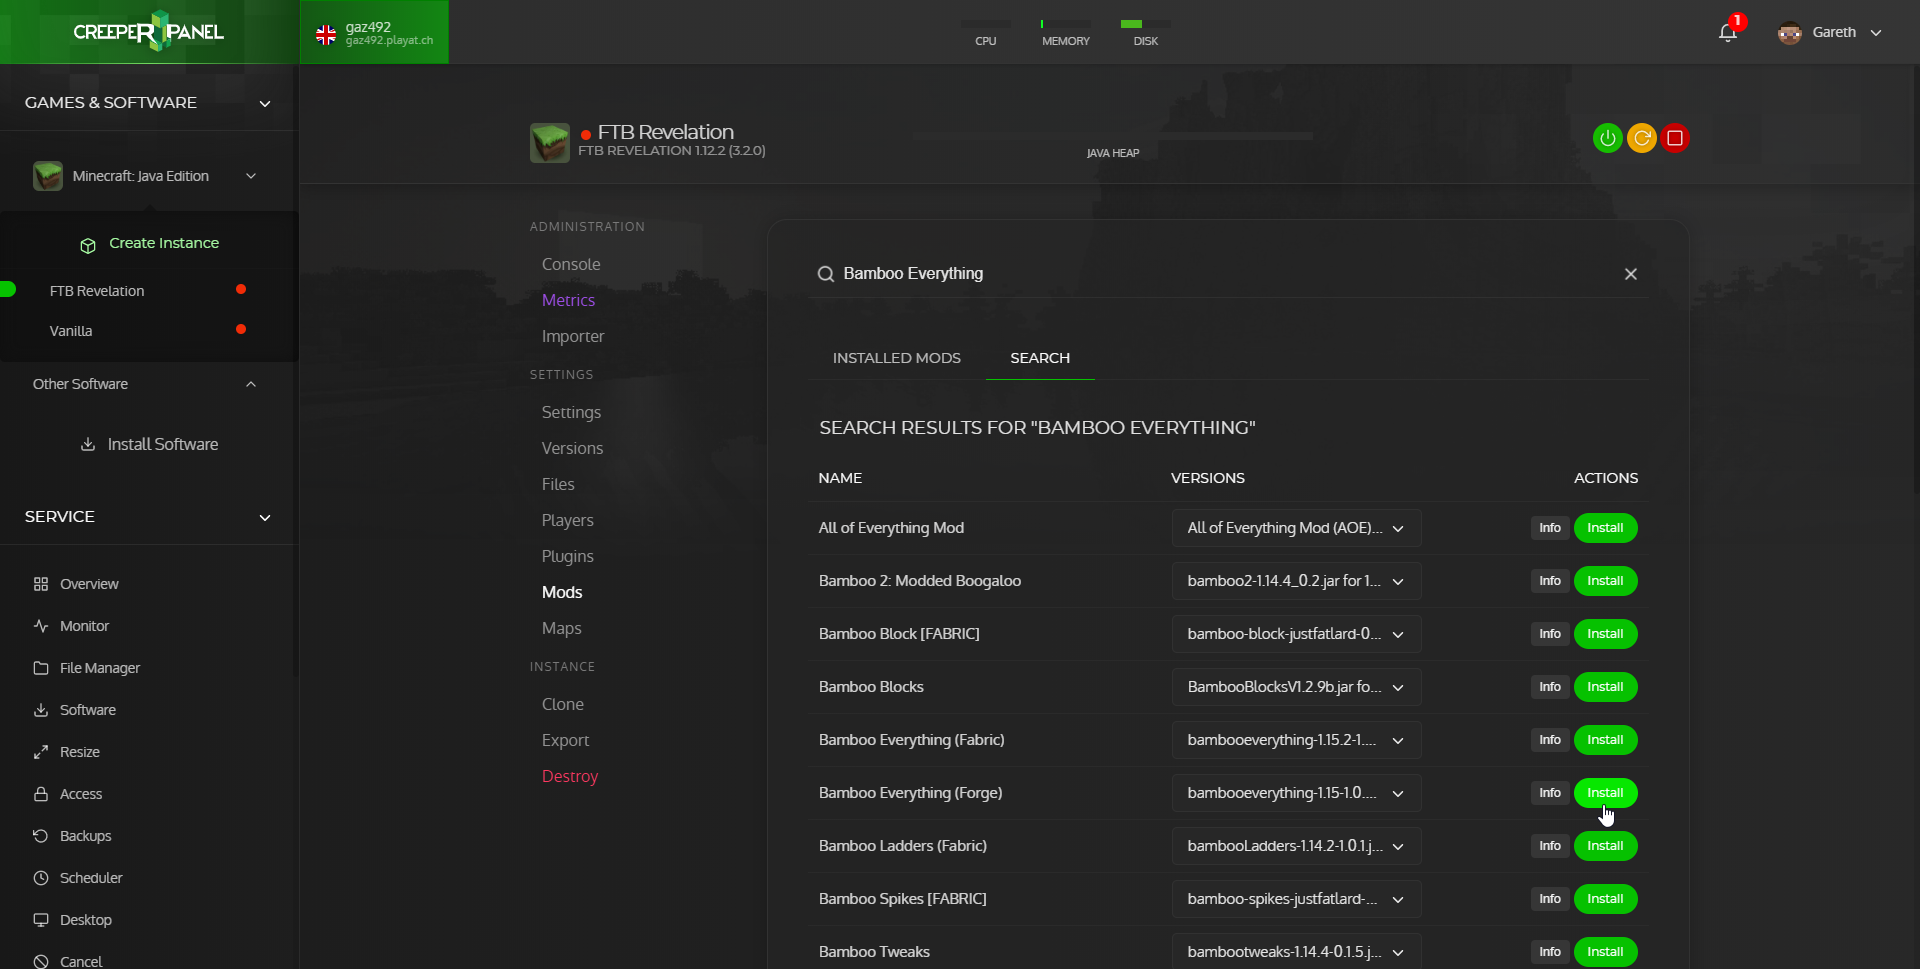
After you find the mod you want to install make sure to select a version that will work with the version of Minecraft running on your server and click Install

Method 2
If you have the mod(s) that you want to add to your server already downloaded then you can click on the darker box that says Click or drag files here to upload to your server
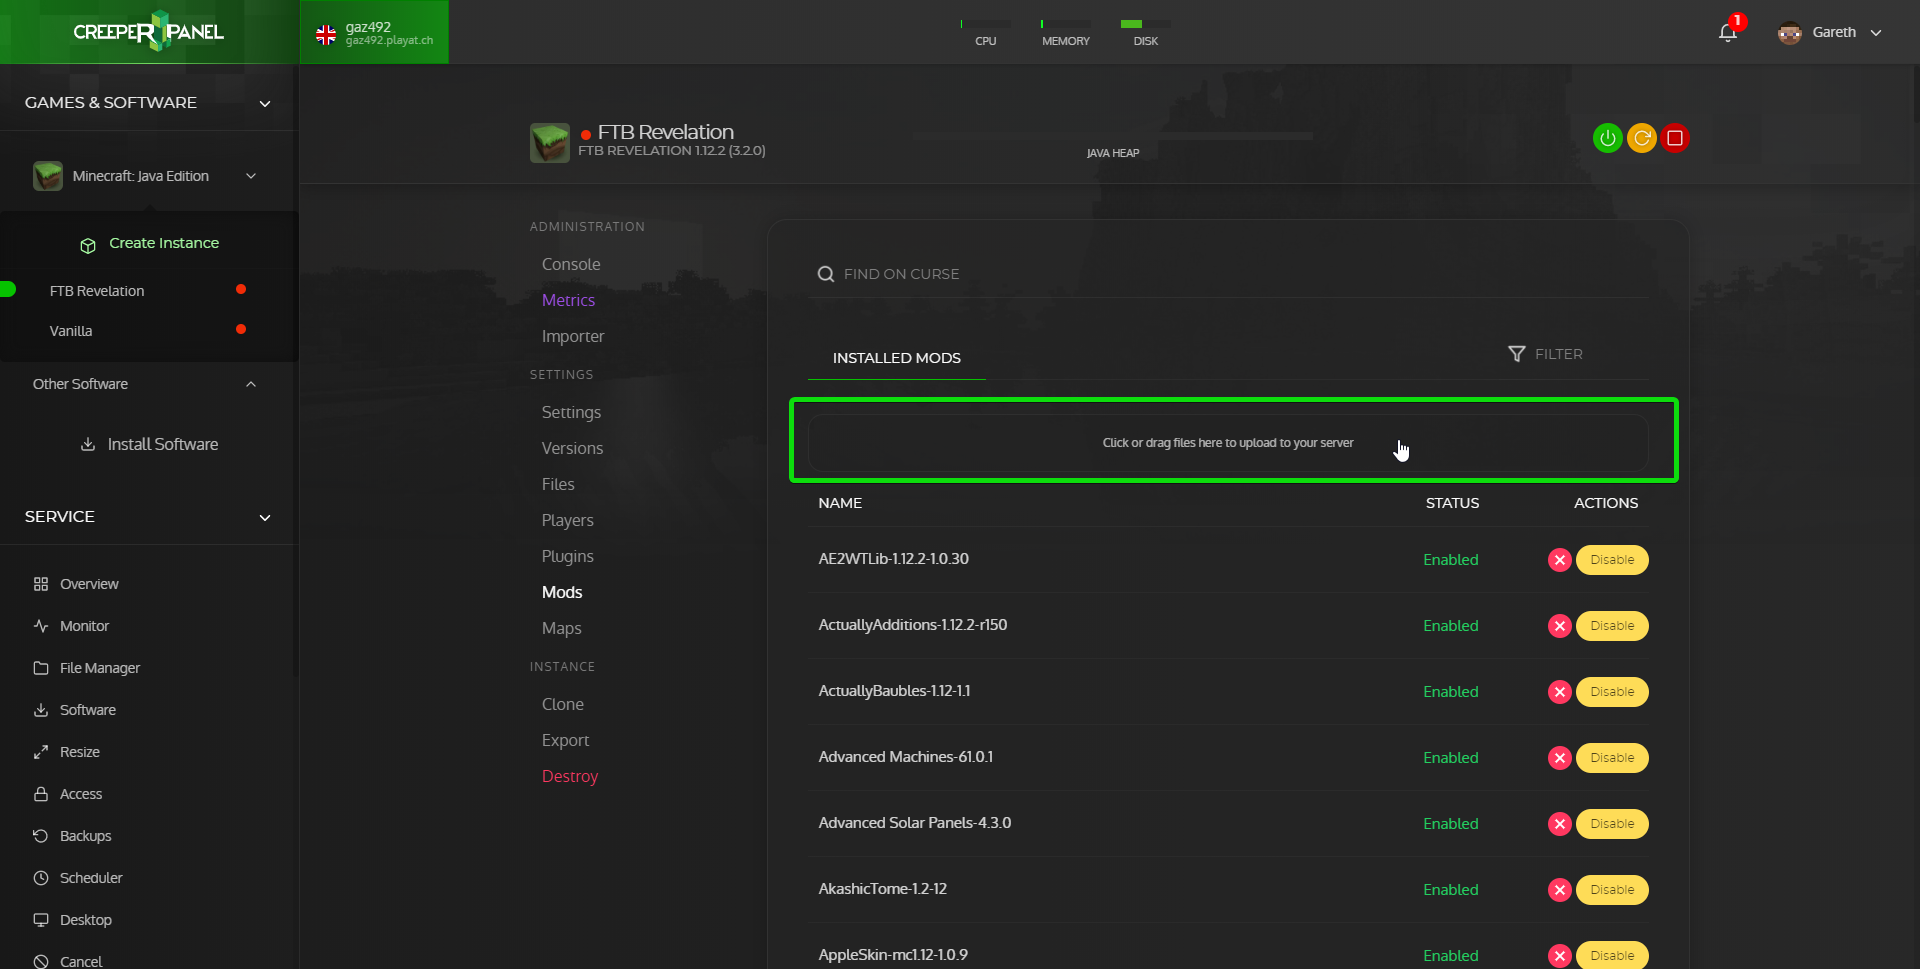
In the window that opens you can then navigate to where the mods you want to upload are located then click Open
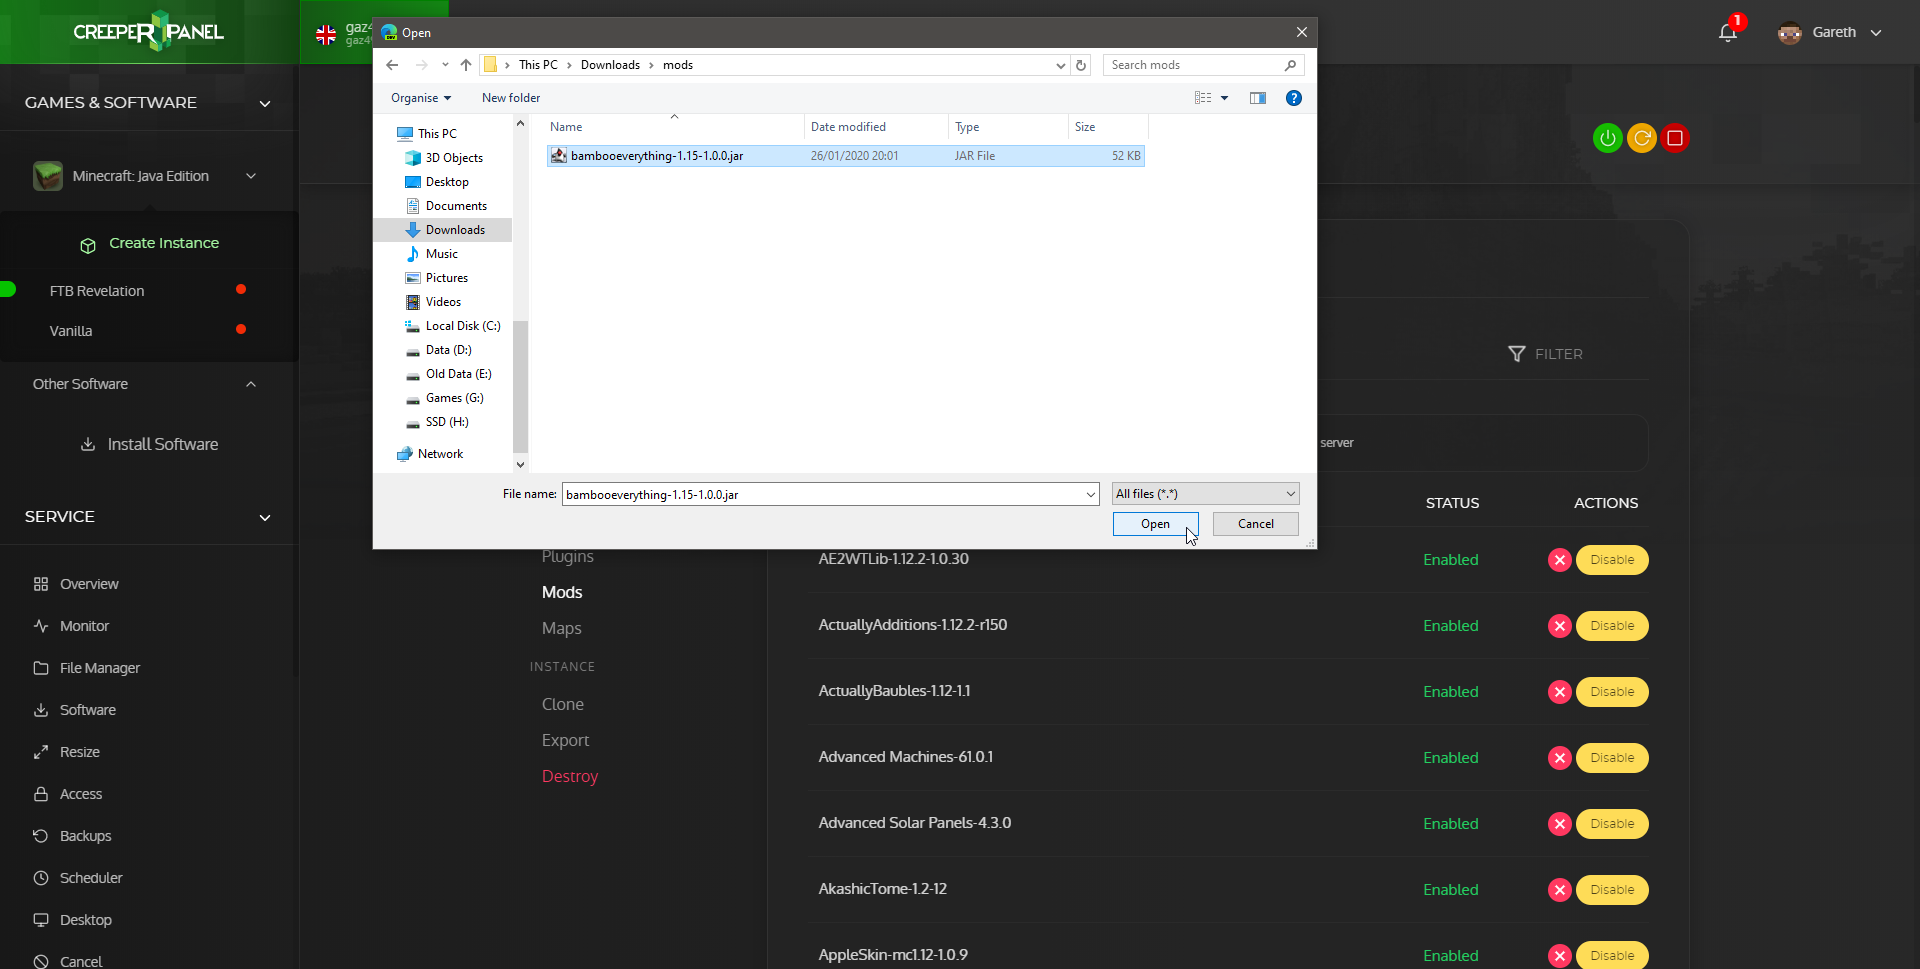
Once you have the mods you wanted installed you will need to restart the server to enable them.
Importing your world
Click on the instance you want to upload your world to (https://www.creeperhost.net/wiki/books/minecraft-java-edition/page/finding-your-instances) then click the red stop button in the top right.
Next click on the Import link in the instance navigation.
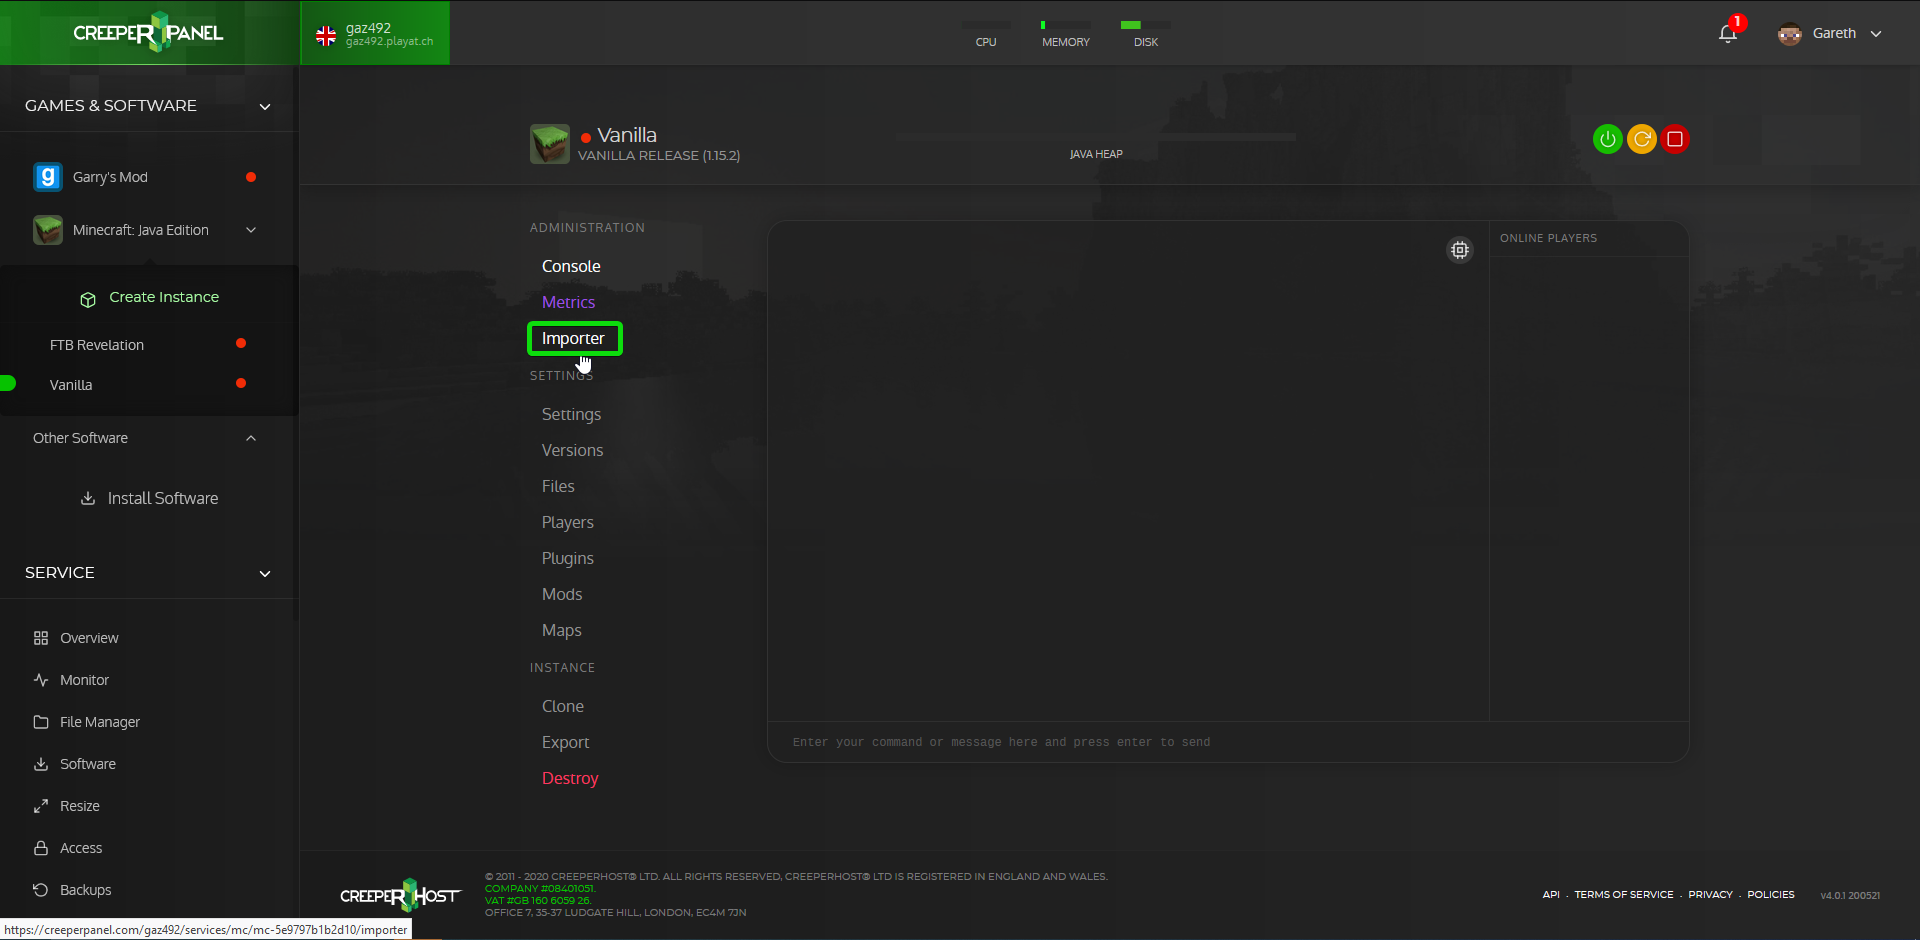
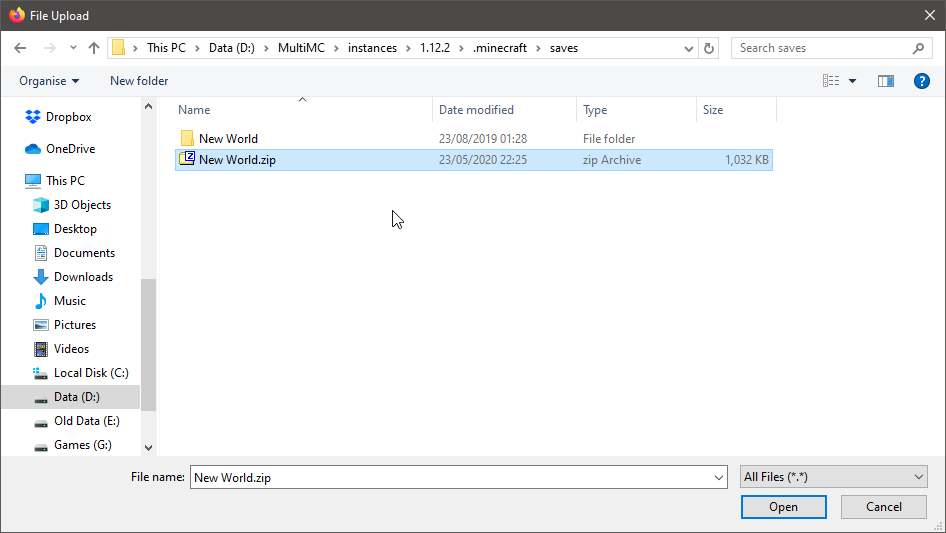
On the importer page click on where it says Click or drag your compressed world folder to upload. This will bring up a window where you can browse to where your compressed world is.
Select the world.zip and click on Open
It will now upload the world for you and once it has finished uploading and extracting the world it will ask you if you would like to set the world you uploaded to the default world.
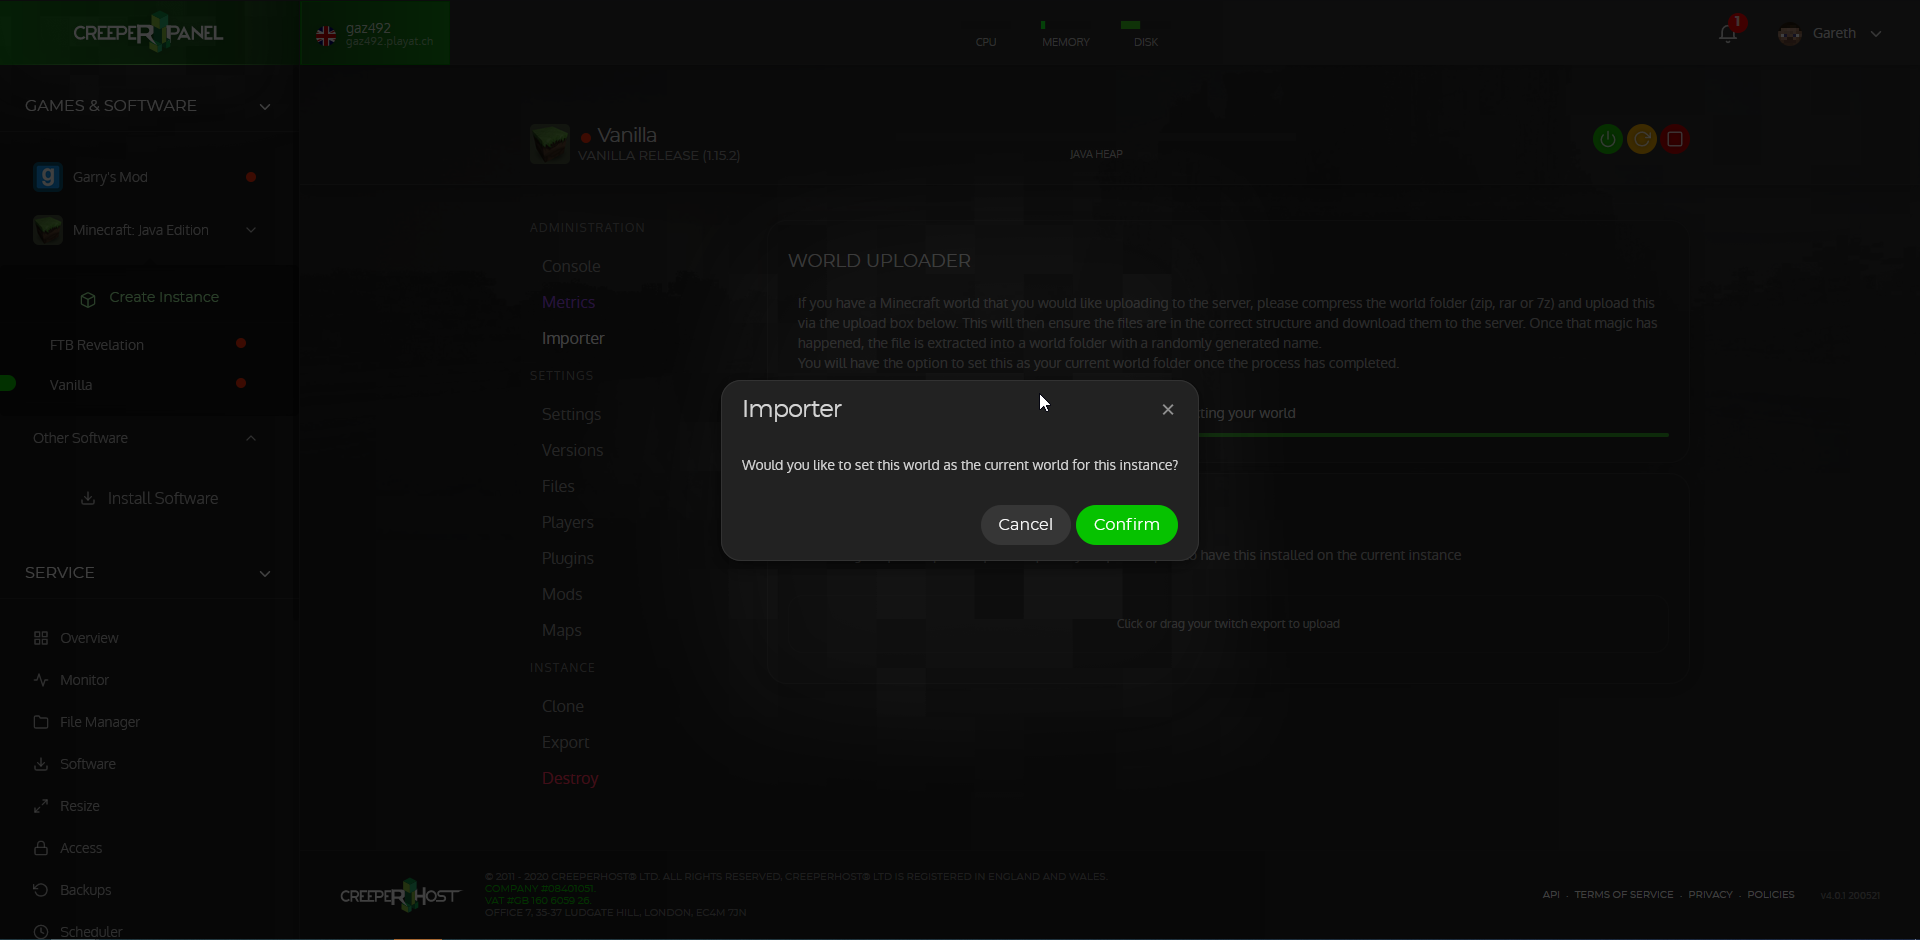
Selecting Confirm will set it to be the default world and selecting Cancel will leave your settings as they are.
You can now start your server back up by pressing the green power button in the top right.
Adding Plugins
To find your instance please follow this guide: https://www.creeperhost.net/wiki/books/minecraft-java-edition/page/finding-your-instances
On the instance page of the server you want to add a mod to click on plugins in the instance navigation list.
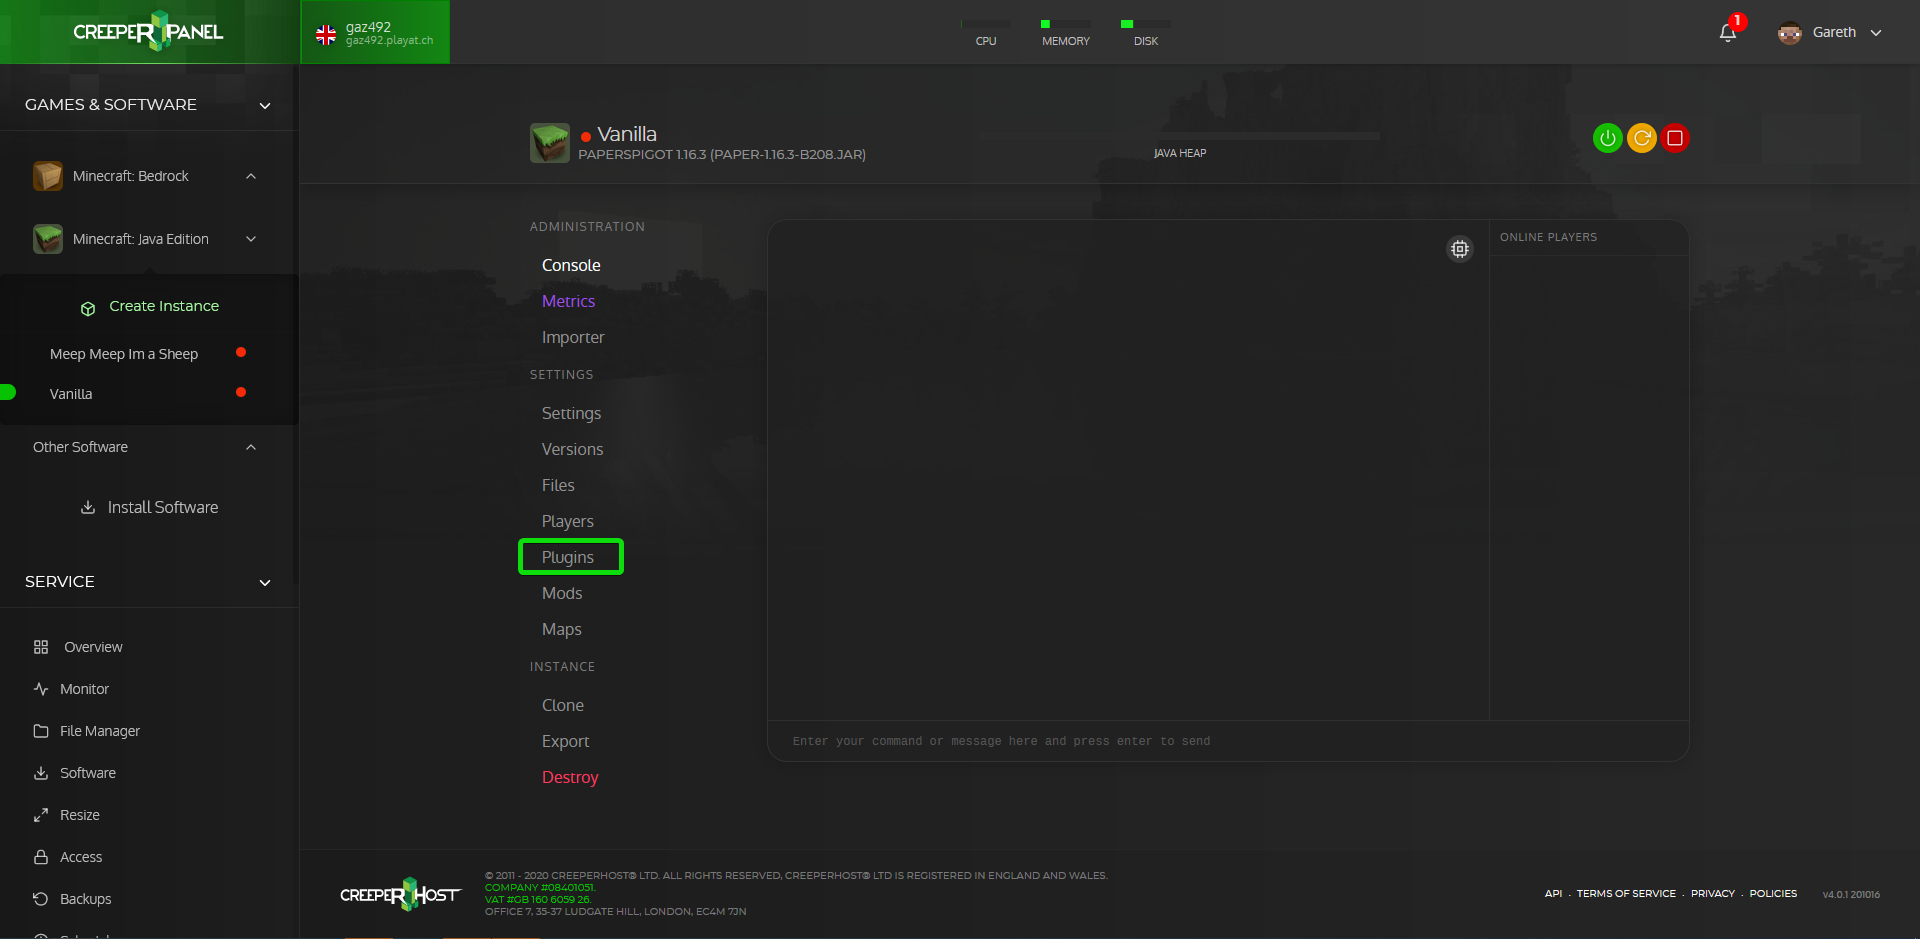
Once on the Plugins page proceed to the steps below.
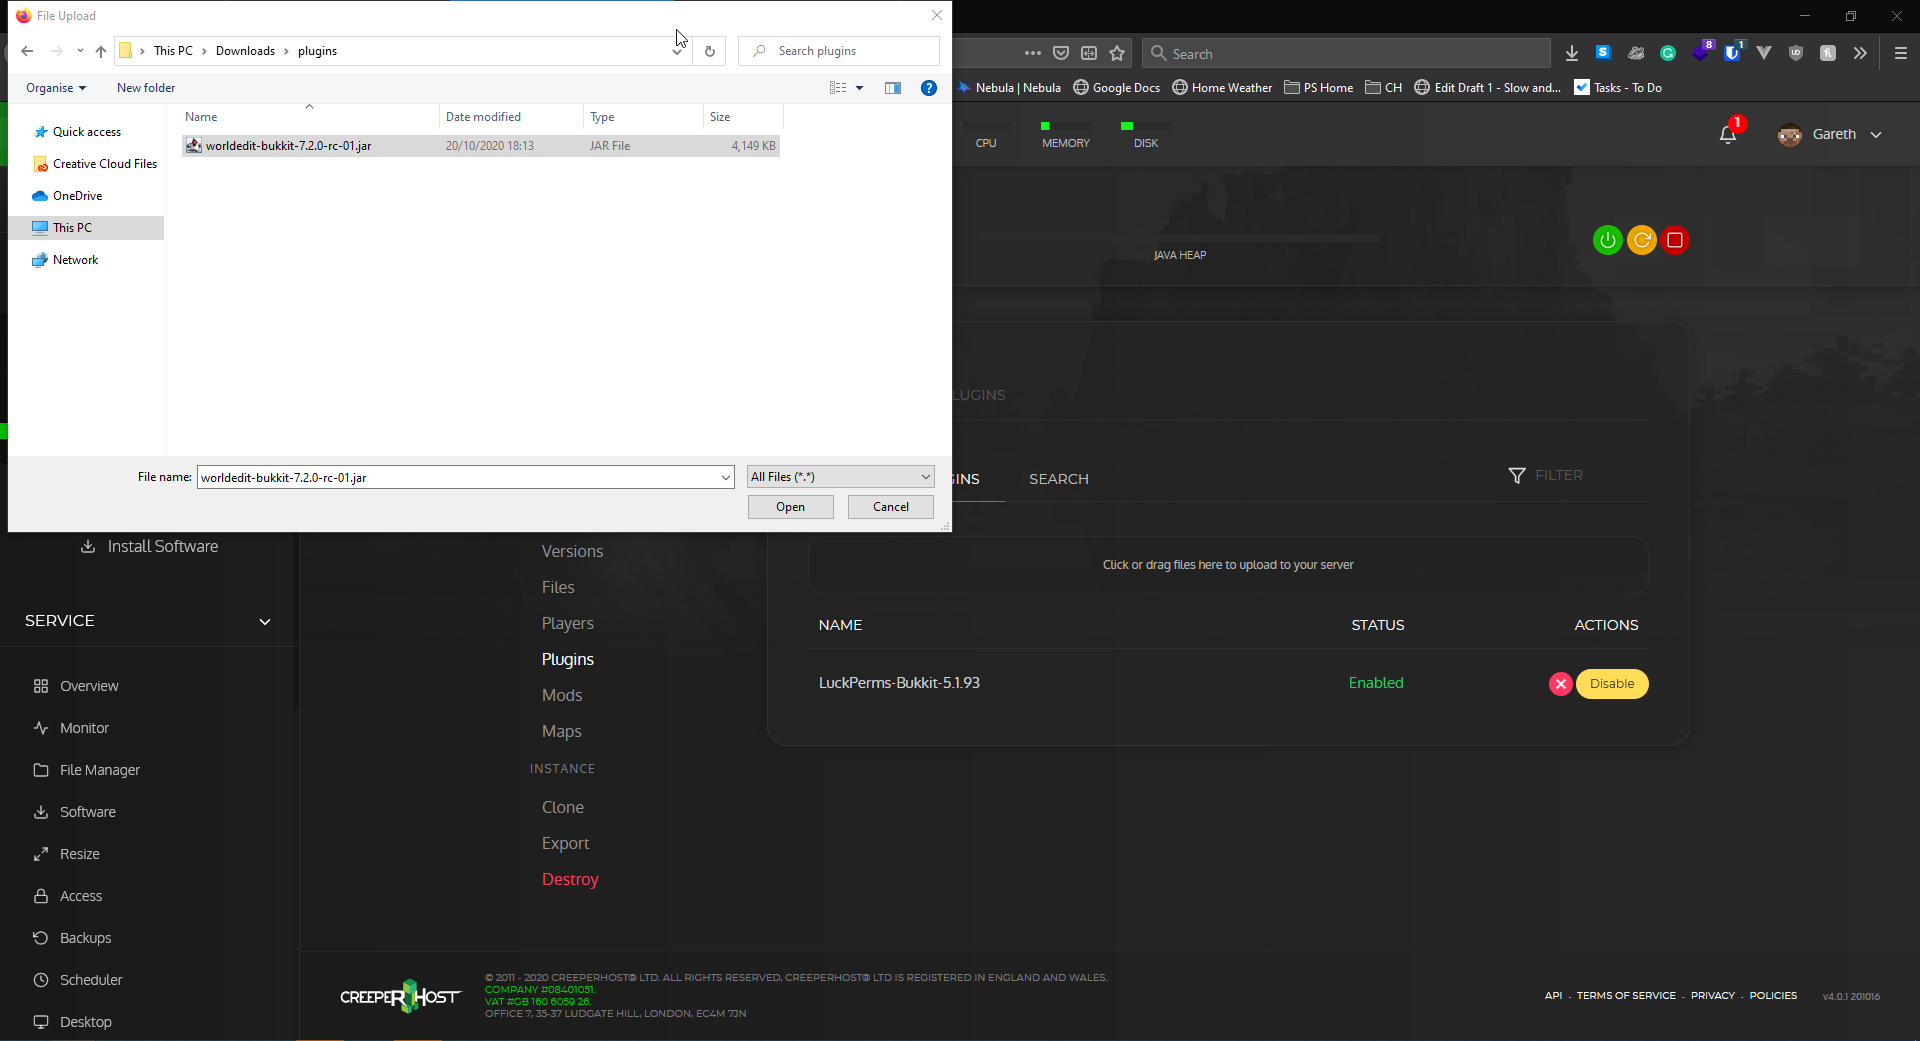
If you have the plugin(s) that you want to add to your server already downloaded then you can click on the darker box that says Click or drag files here to upload to your server
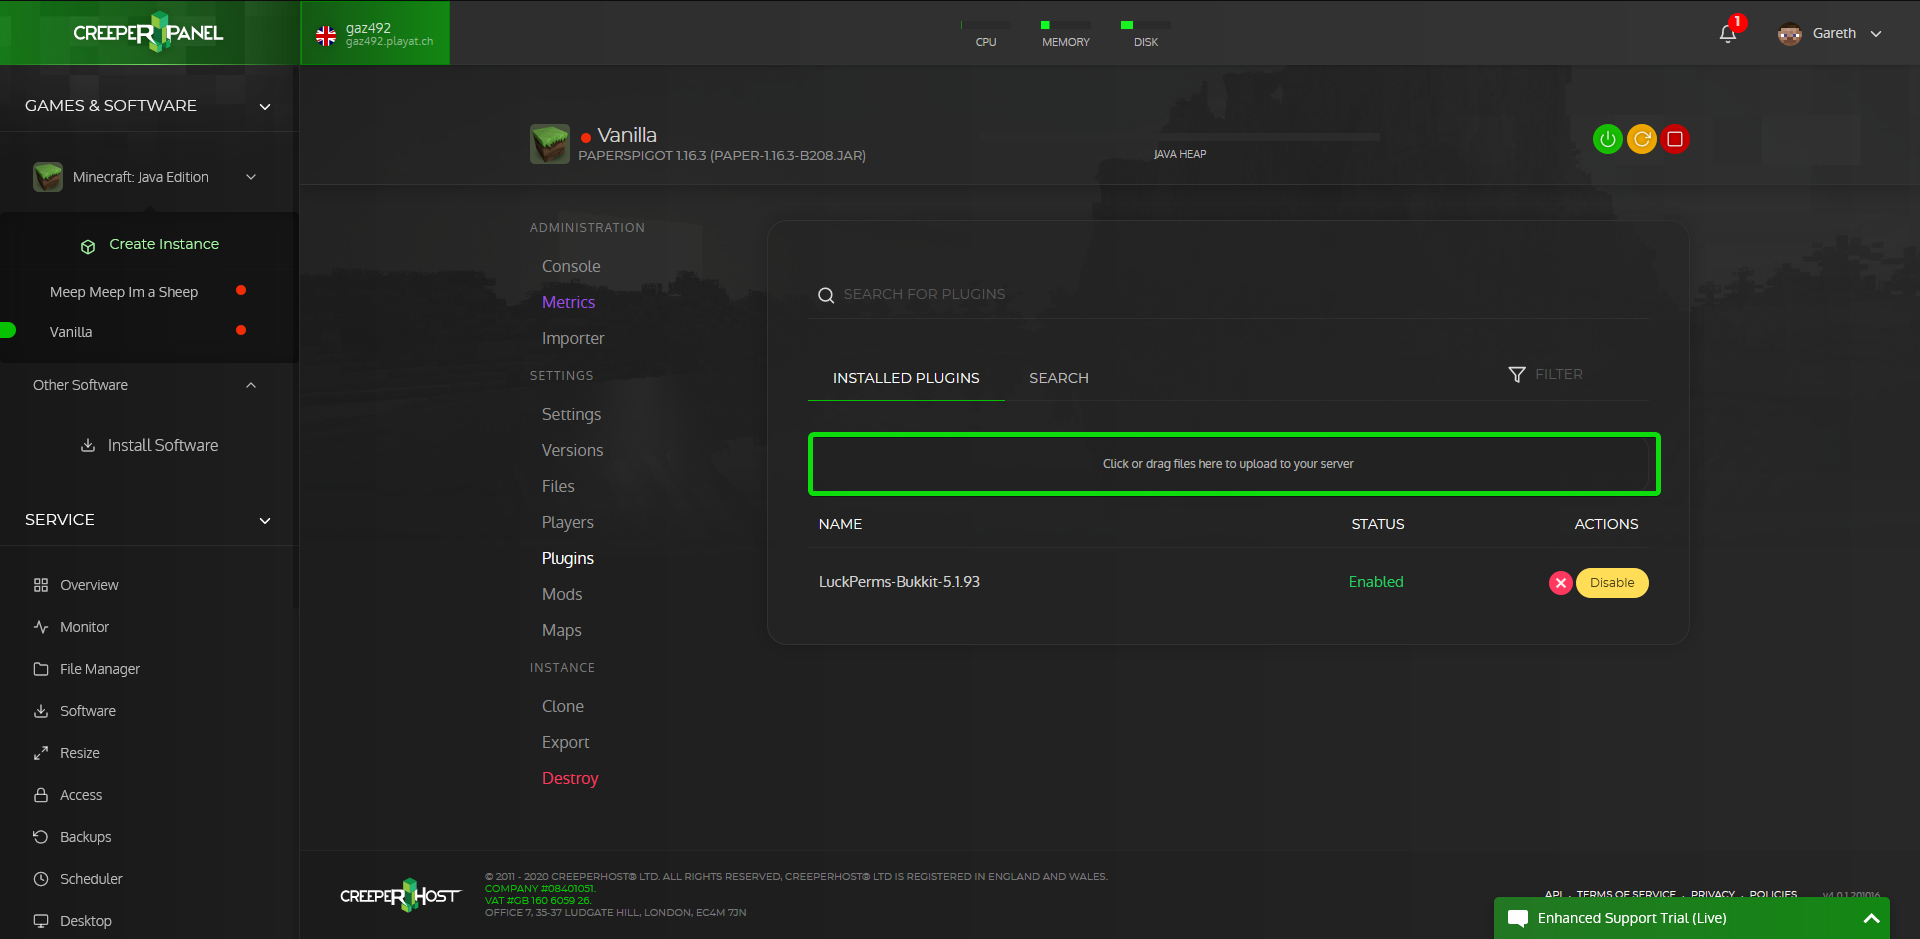
In the window that opens you can then navigate to where the plugin(s) you want to upload are located then click Open
Once you have the plugin(s) you wanted uploaded you will need to restart the server to enable them.
Adding datapacks
To find your instance please follow this guide: https://www.creeperhost.net/wiki/books/minecraft-java-edition/page/finding-your-instances
On the instance, you want to add the datapack to, click on the FIles link
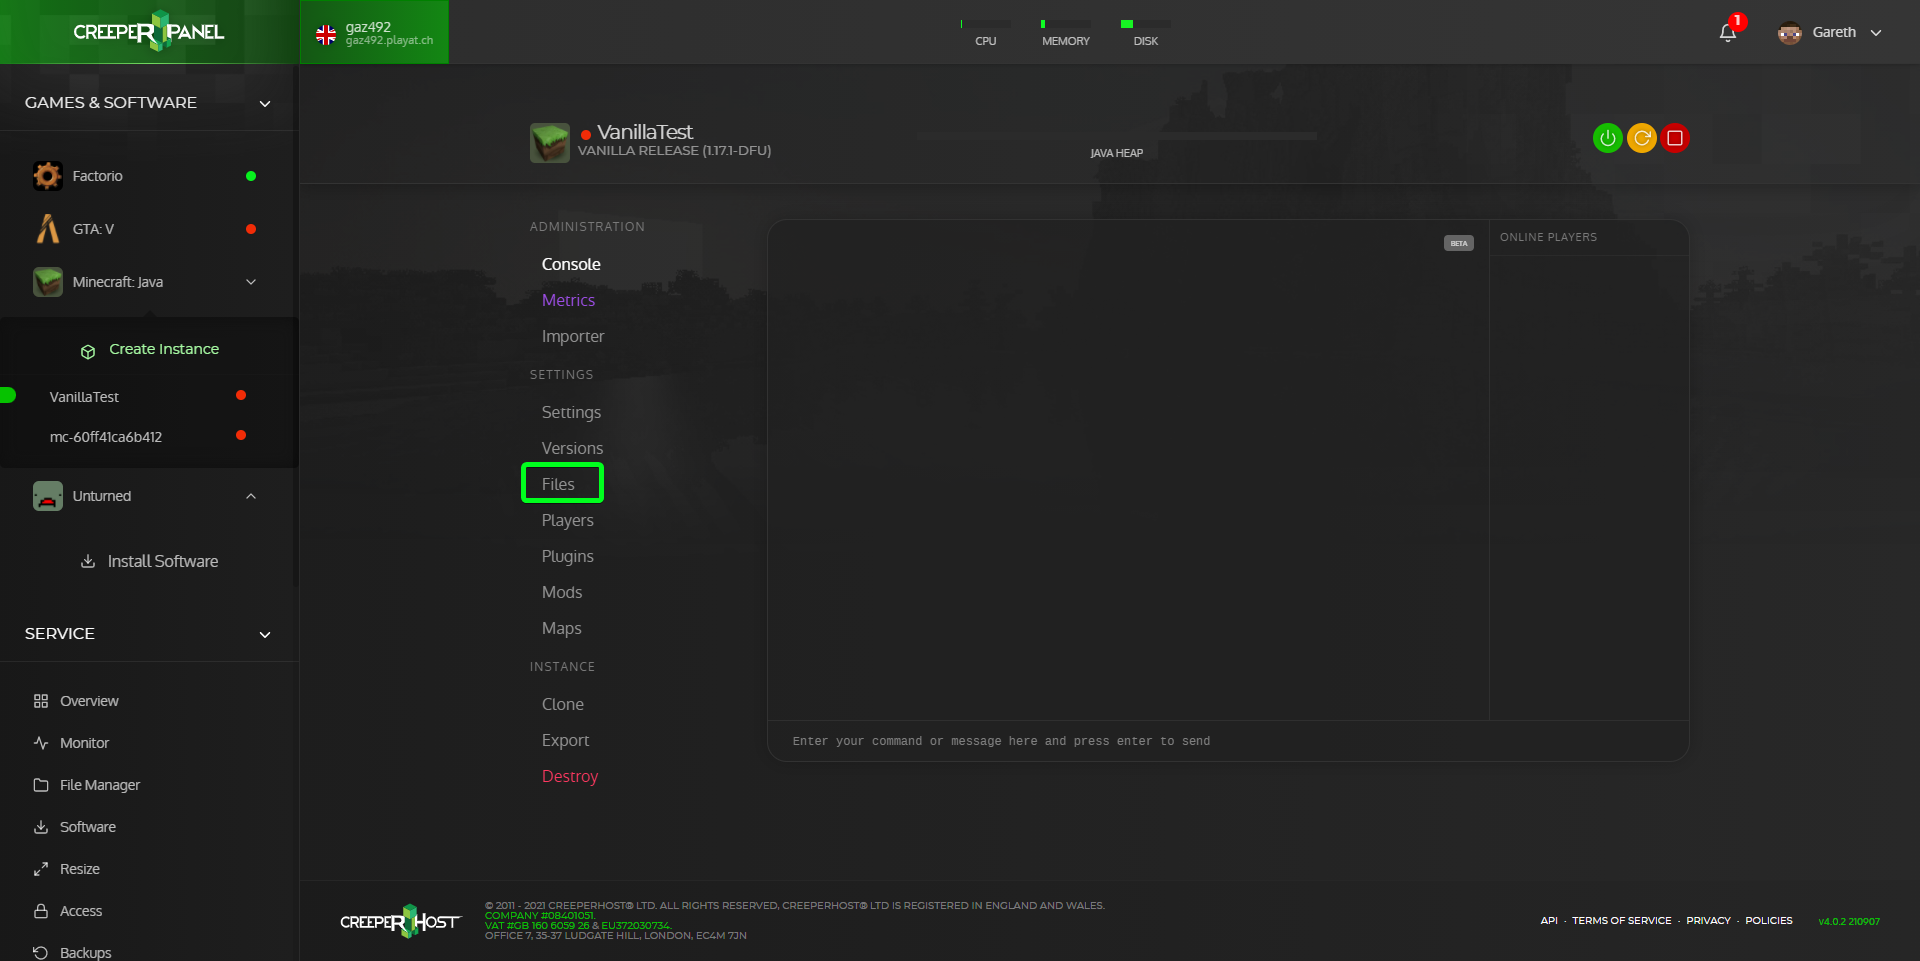
Once the files and folders have loaded double click on the world folder (the world folder may vary in name if you have modified the level-name in the settings or imported a world)
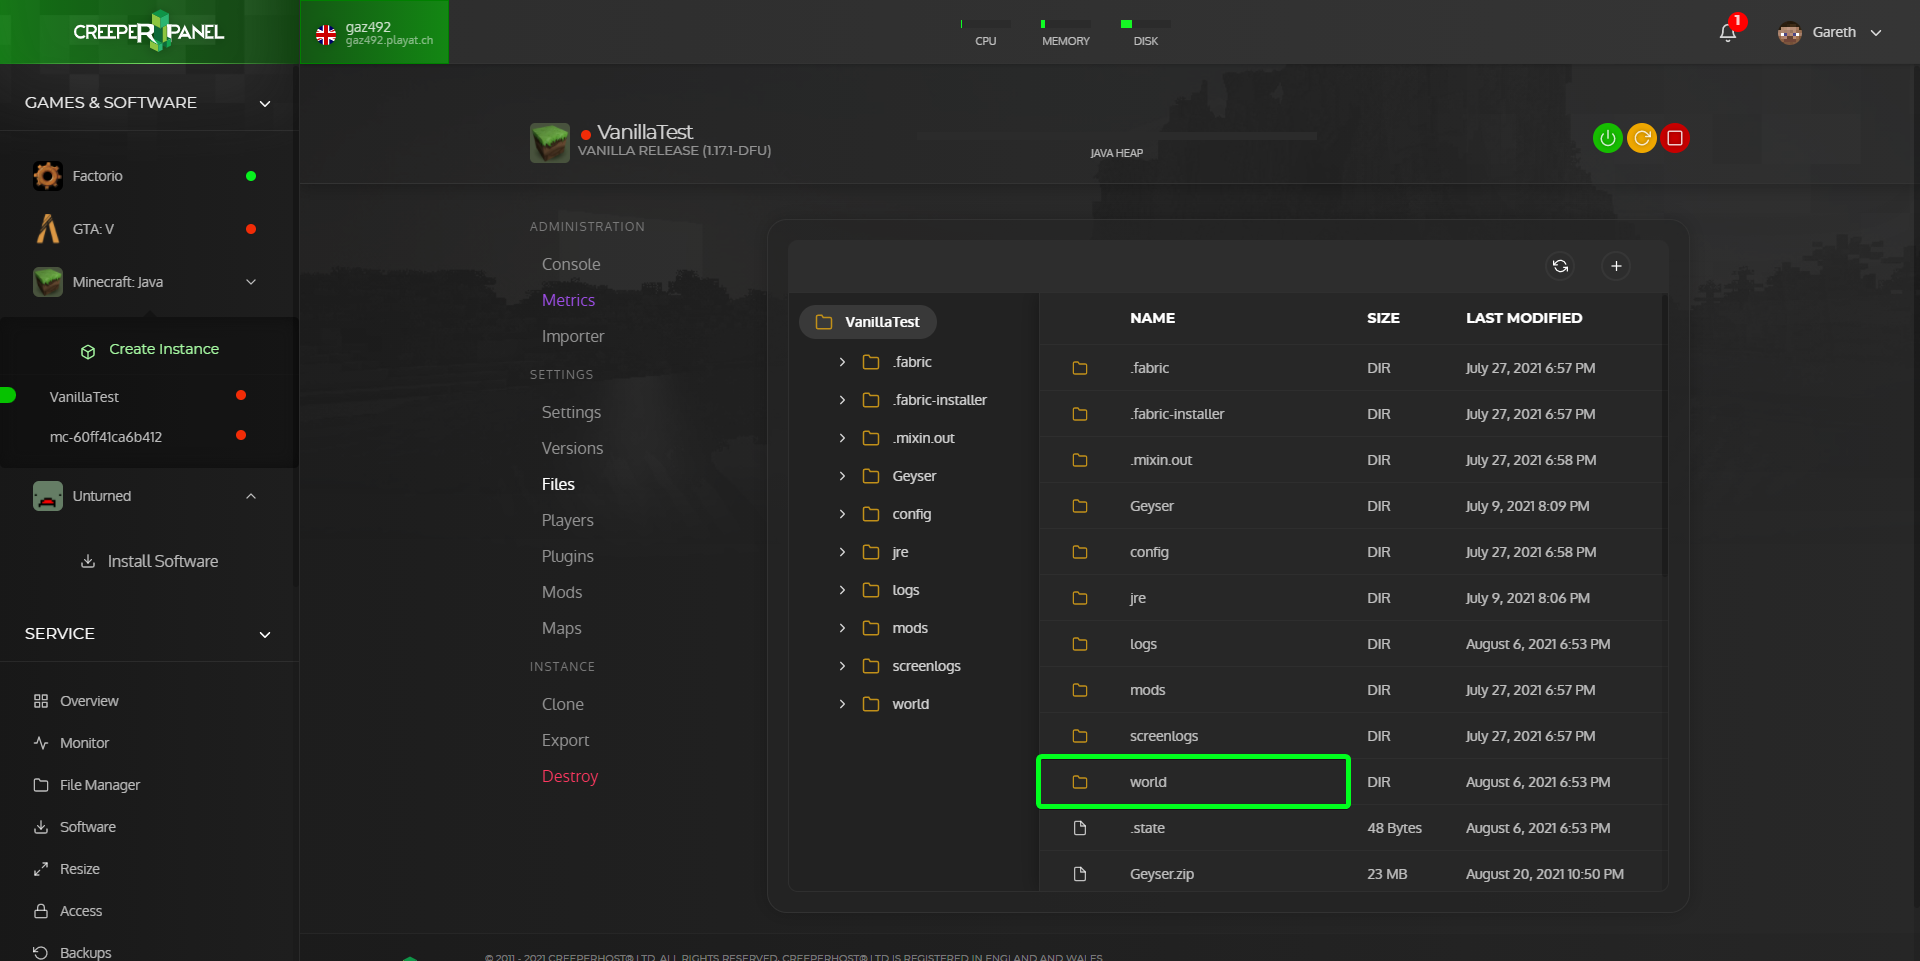
Now double-click on the datapacks folder

Once in the datapacks folder drag and drop your datapack zip file into the files list and wait for it to upload
Once its uploaded you will get a notification and you should then be able to use the /reload command in the console of your server or in-game if you are OPped to load the datapack or you can also reboot the instance.