CreeperPanel
- Finding your IP address
- Installing additional software
- Upgrading your service
- Rebooting your service
- Changing between multiple services
- Transfer your service to another location
- Sub-accounts
- Getting Started
- Adding a custom service to the panel
- Live Chat using Discord
- Setting up/editing a schedule
Finding your IP address
The IP address and hostname of your service can be found by clicking on the Access link in the sidebar
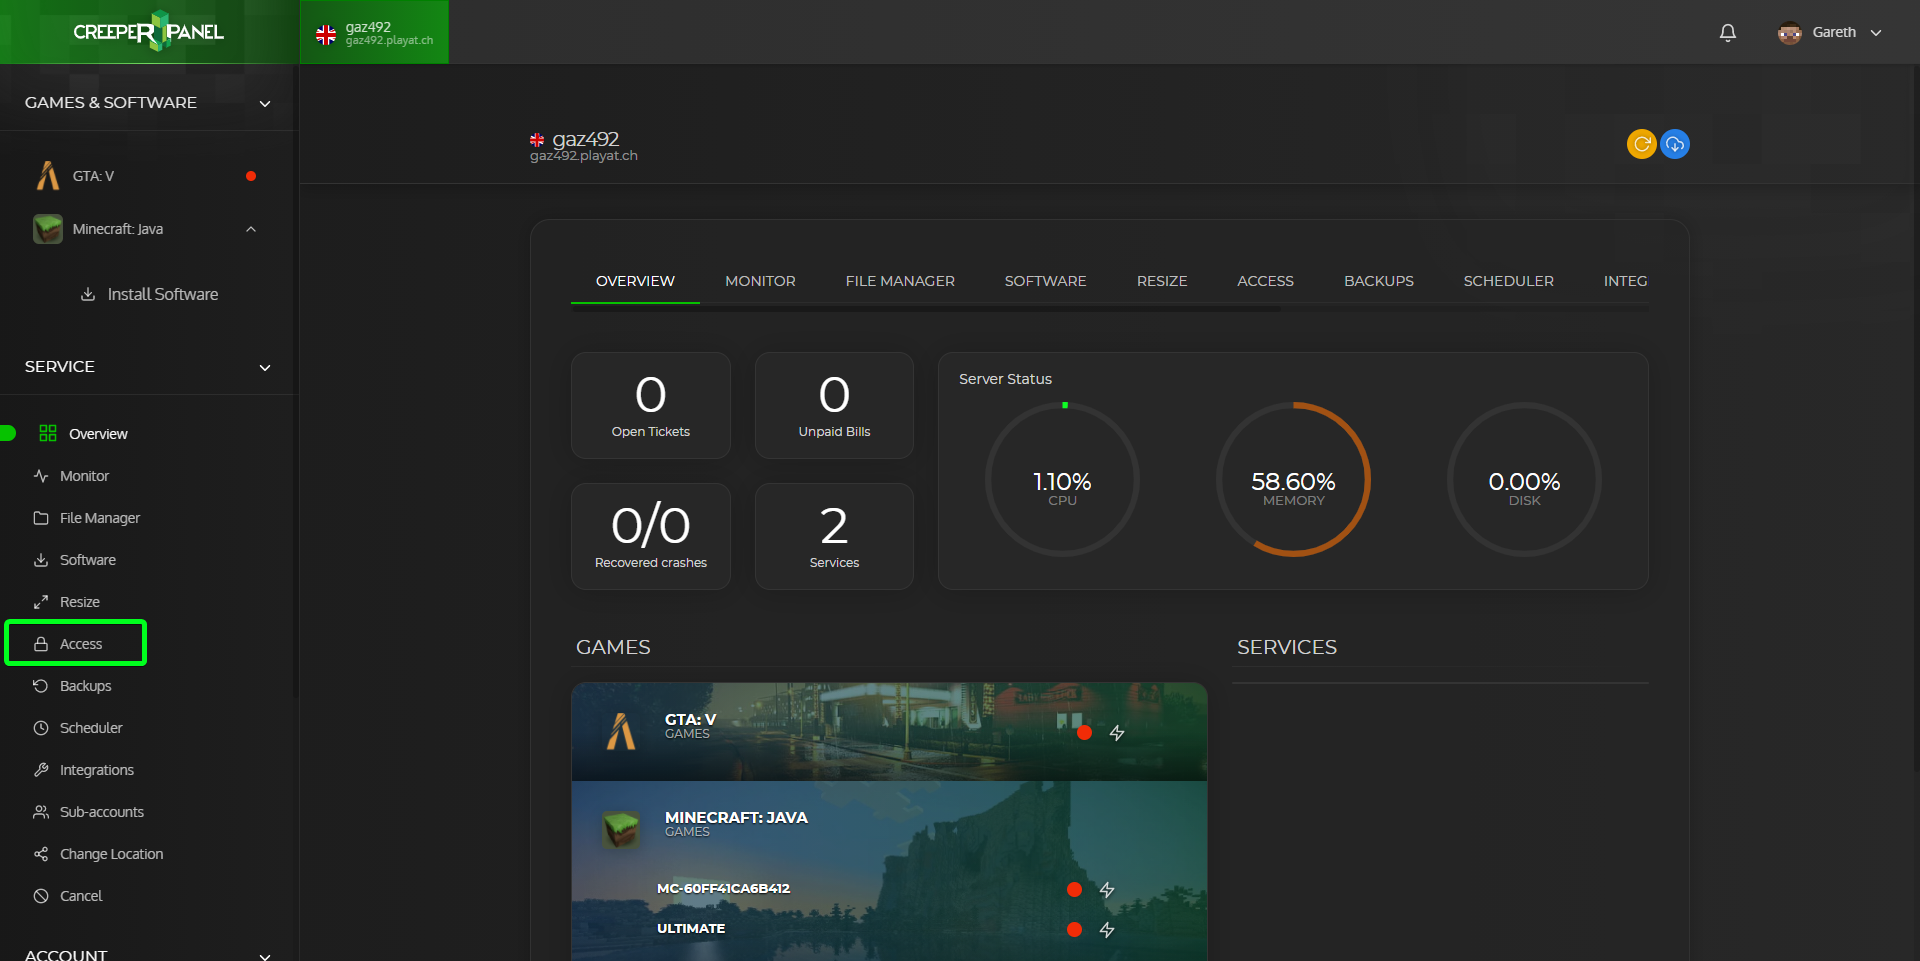
After clicking the link a new page will load with the details for your server.
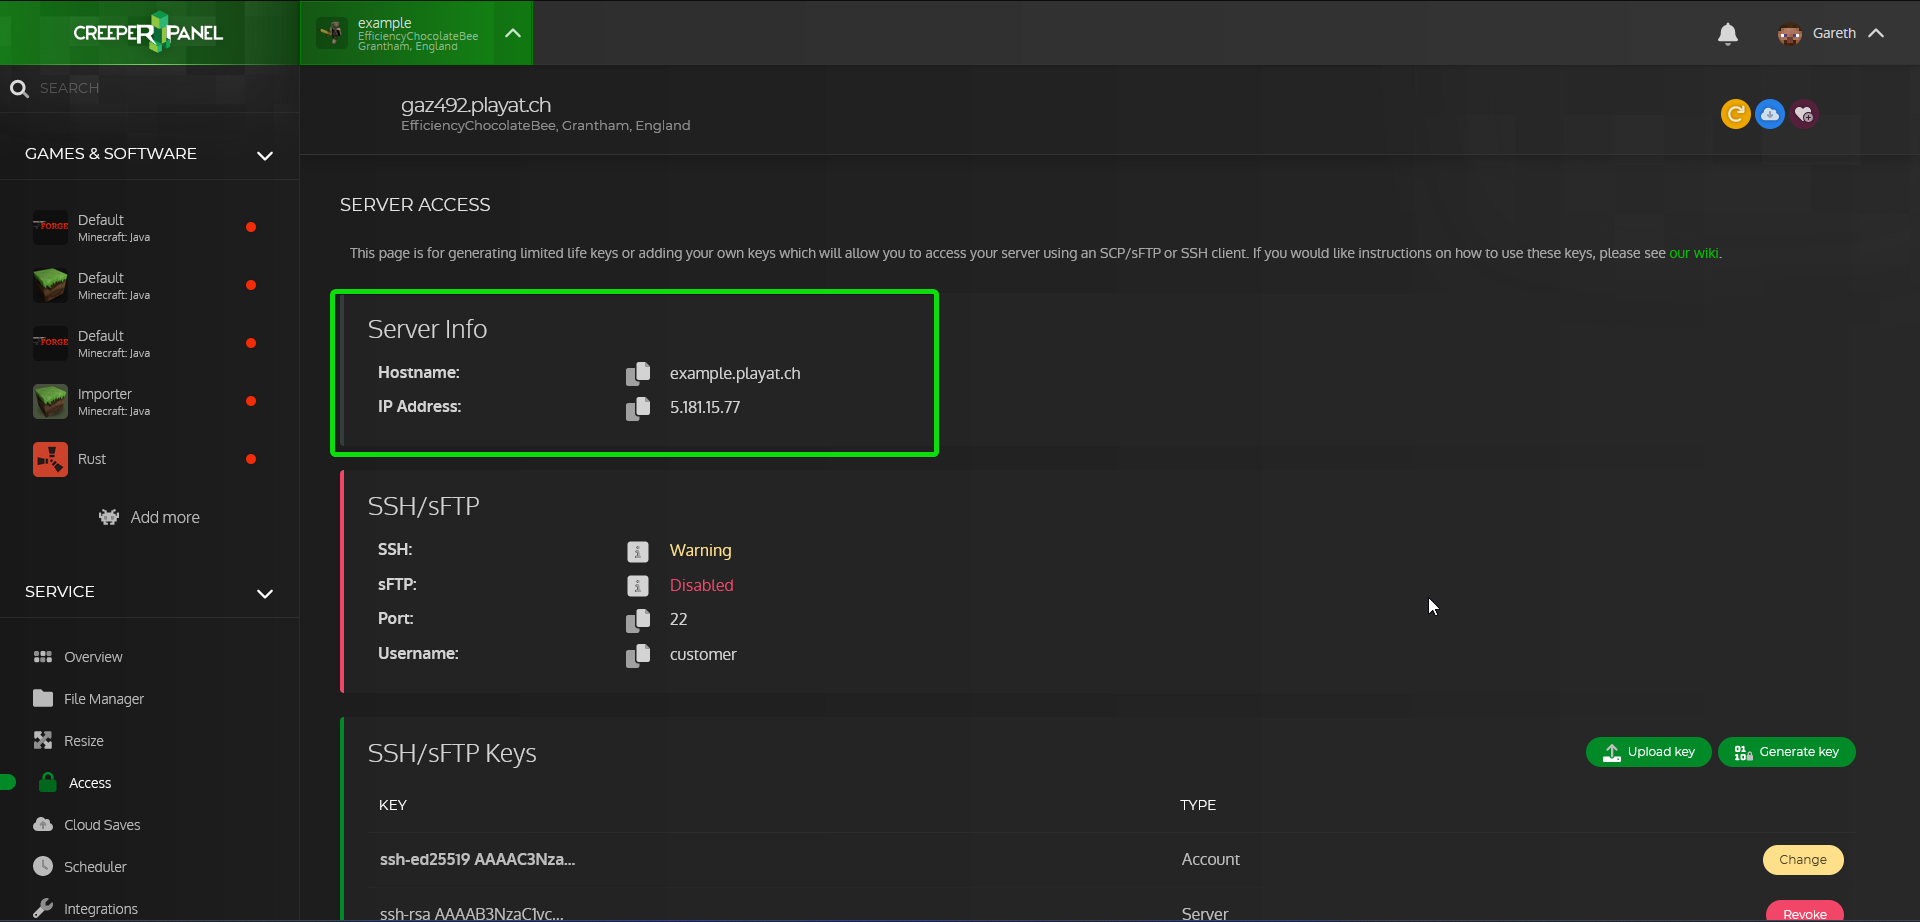
| Username | This is the SSH/sFTP username for your service. |
| Hostname | The hostname will always point to the IP address of your server and gives you an easy to remember name to use when connecting or sharing your server details. |
| IP Address | This is the numerical IP address of your service, if your service is transferred or recreated this will likely change so we recommend you use the hostname when connecting to your server. |
| Port | This port is only needed if you are connecting to your service via SSH or sFTP so can be ignored most of the time |
You will also find the SSH/sFTP key on the access page for the minecraft and root user, you can read more about these on the following page https://www.creeperhost.net/wiki/books/general-information/page/how-to-sshsftp-into-your-server
Installing additional software
To install additional software on your service click on the Add more link in the sidebar
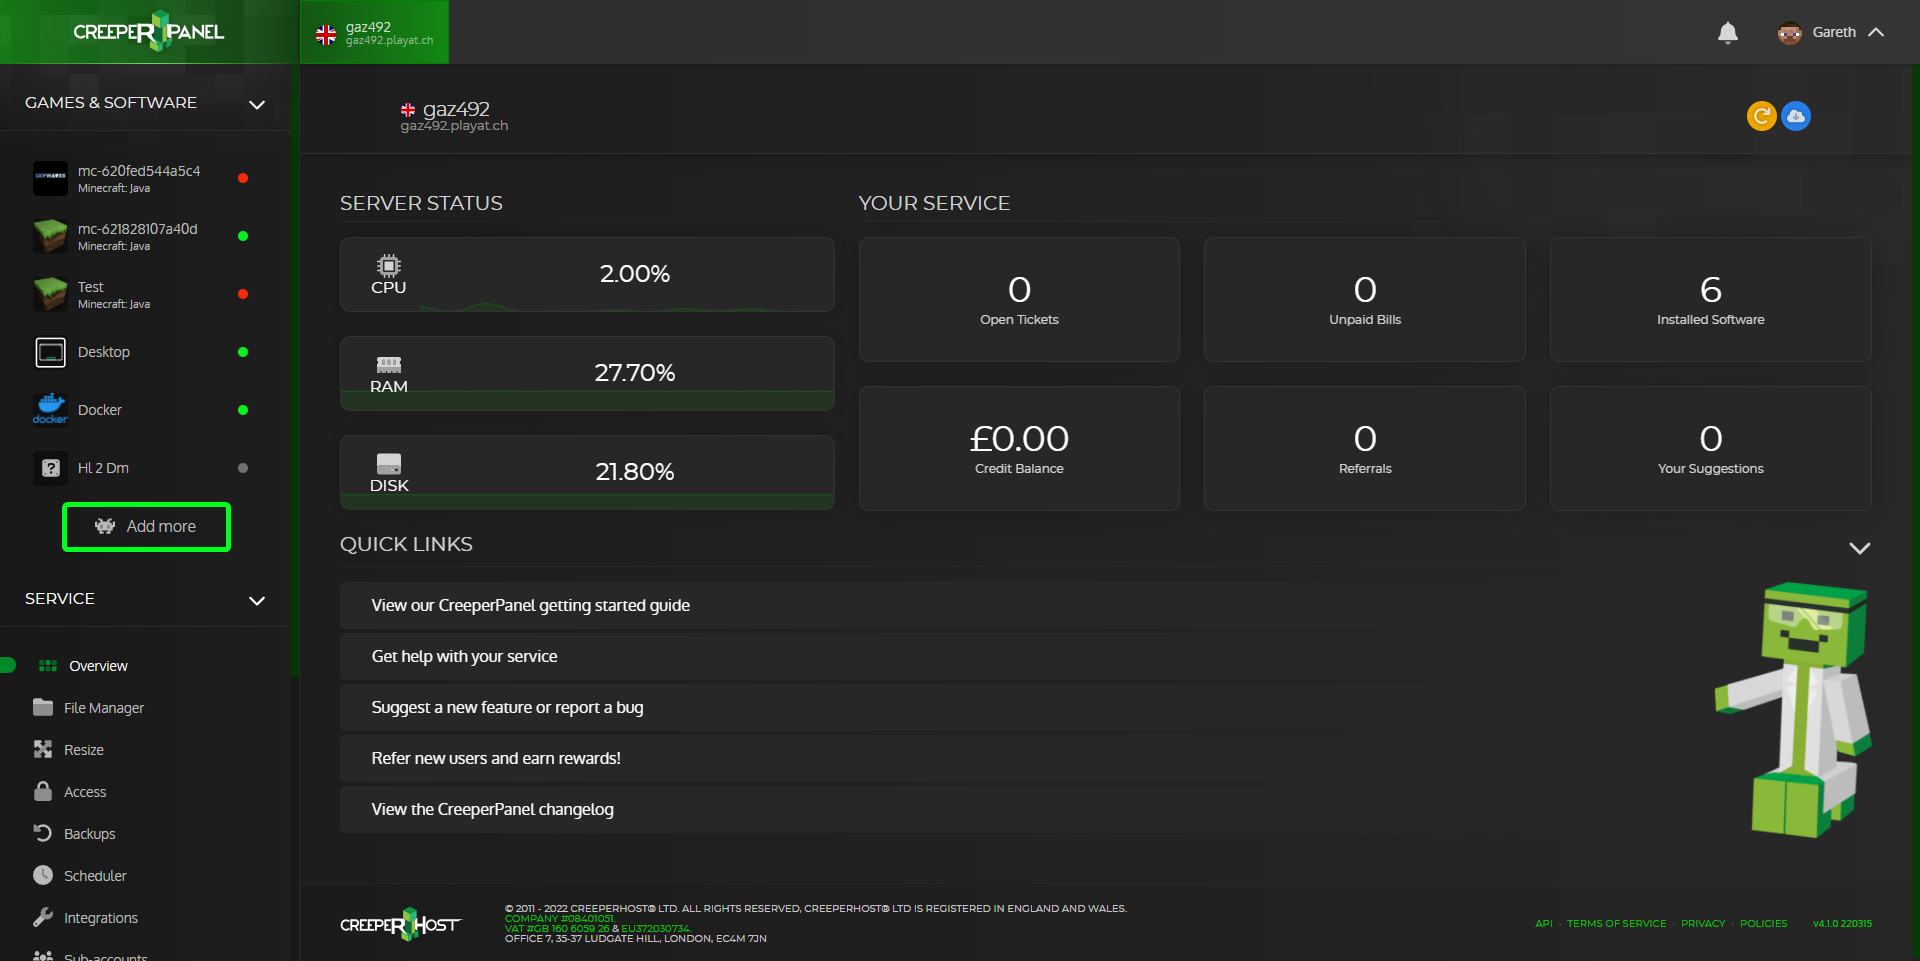
You should now see a new popup open where you can select the game or service you would like to install.
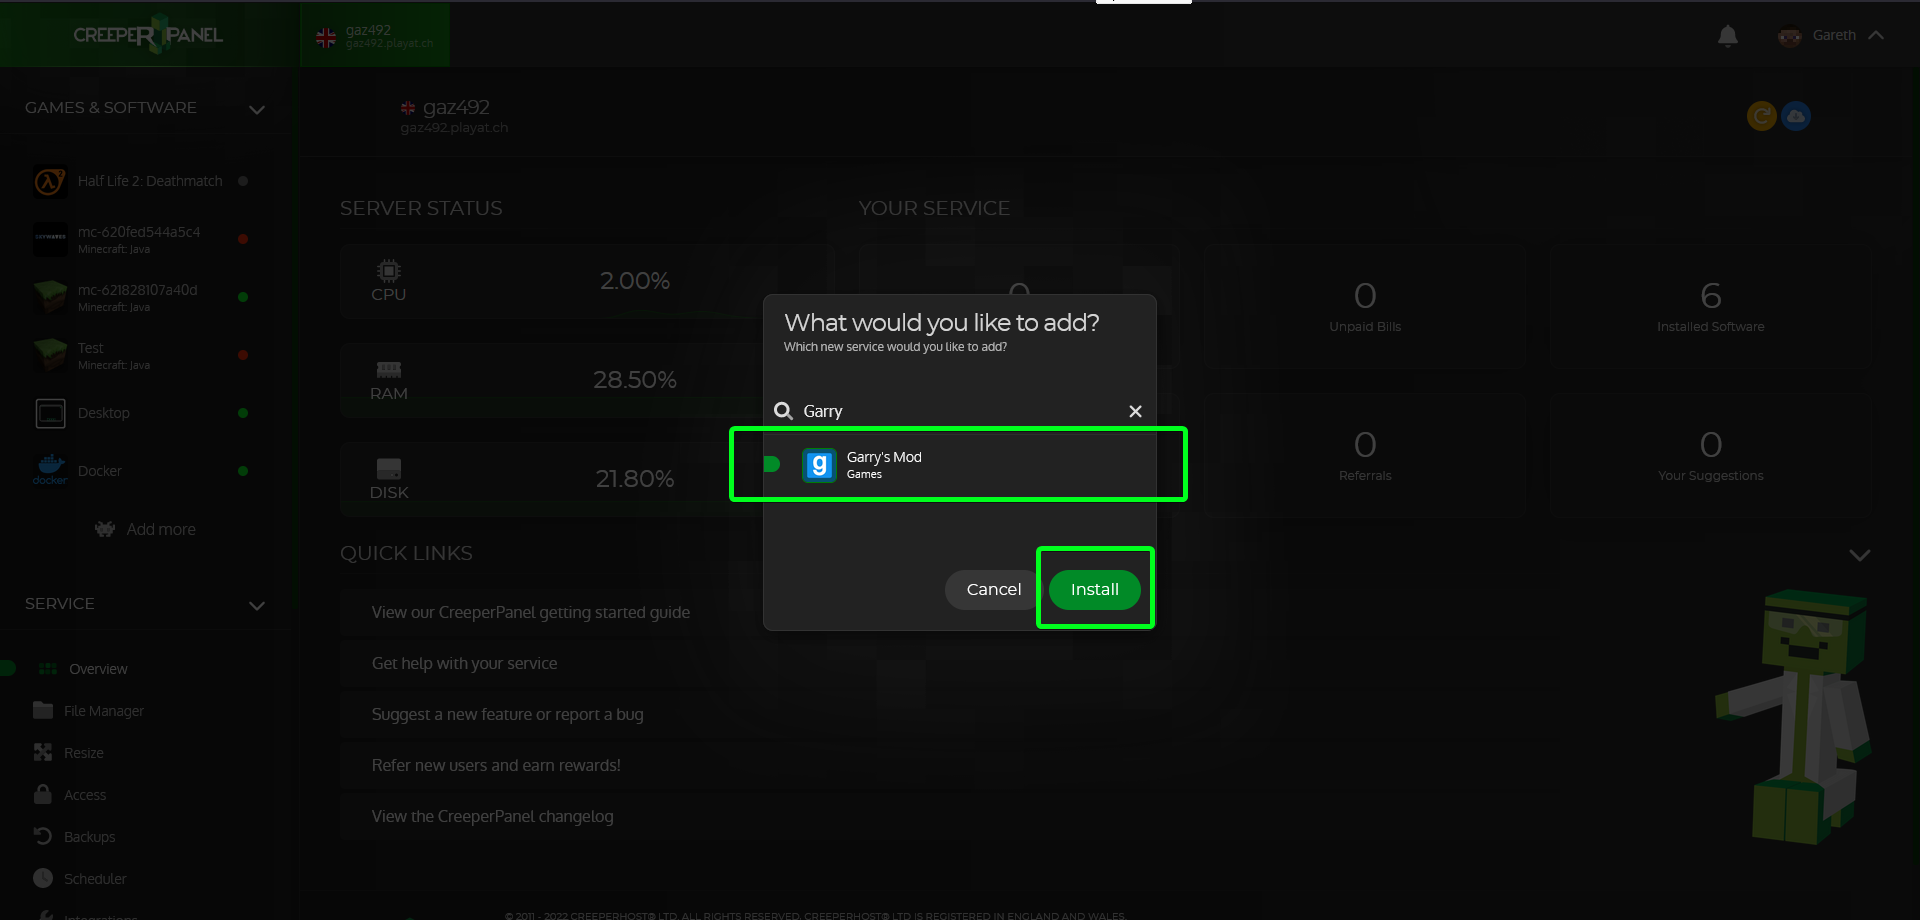
If you don't see the application you would like to install click on the Install something new option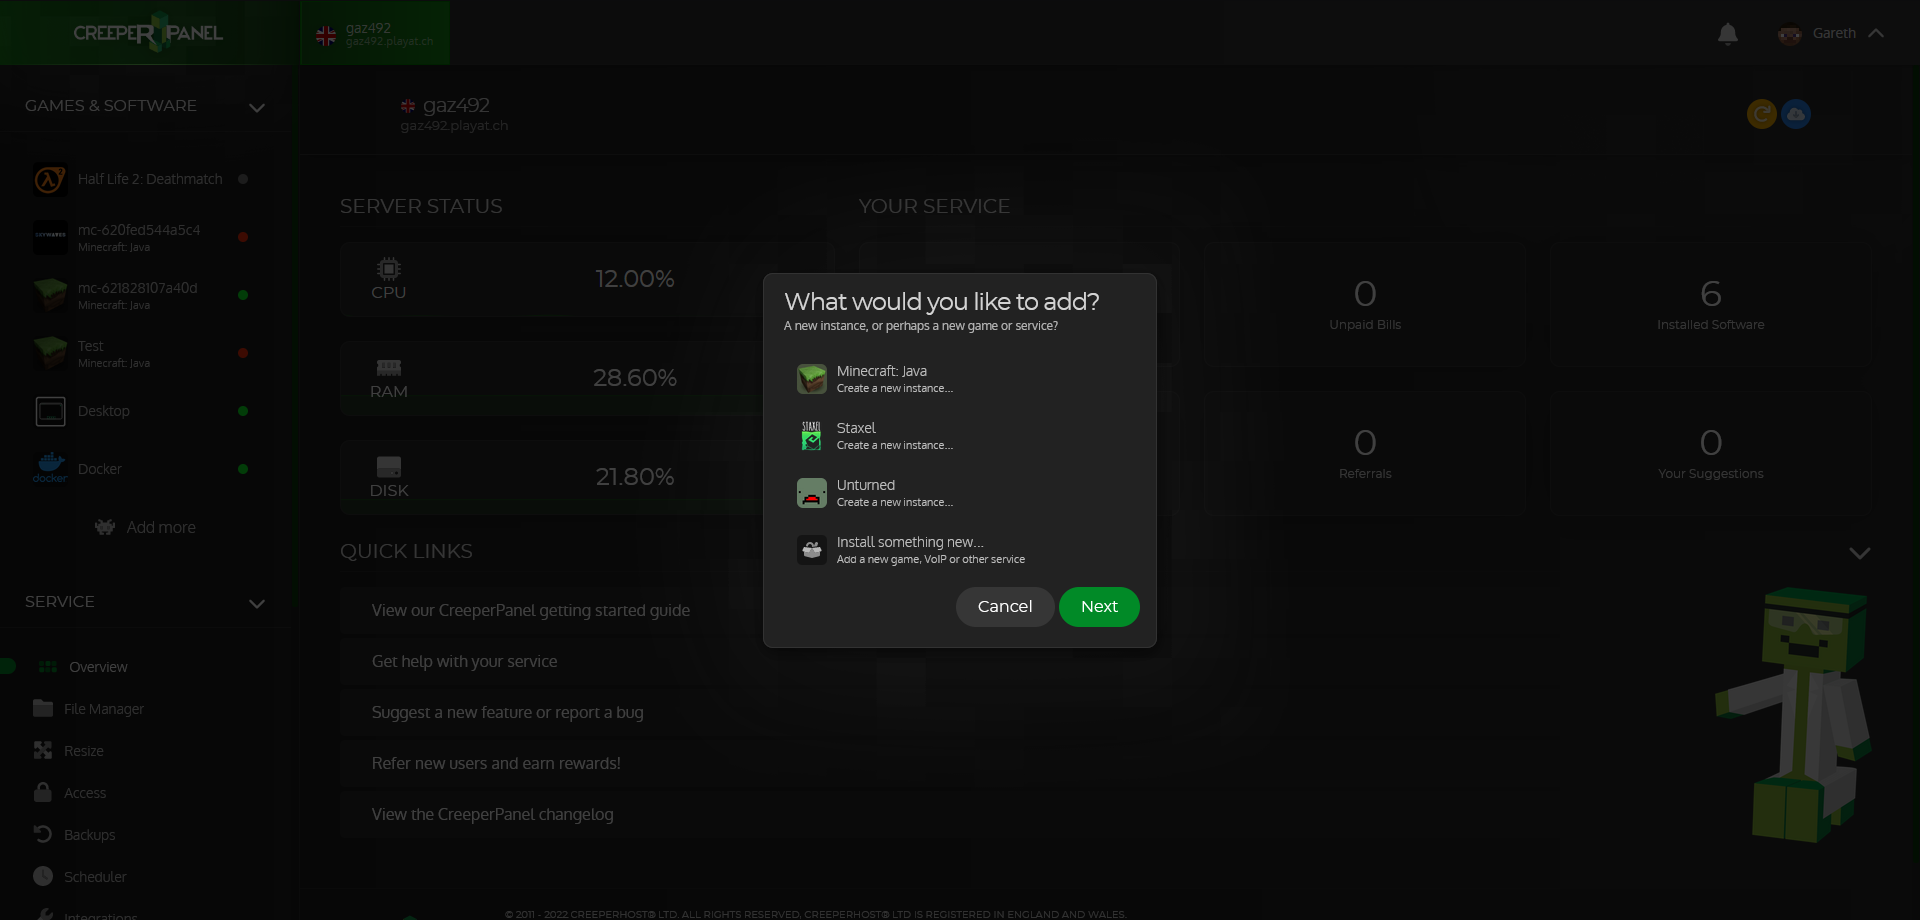
If you clicked on install something new, you will now have the option to search for the application you would like to install, once you find the application you would like to install select it and click on the Install button.
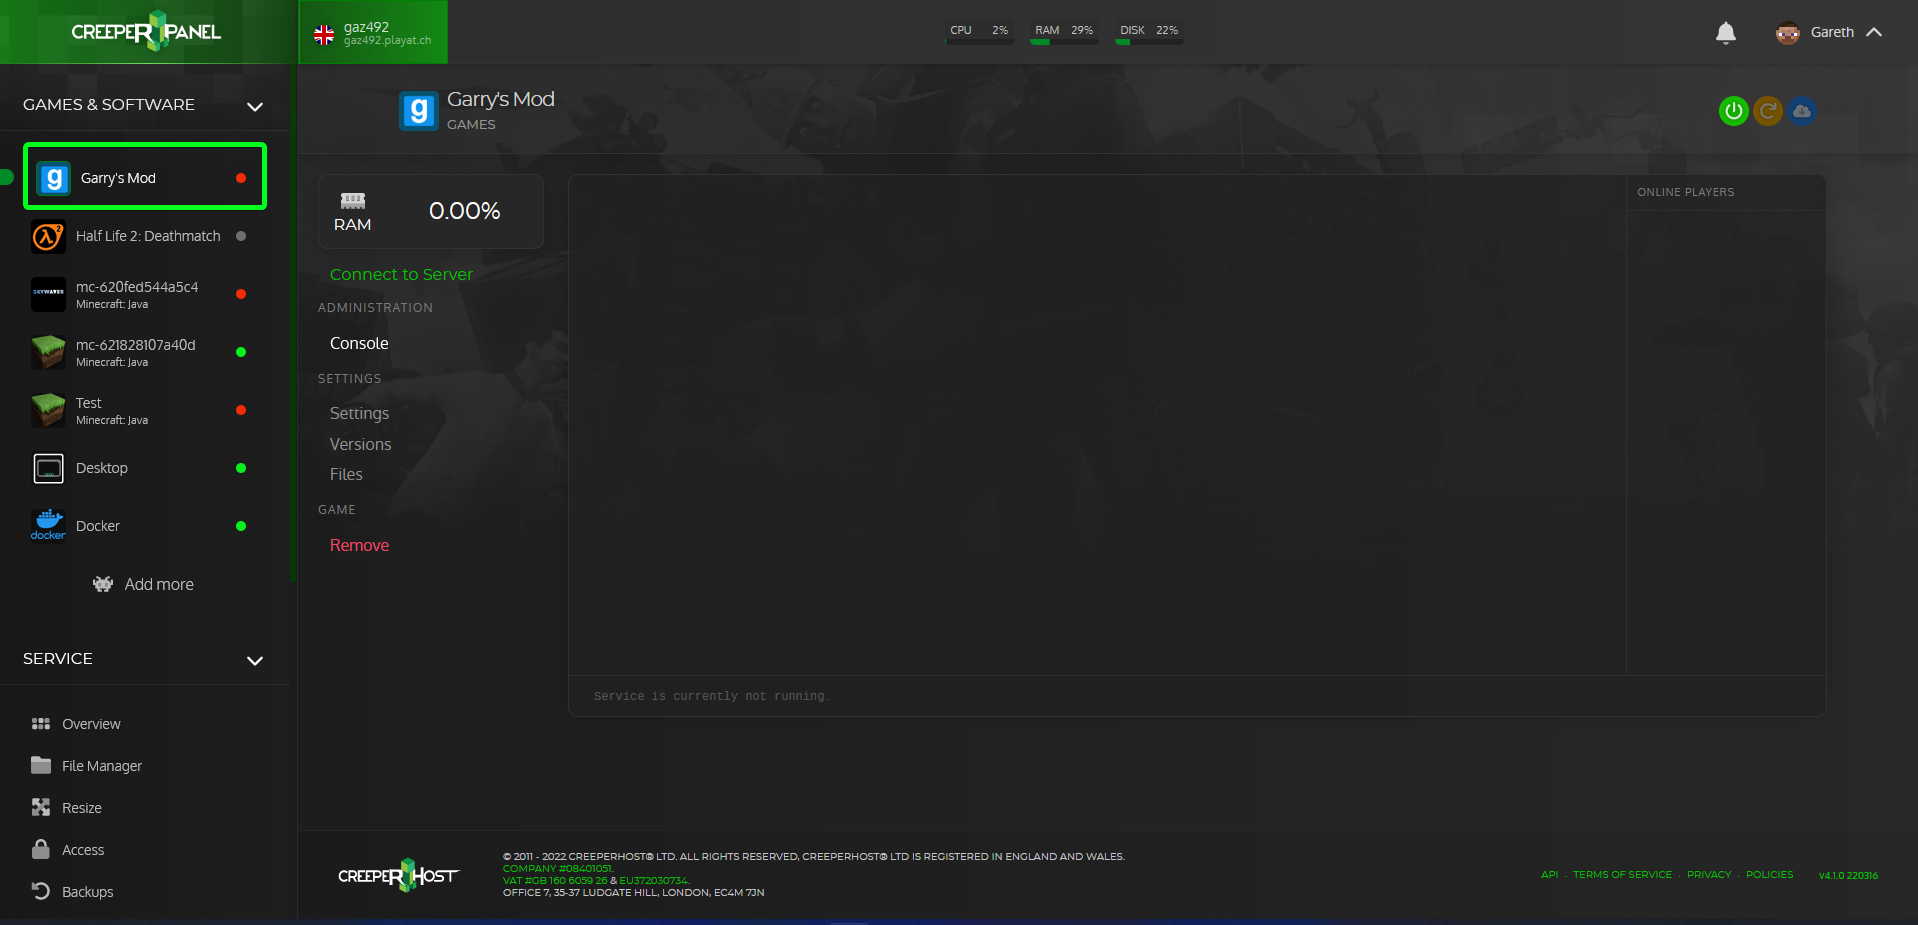
Once the software has been installed you will get a notification saying it has been installed and you should now be able to see the software in the sidebar under Games & Software, if you do not see the software you have installed try logging out of the panel and back in to force the panel to retrieve the latest information.
Upgrading your service
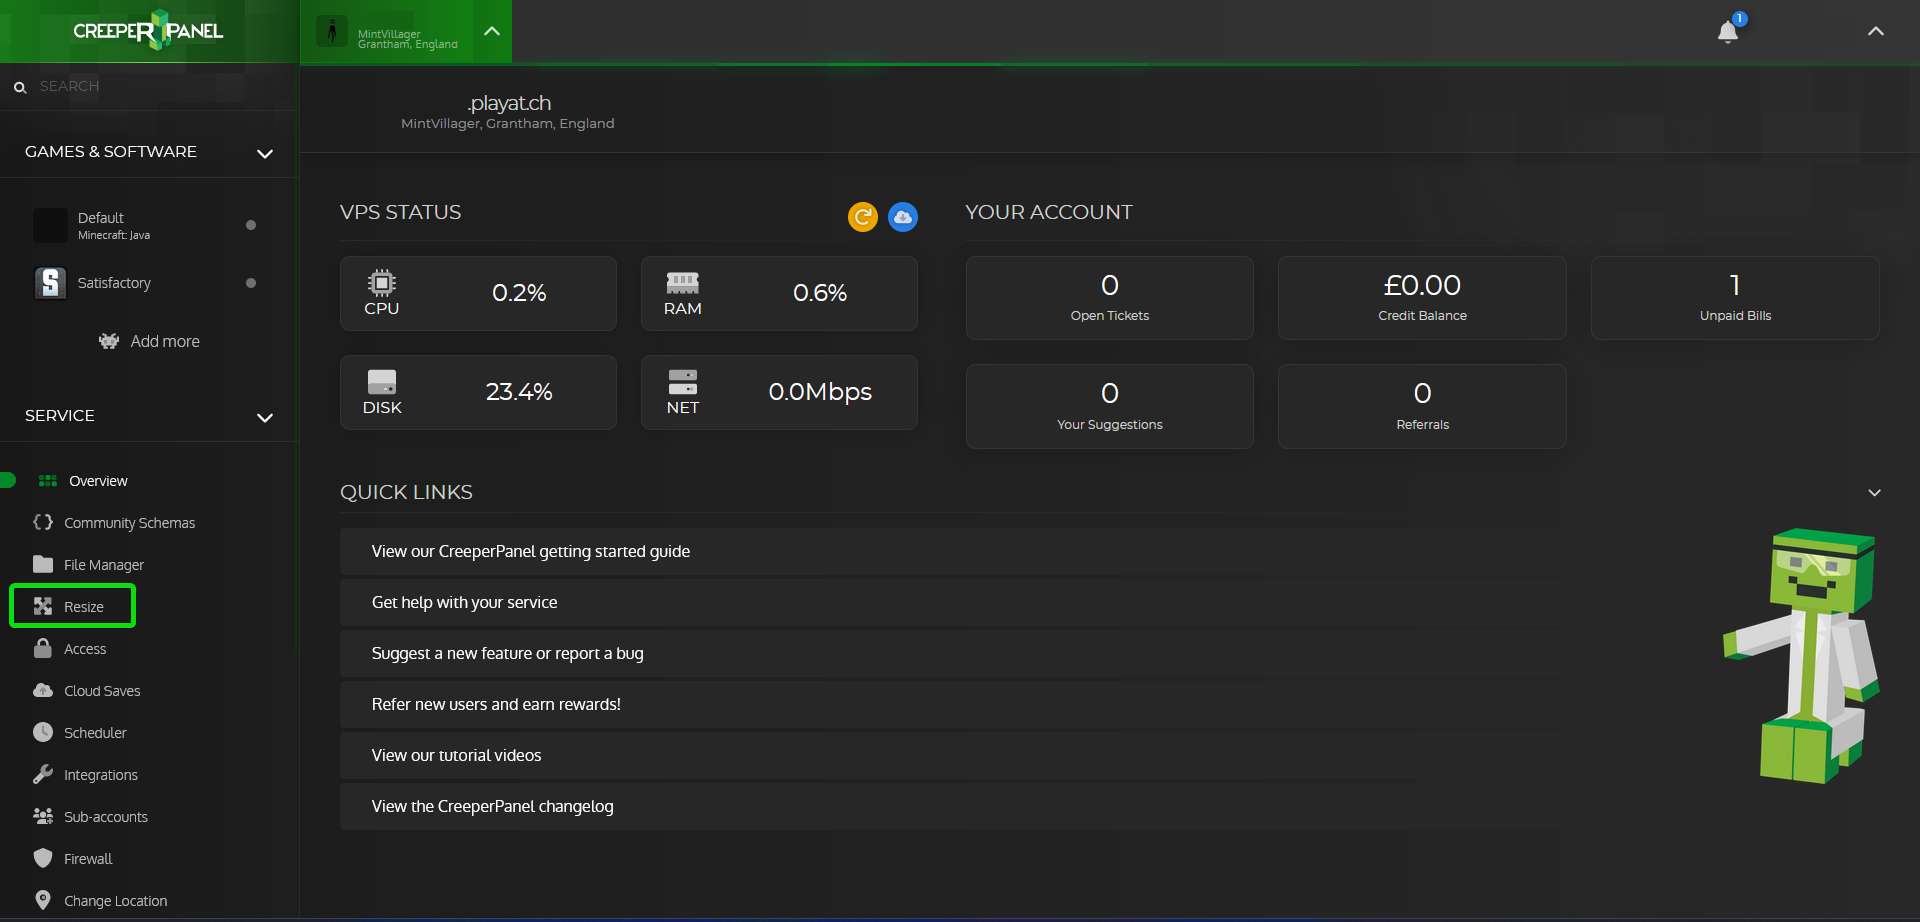
If you are looking to upgrade/resize your service you can do so from the Resize page of the panel,
After logging into the panel you will find a link called Resize in the sidebar.
42.
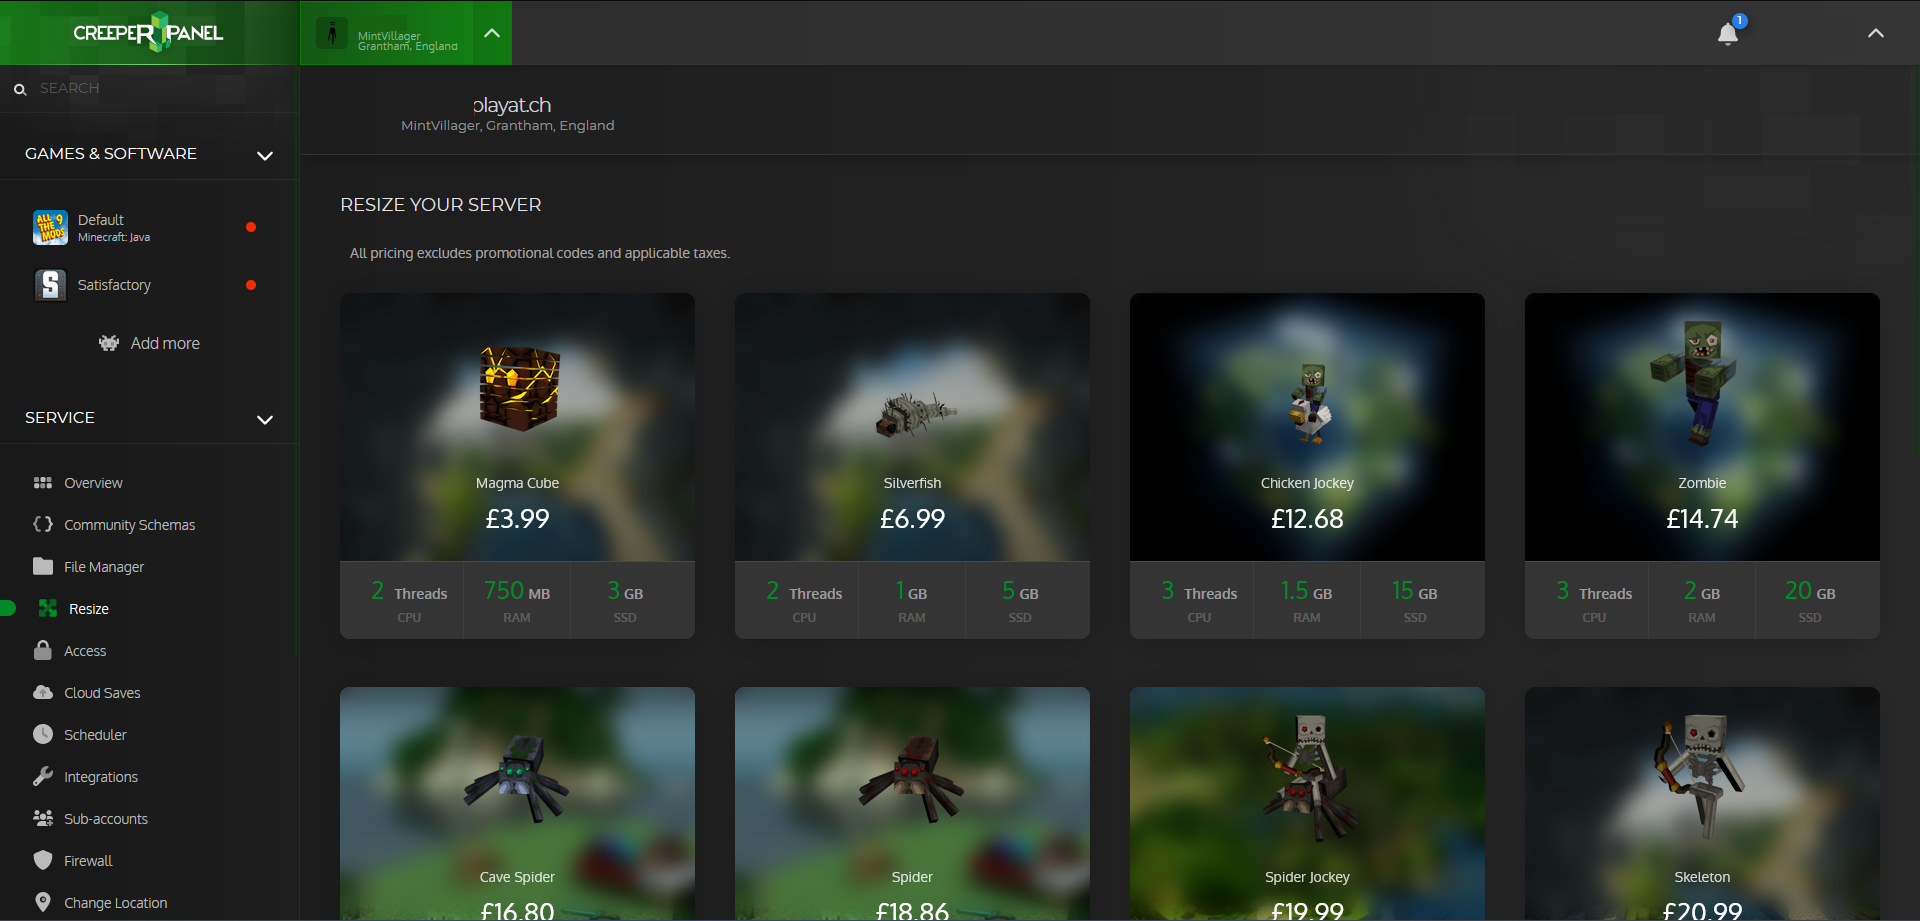
If you click on the resize link it will load a new page with the list of available packages, your current package will be mentioned at the top of the page and will also be highlighted in the package list.
Some of the higher specification packages are not listed due to their size and can only be ordered as a new service.
Rebooting your service
There may be times where you need to reboot your service, such as if its not behaving like you expect it to or if there are issues such as high memory usage but none of your game servers are running.
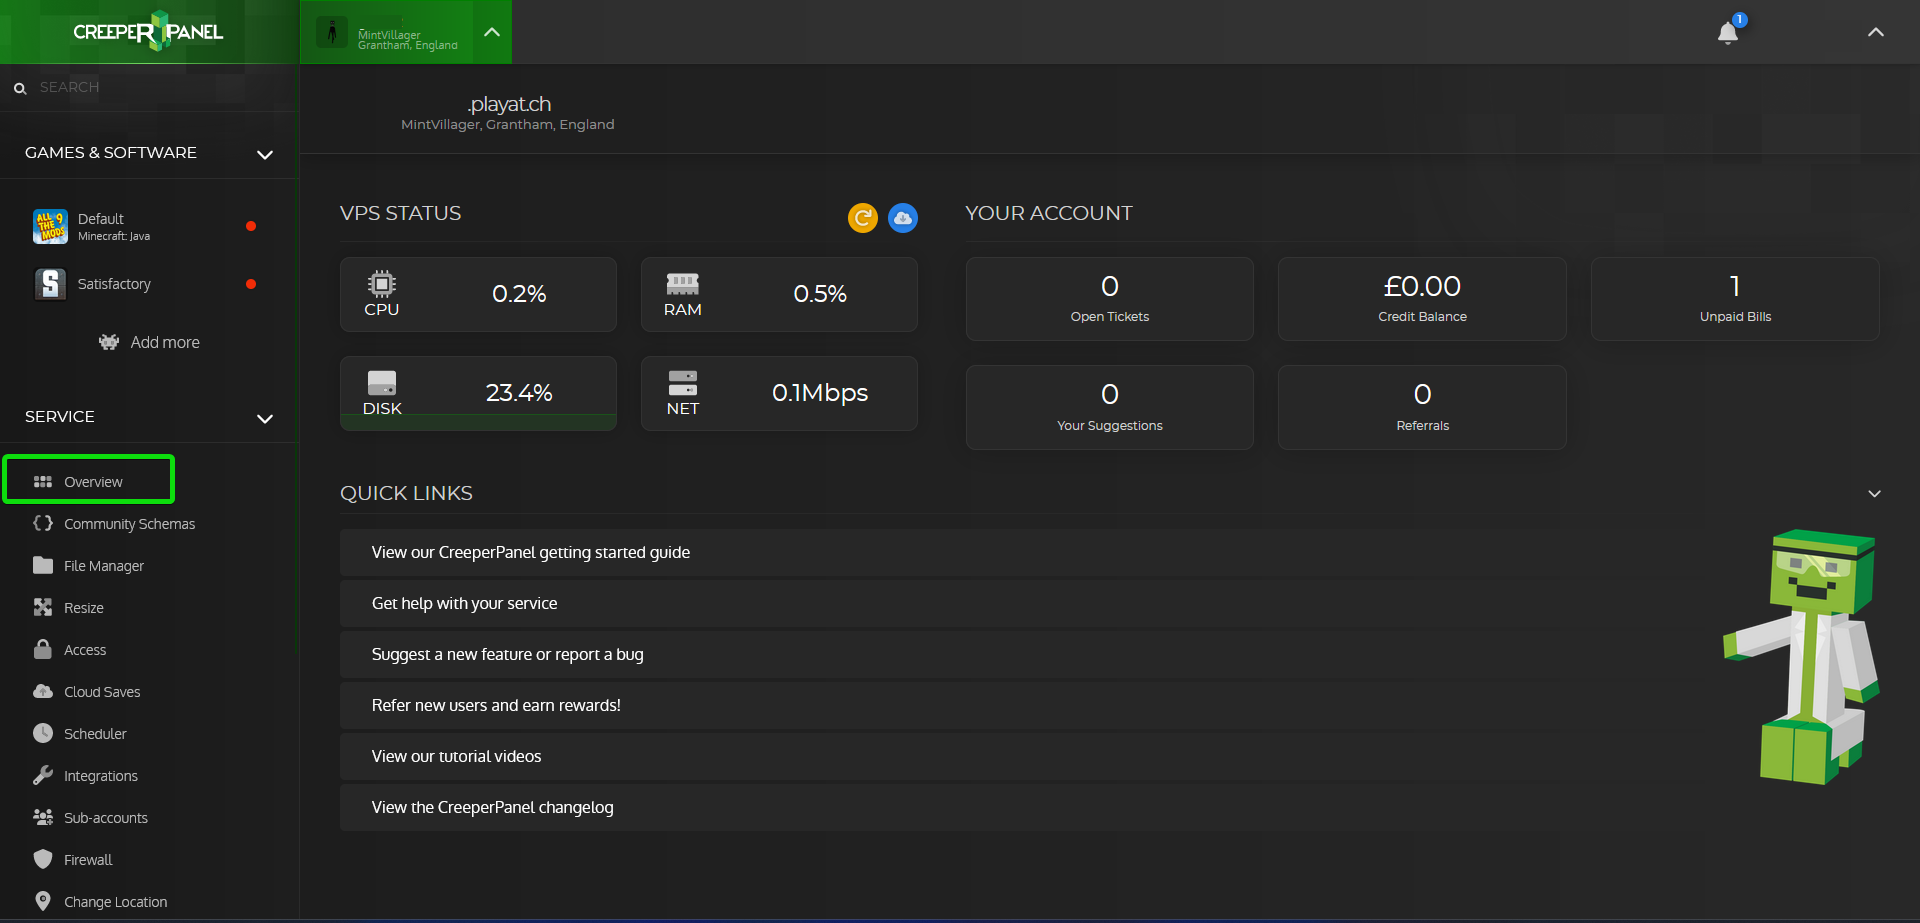
To reboot your service login to the CreeperPanel then make sure you are on the overview page by clicking on Overview in the sidebar
Next click on the orange button in the top right of the page, this will tell your service to reboot
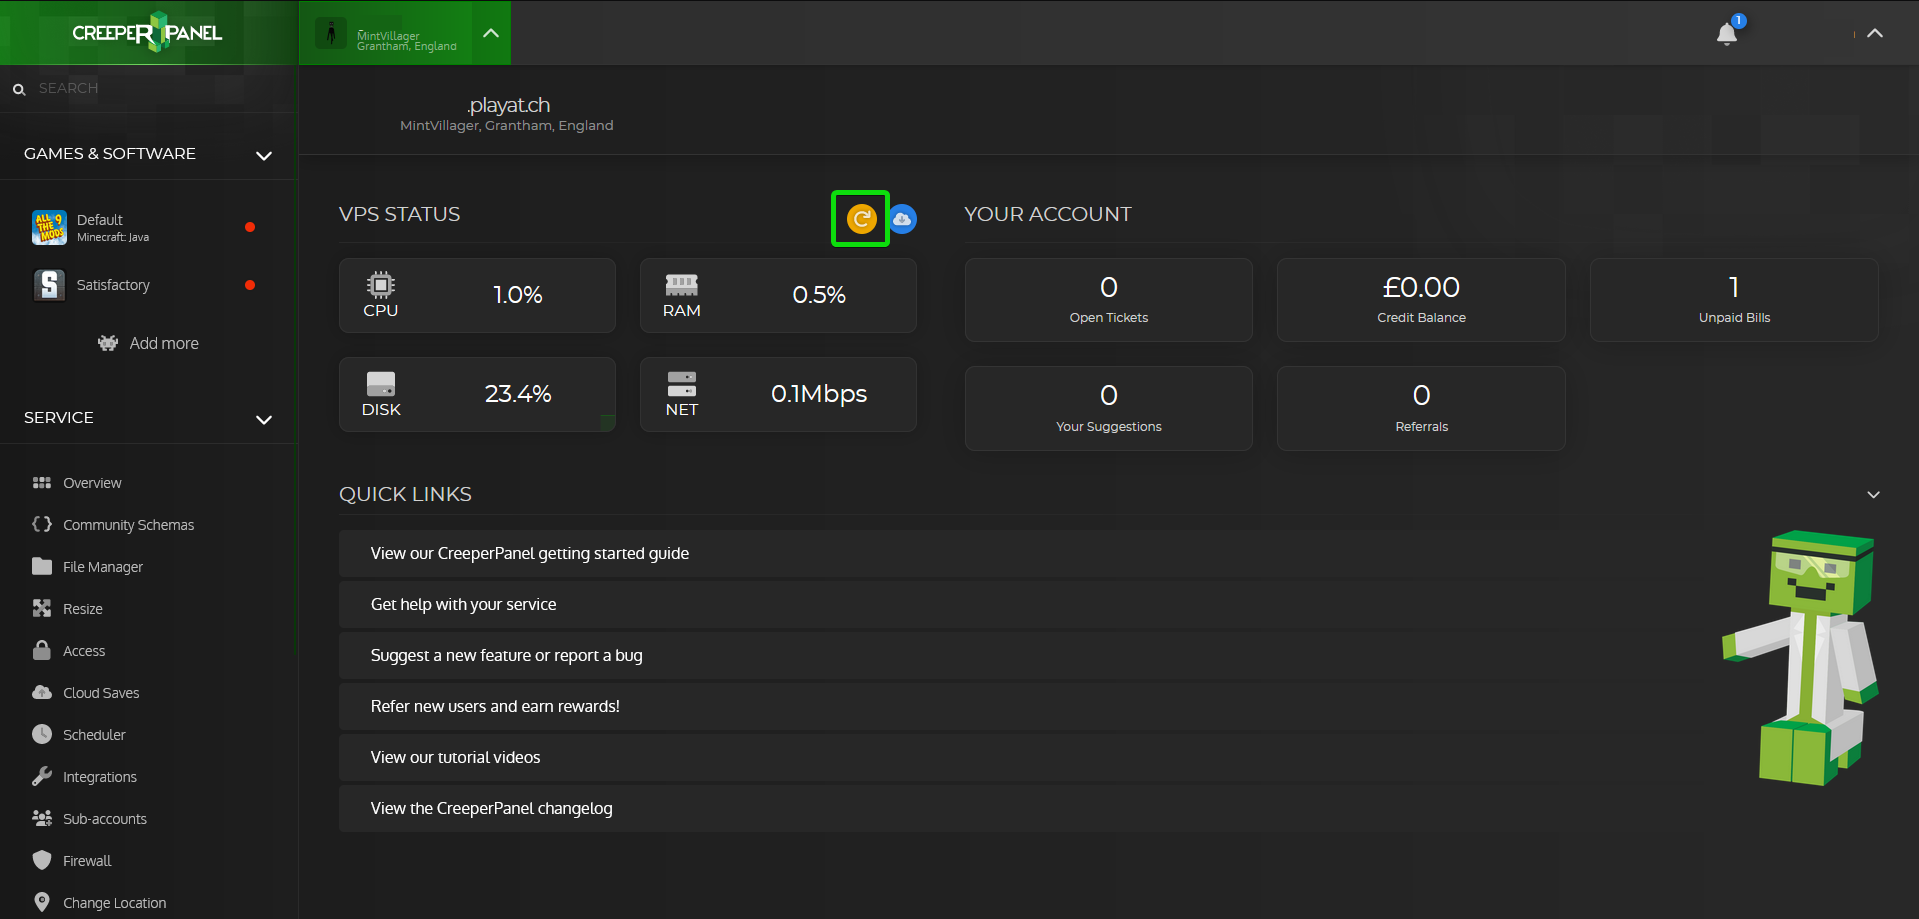
After a couple of minutes your service should be back up and running, if the panel is not displaying any system statistics for you try refreshing the page or logging out and back in.
Changing between multiple services
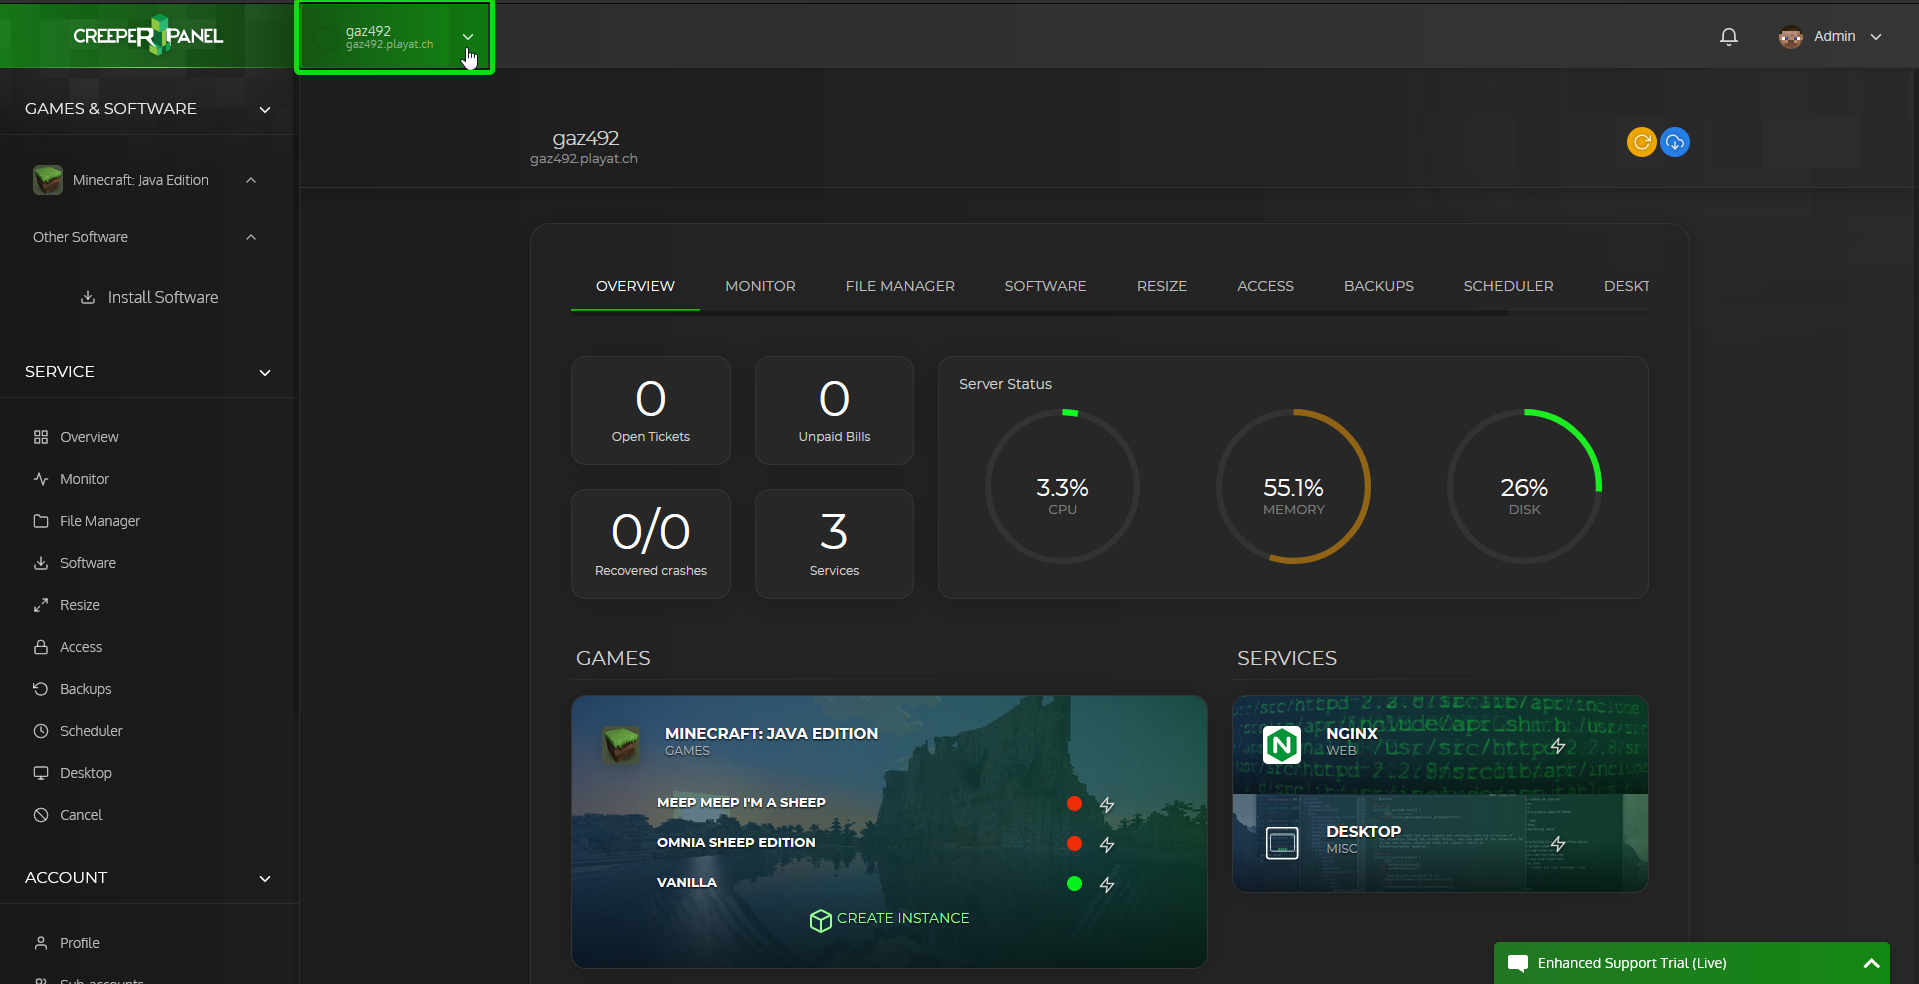
If you currently have multiple services with us or are planning on ordering an additional service. You can swap between managing them by clicking on your service name in the top left of the panel
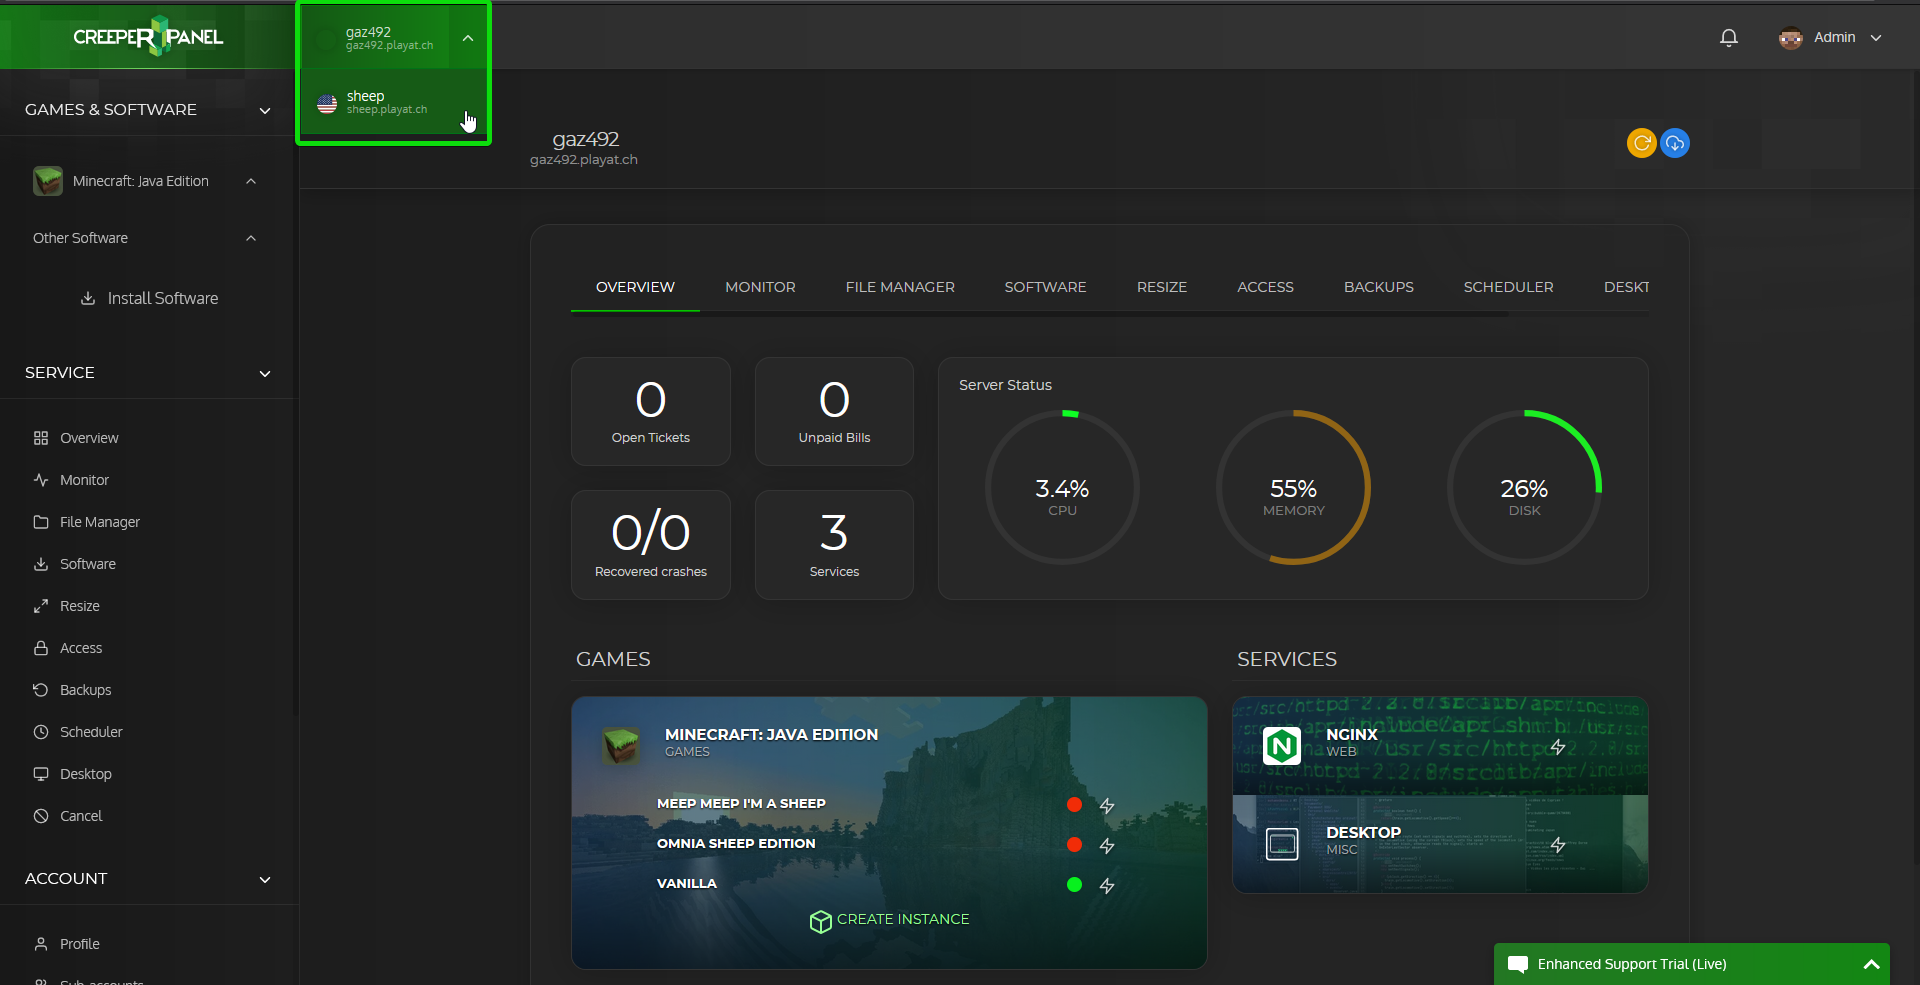
Click on the service you would like to manage. The panel should now refresh with the information about the service you have just selected to manage.
Transfer your service to another location
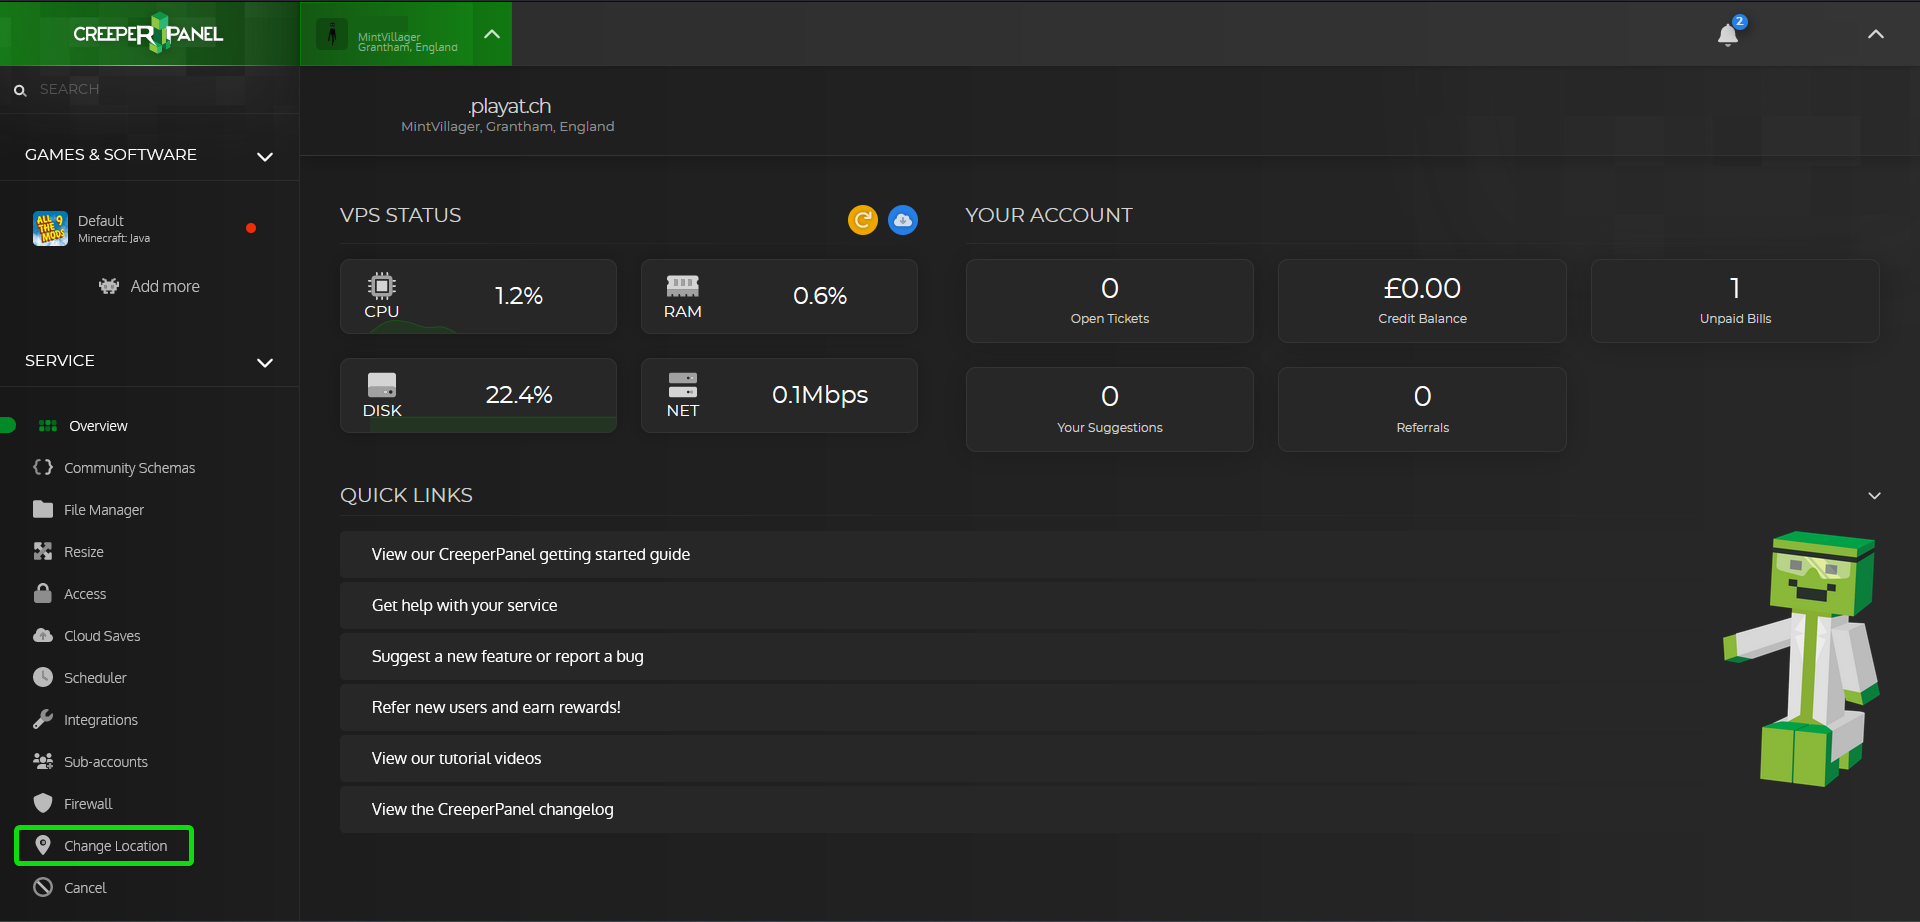
You can transfer your service to another location by logging into the panel then in the left sidebar scroll down until you see a link called Change Location
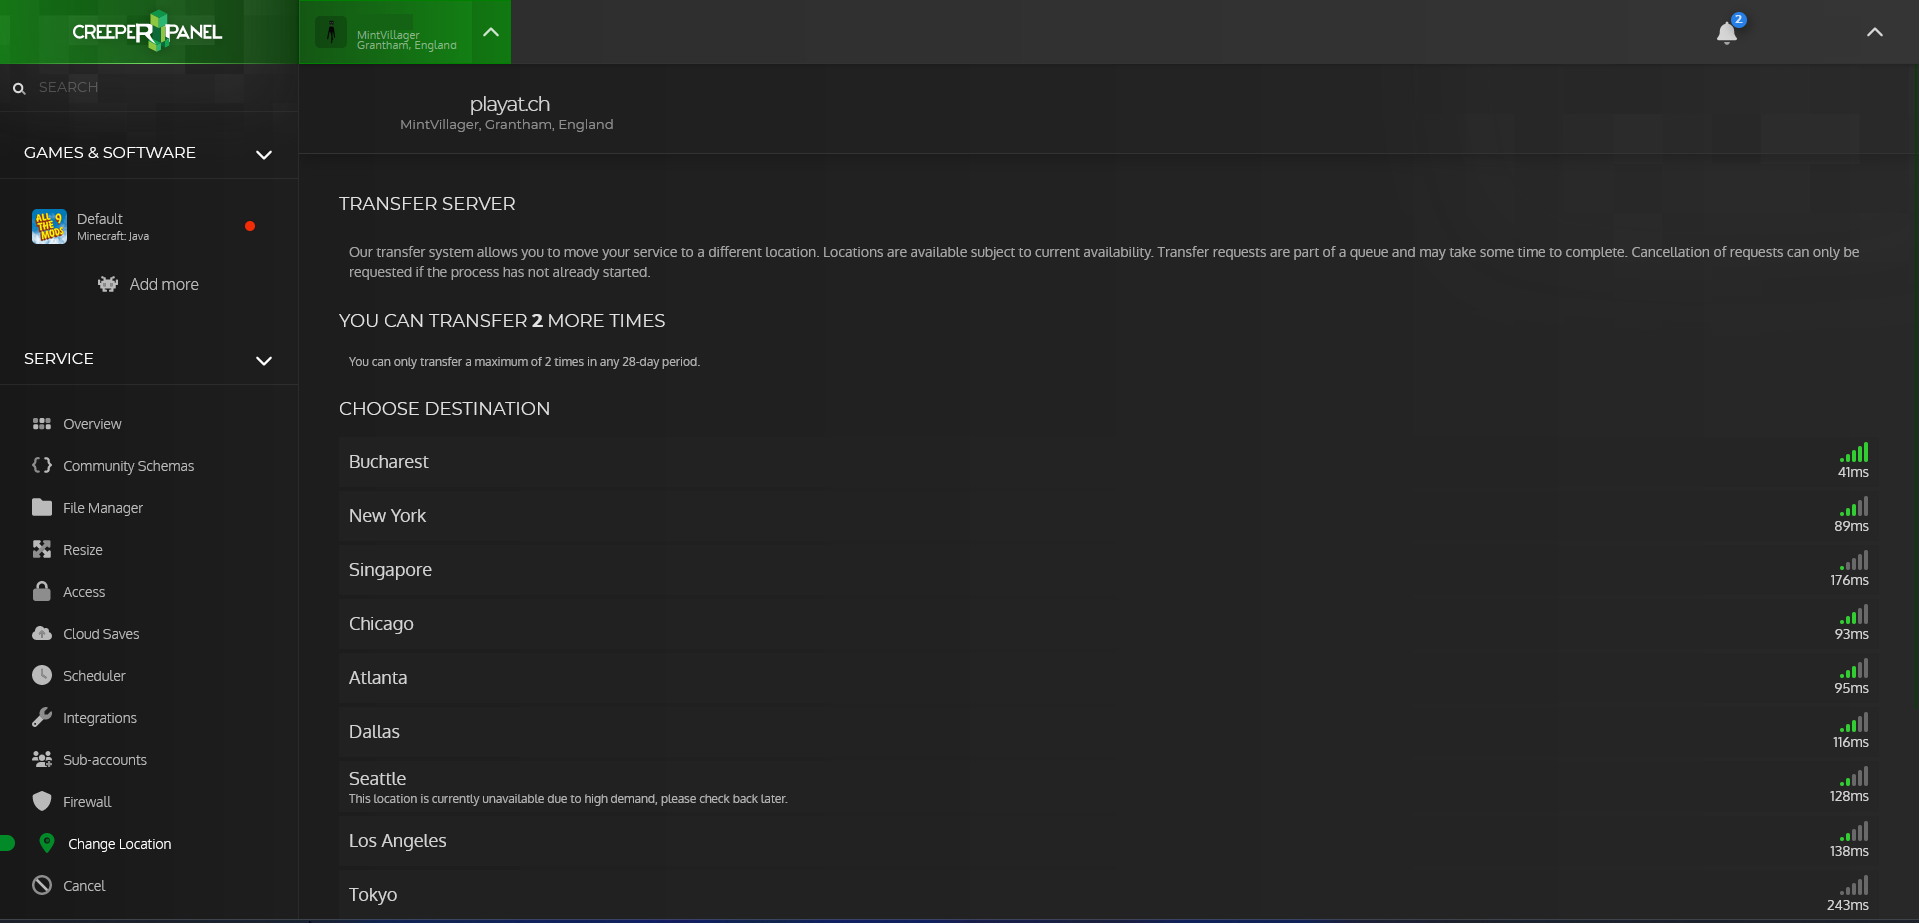
Once the page loads, you will see a list of locations and the ping to those locations.
You may notice that some have (Not Available) next to them, this often means that the location is currently full and if you select that location you will need to wait a longer period of time before your service will be transferred
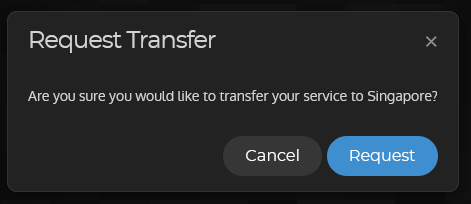
Click on the location you would like to transfer your service to and you should now see a confirmation popup asking if you want to move your service to the selected location.
Upon clicking the request button, it will put your service into a transfer queue and show a page similar to the one in the image below.
If you wanted to cancel your transfer now is the time to do it as once the service has started to be transferred to the new location you will not be able to cancel the transfer.
Depending on the queue size, your service could be in the queue for several hours.
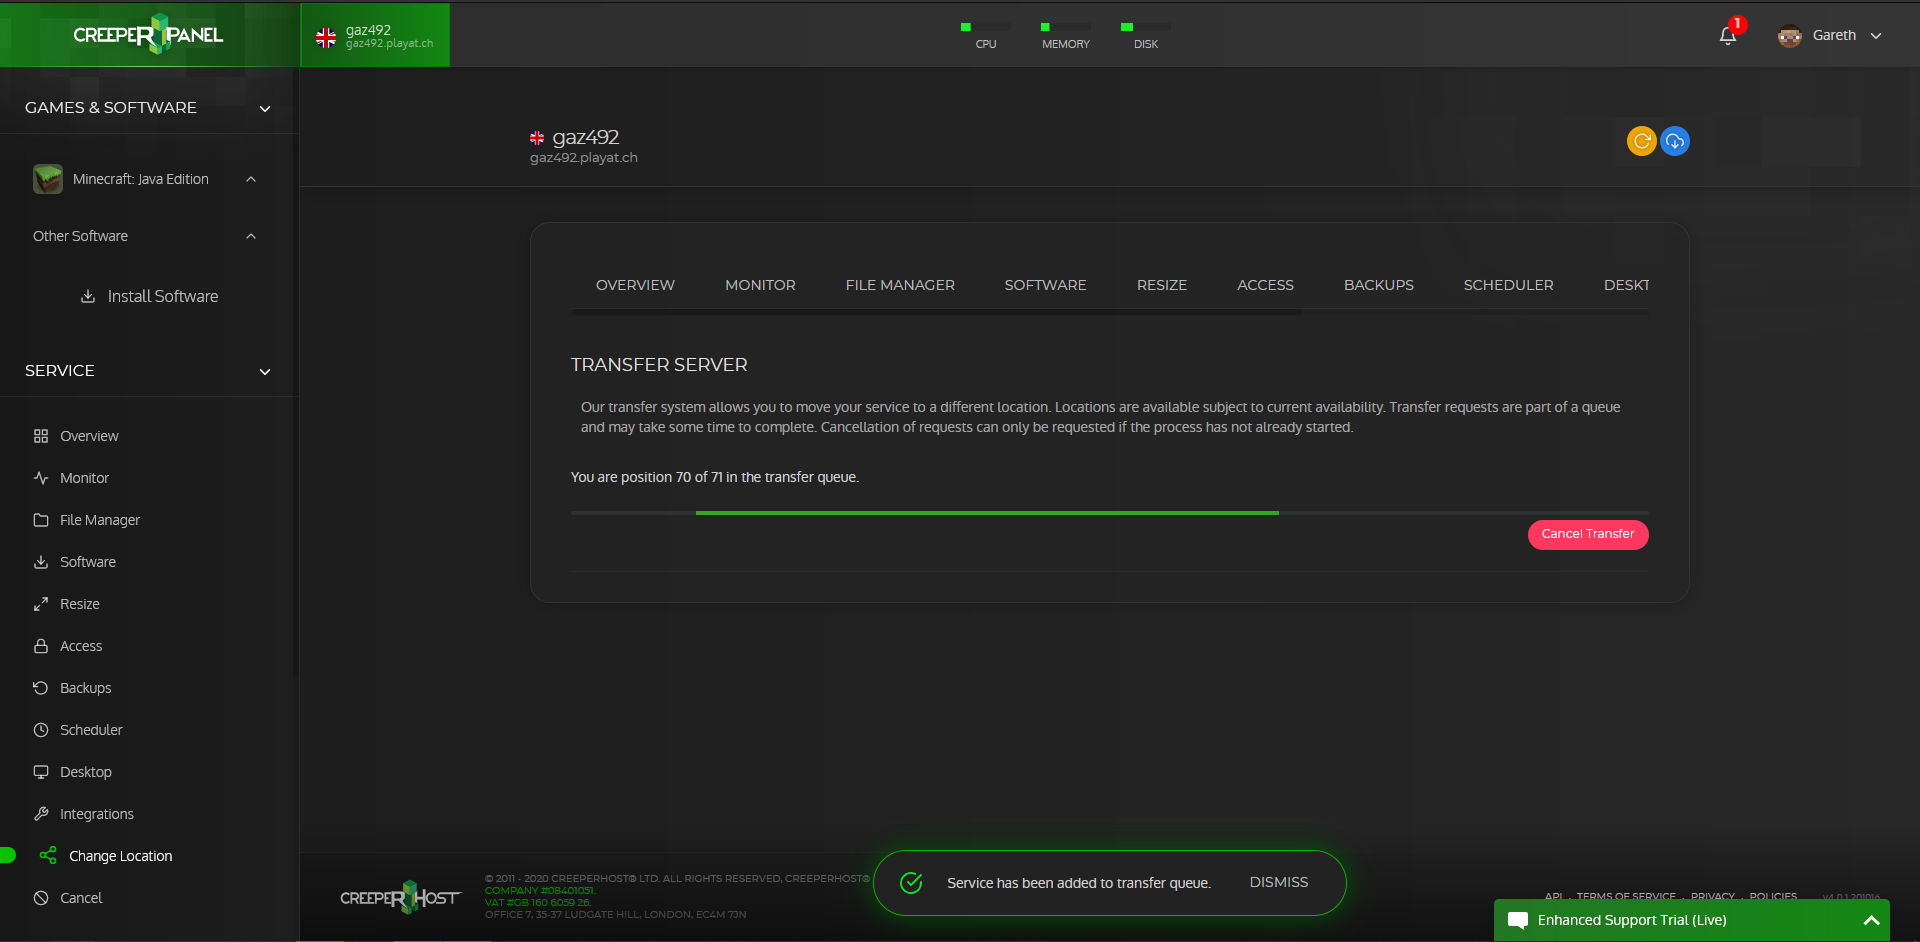
When your server is being transferred you will be given an ETA of when the transfer will be finished.
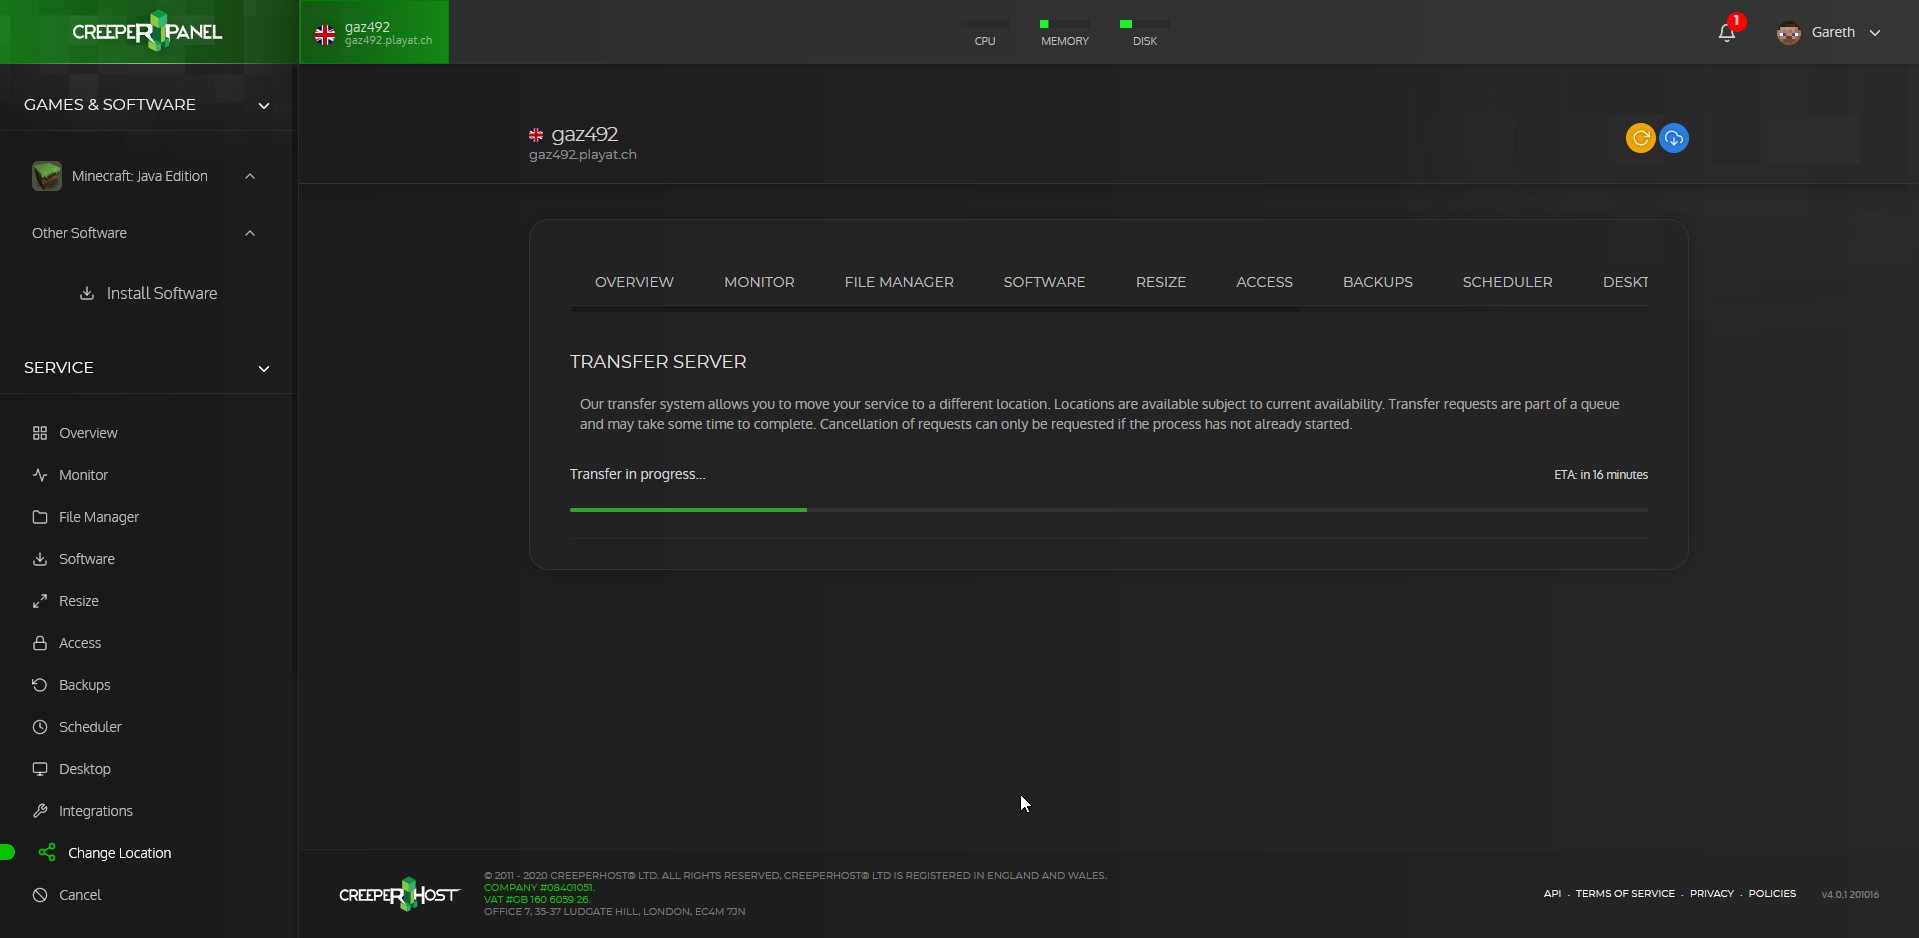
Once the transfer has finished you will be given a notification and the transfer page will display the location dropdown again.
Sub-accounts
Adding sub-accounts
Sub-accounts require the target user to have created a MineTogether account, you can link the user to the following guide on creating a MineTogether account.
https://www.creeperhost.net/wiki/books/minetogether/page/creating-an-account
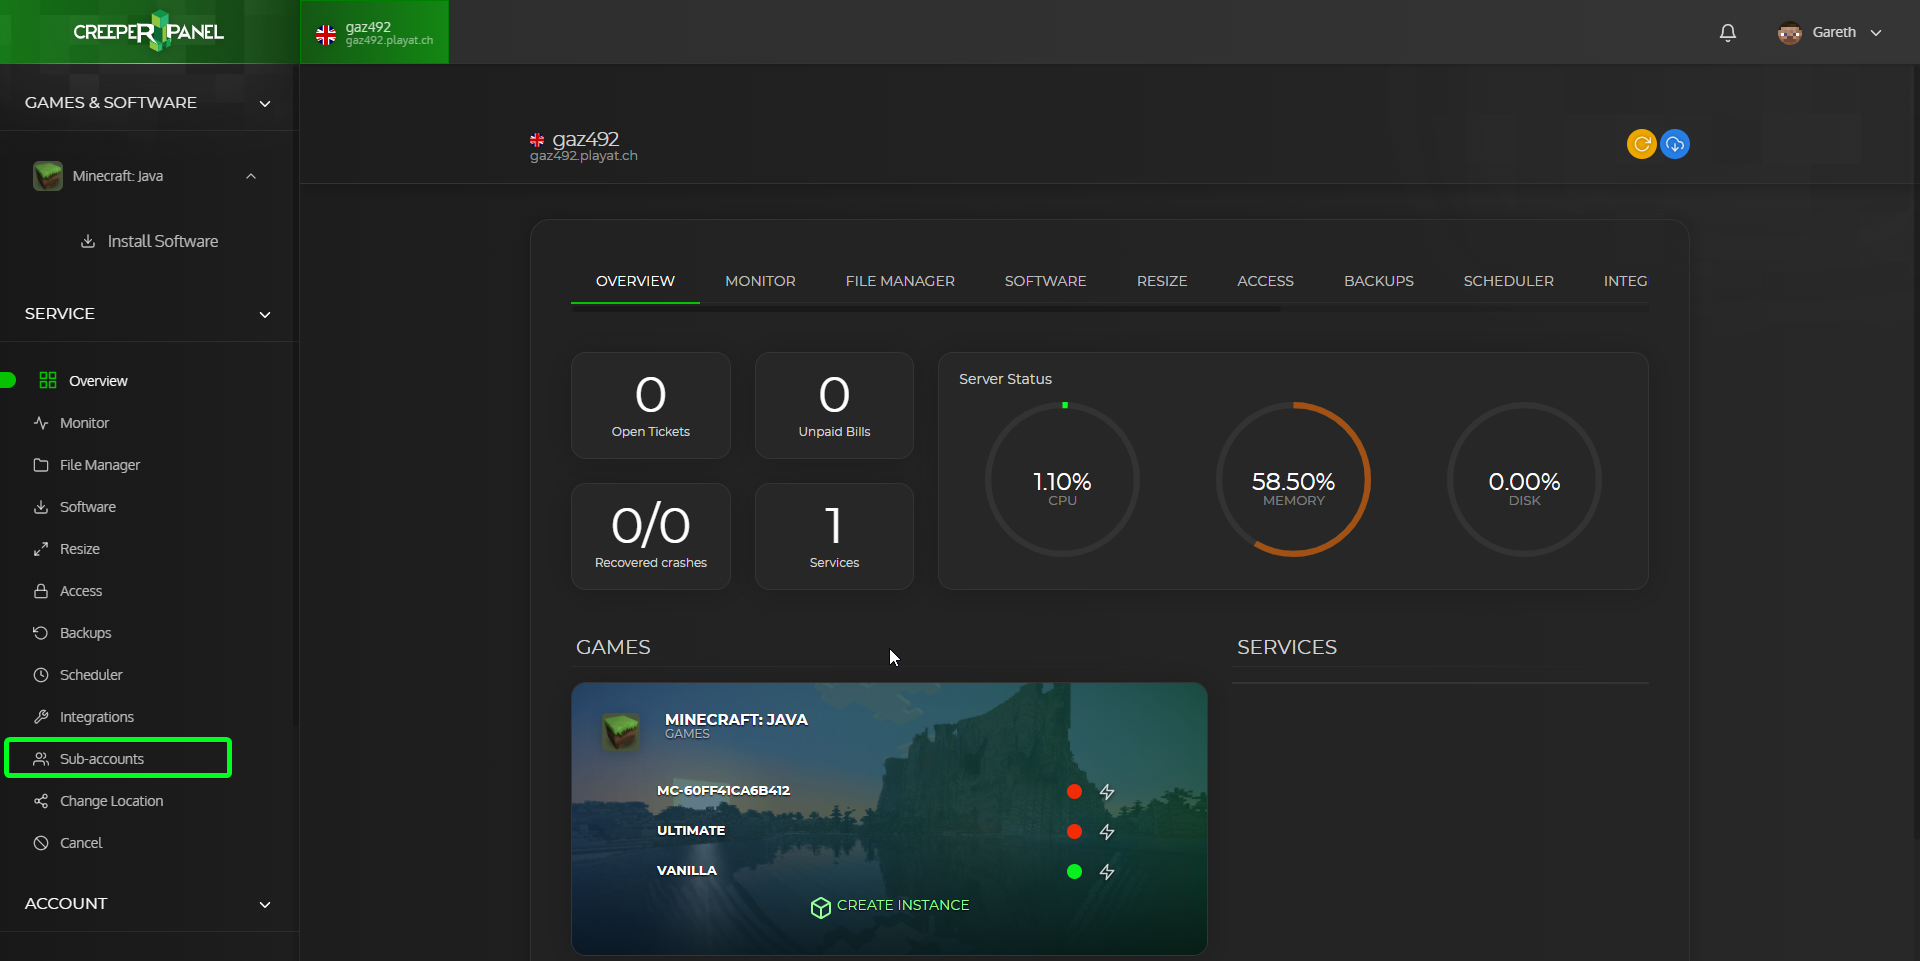
To add a sub-account to your service click on the Sub-accounts link in the sidebar of the panel
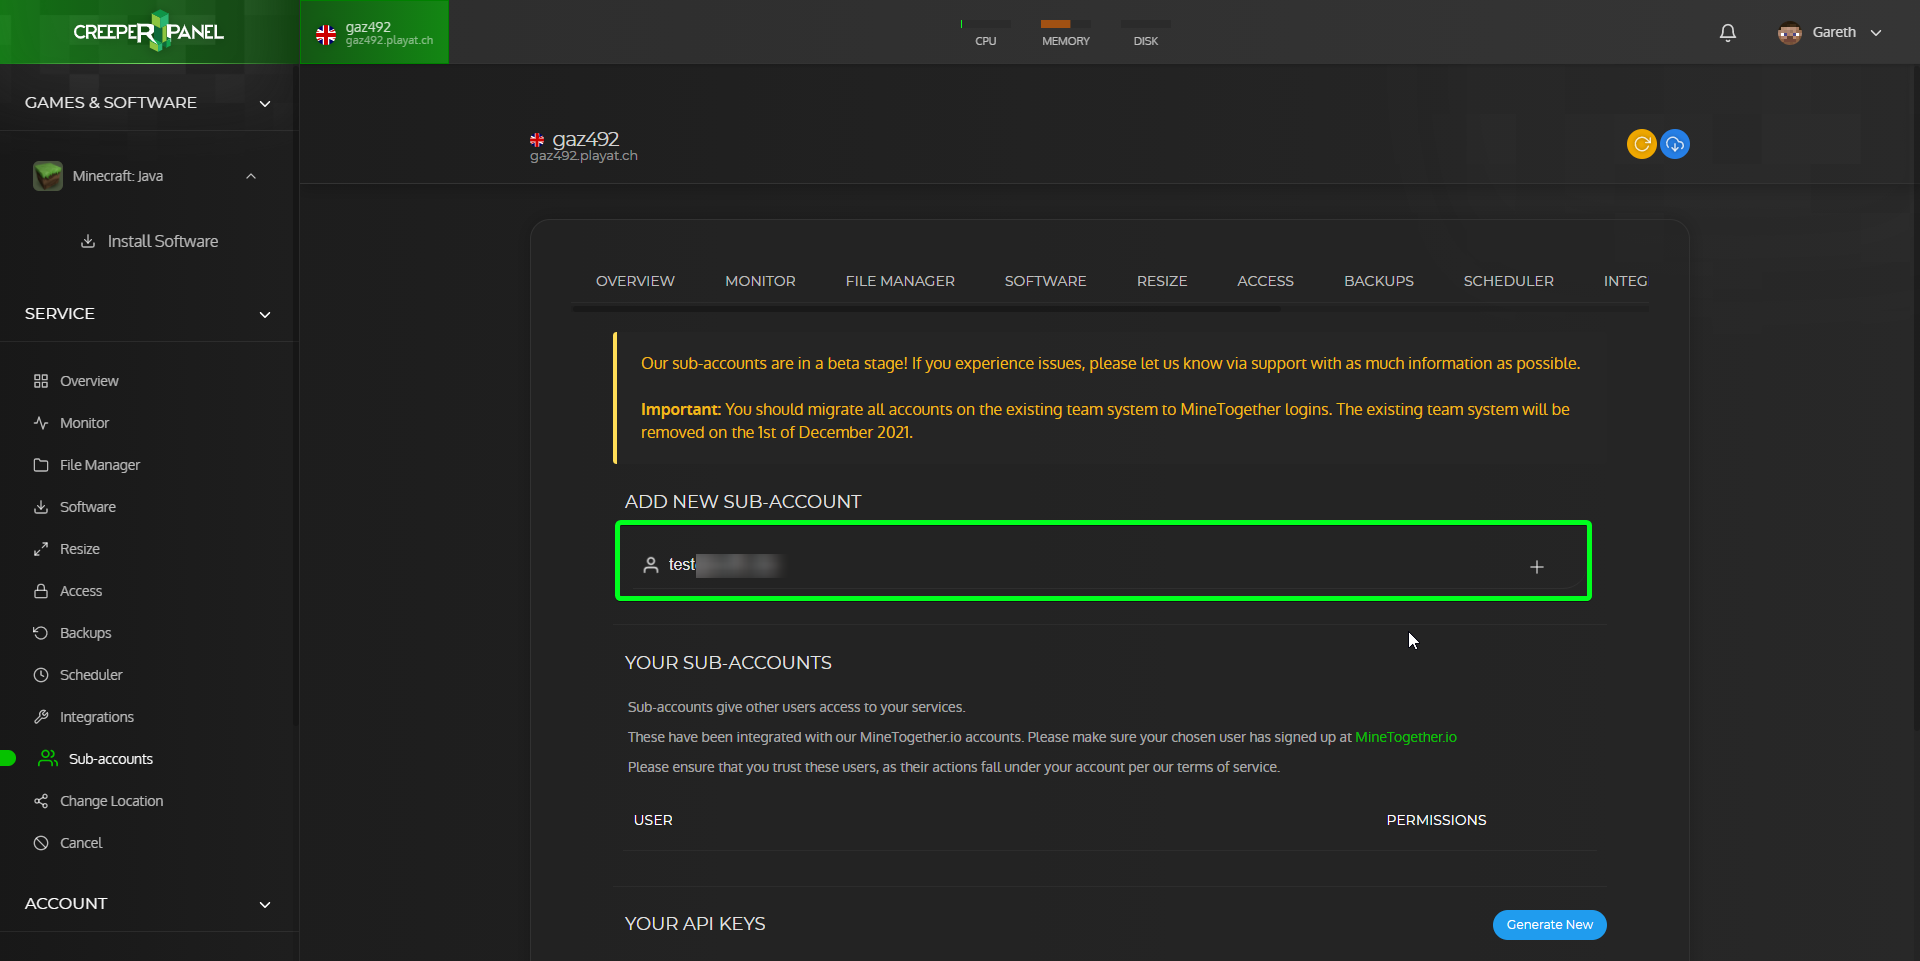
Now enter the email address of the user you wish to add (The email address must be the same as the one they used to create a MineTogether account) then click on the + button
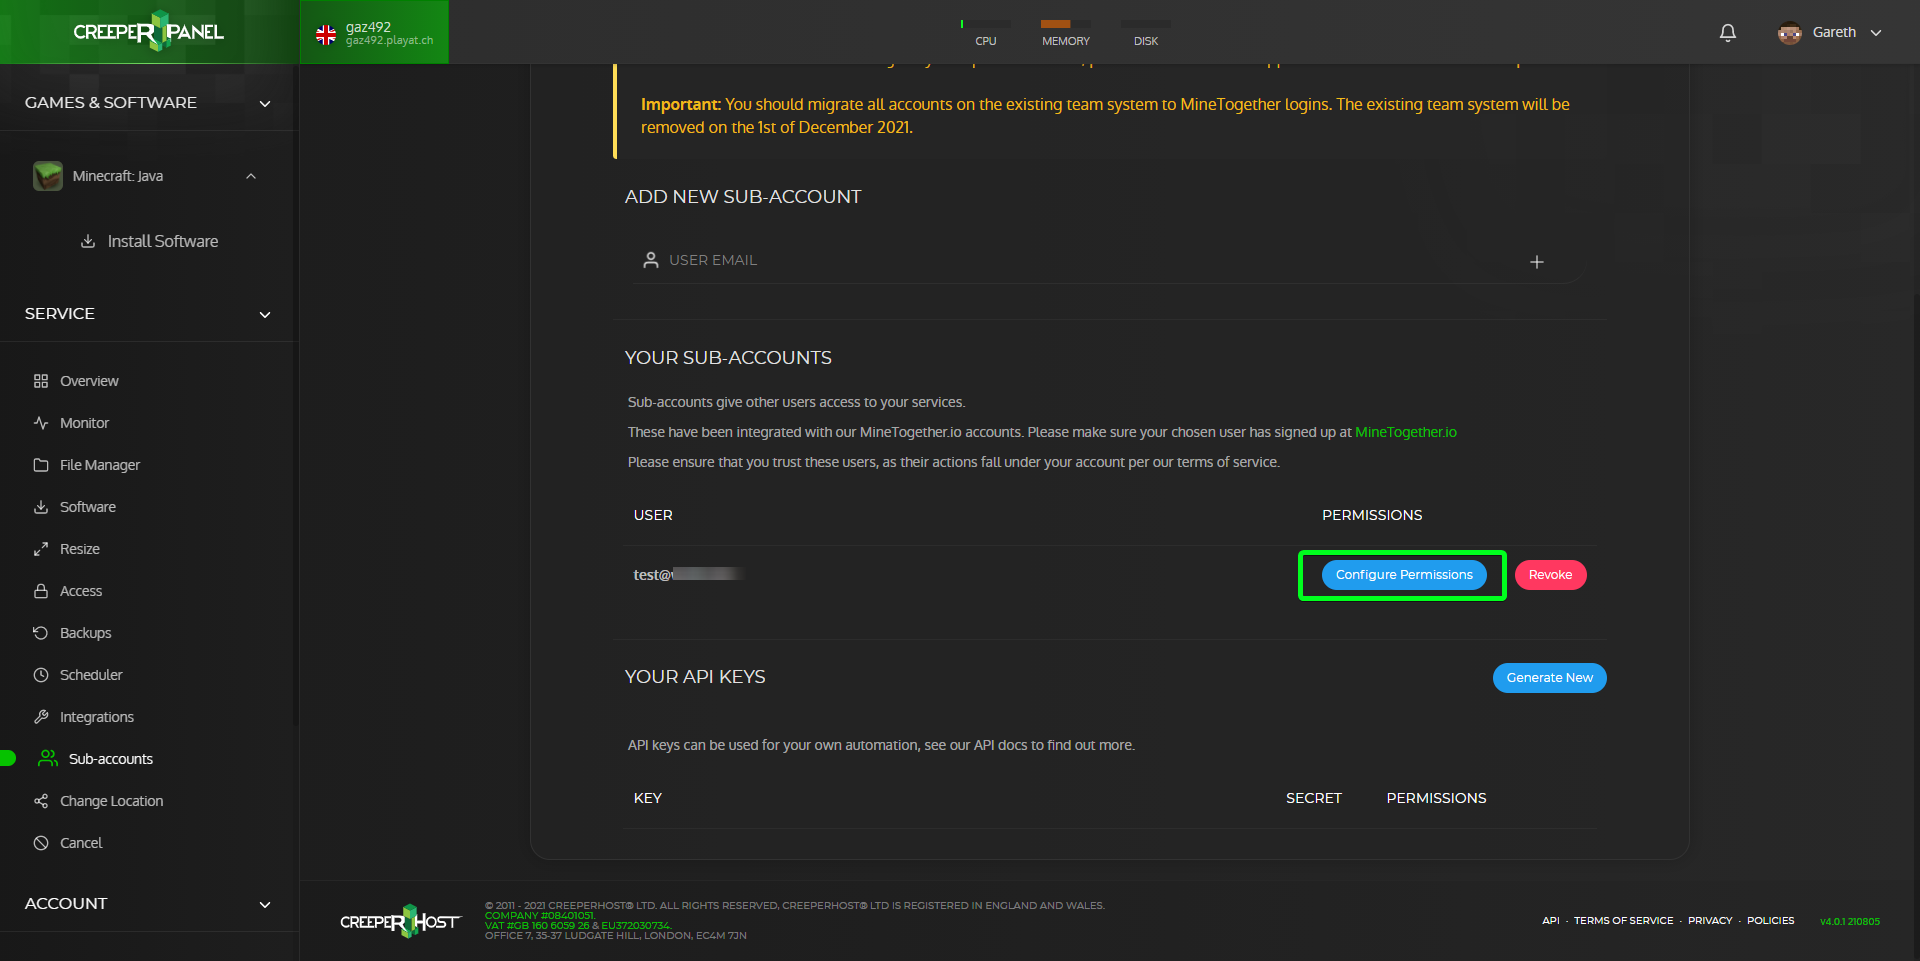
You should now see that the user has been added to the Your sub-accounts section where you can configure what they have access to via the Configure Permissions button or remove them by clicking on the Revoke button.
A guide on user permissions can be found at https://www.creeperhost.net/wiki/books/creeperpanel/page/setting-sub-account-permissions

Setting sub-account permissions
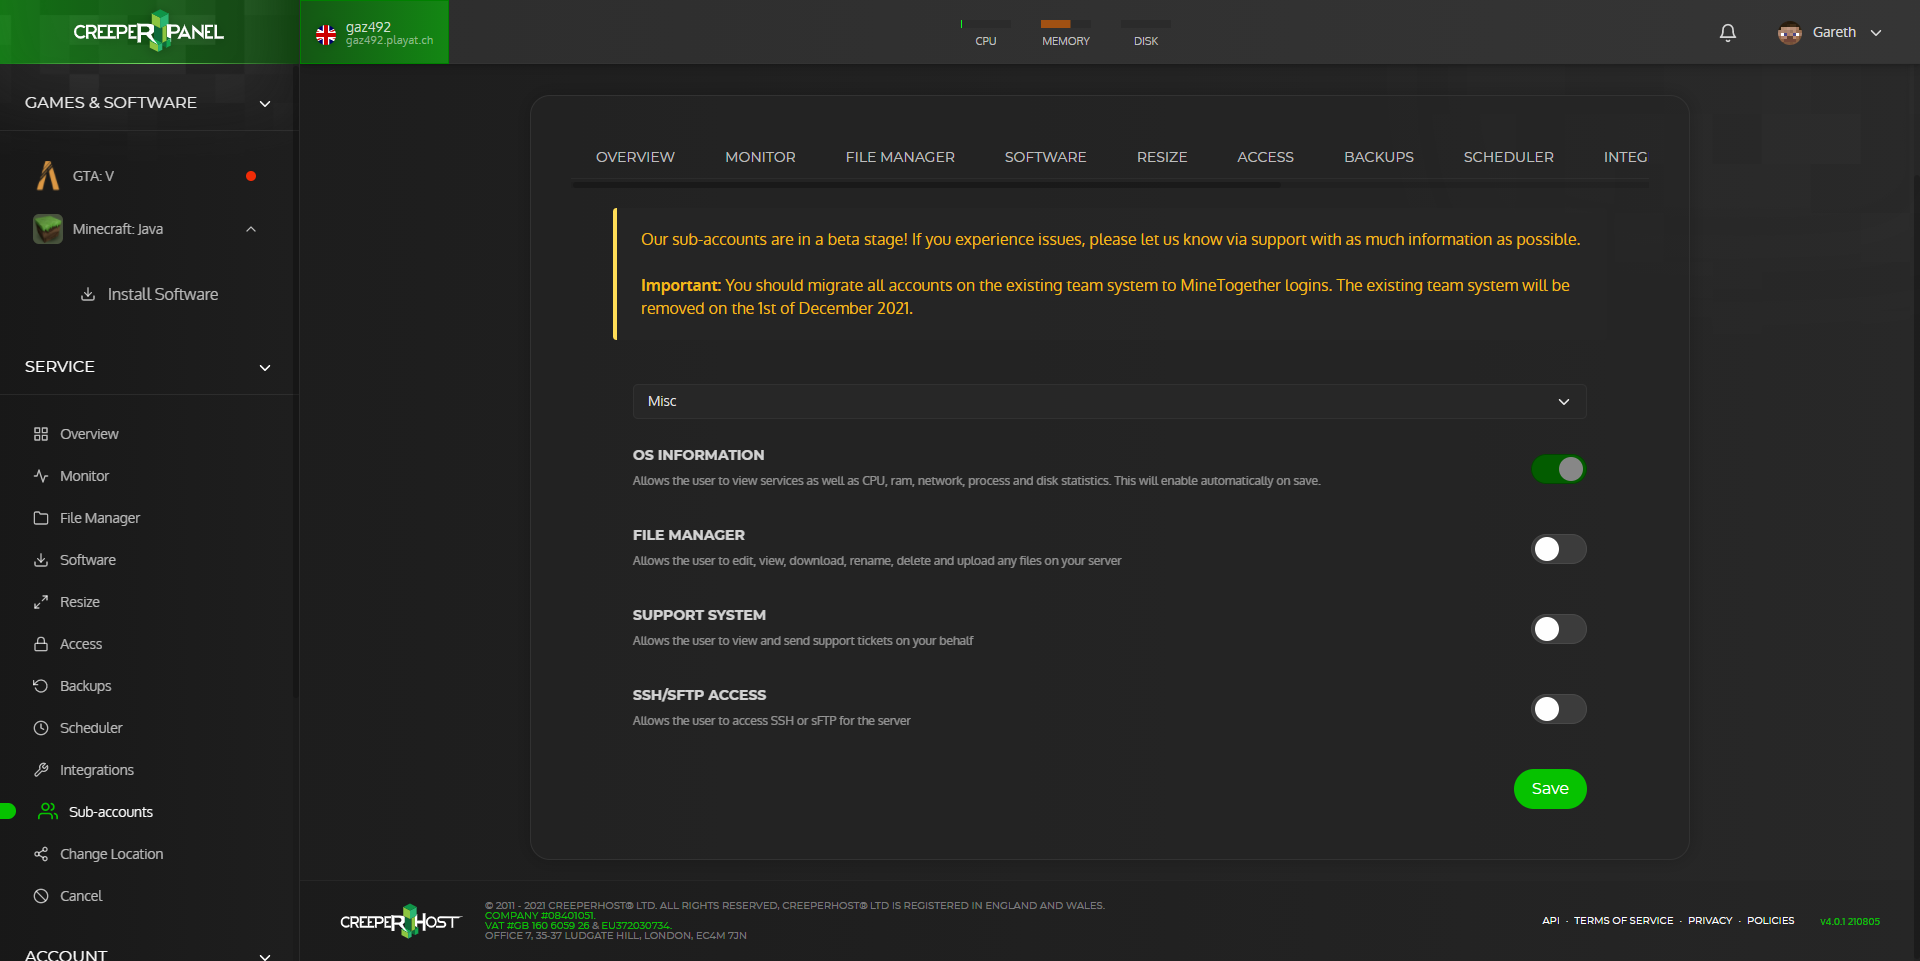
To configure the permissions for a sub-account click on Configure Permissions next to the user you want to configure the permissions for.
You will now be taken to a page where you can grant or revoke permissions for specific features and games/instances
You can grant permissions to the user by clicking on the toggle button next to the permissions you wish to grant them then clicking save after you are done. (The sub-account user may need to logout of the panel and back in to see the new features they have been granted)
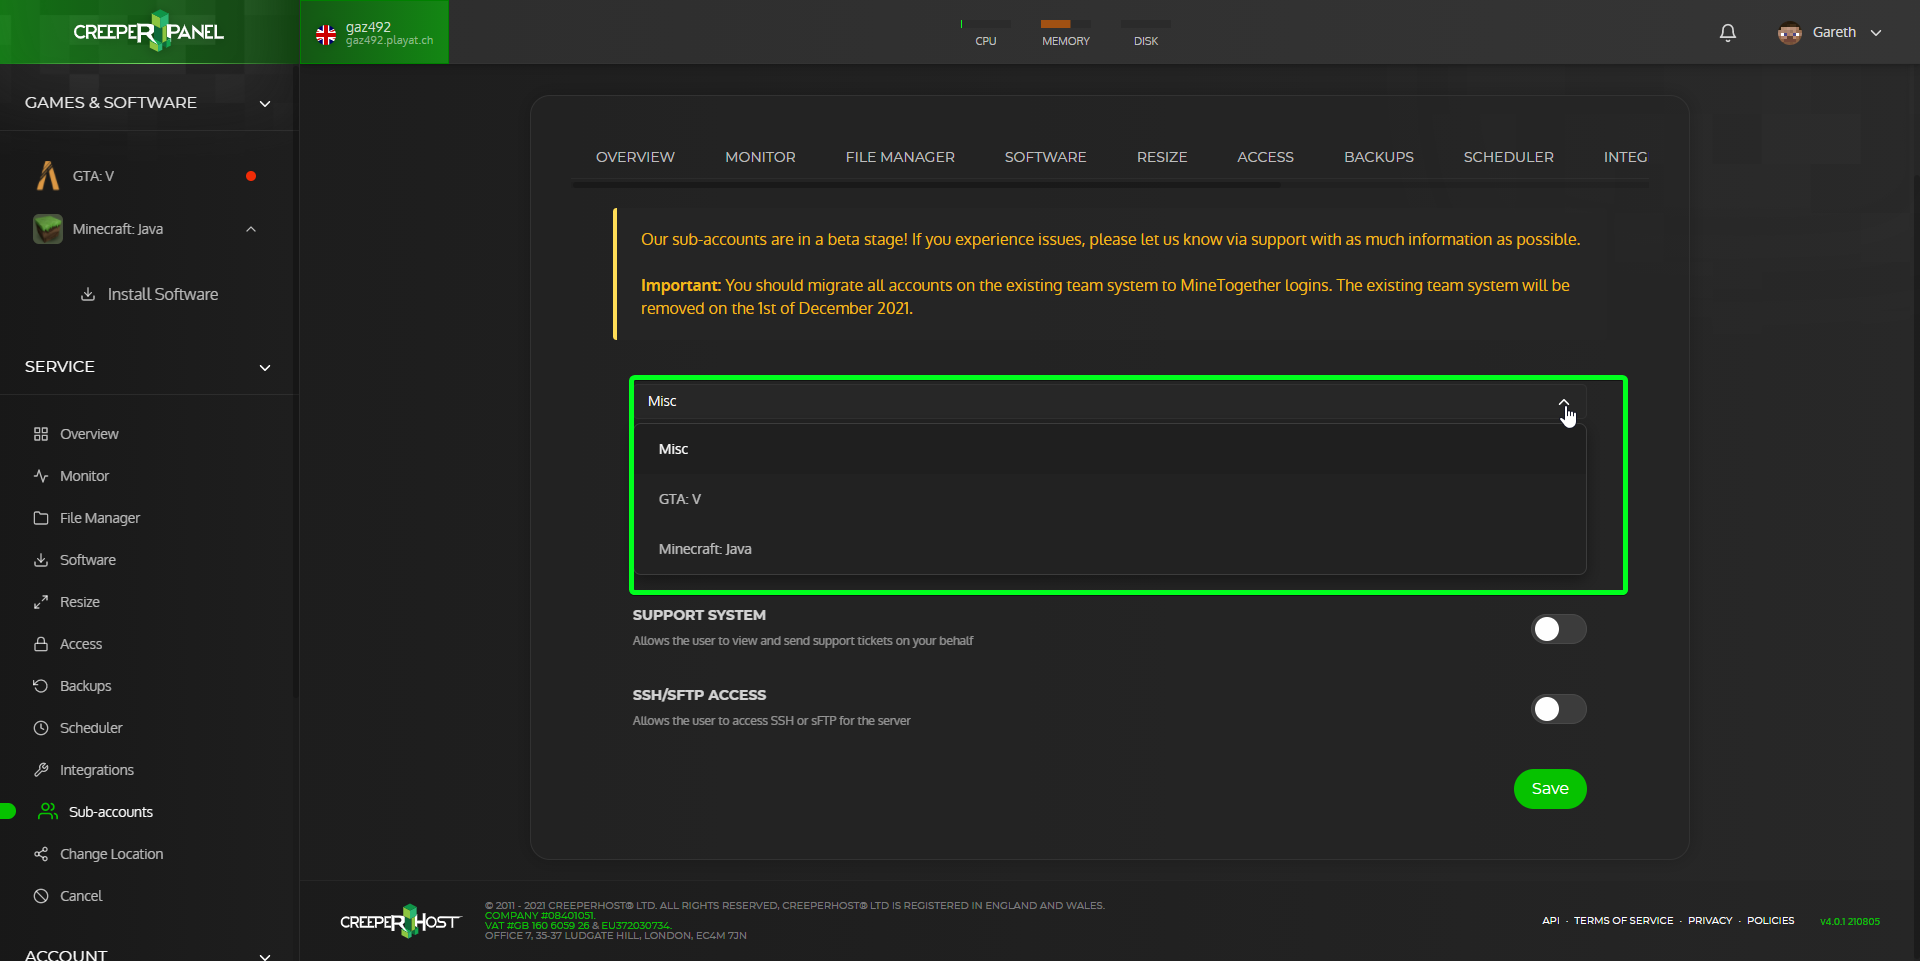
You can select a different game/feature by clicking on the dropdown box, this will bring up a list of the different games/features you have installed on your service.
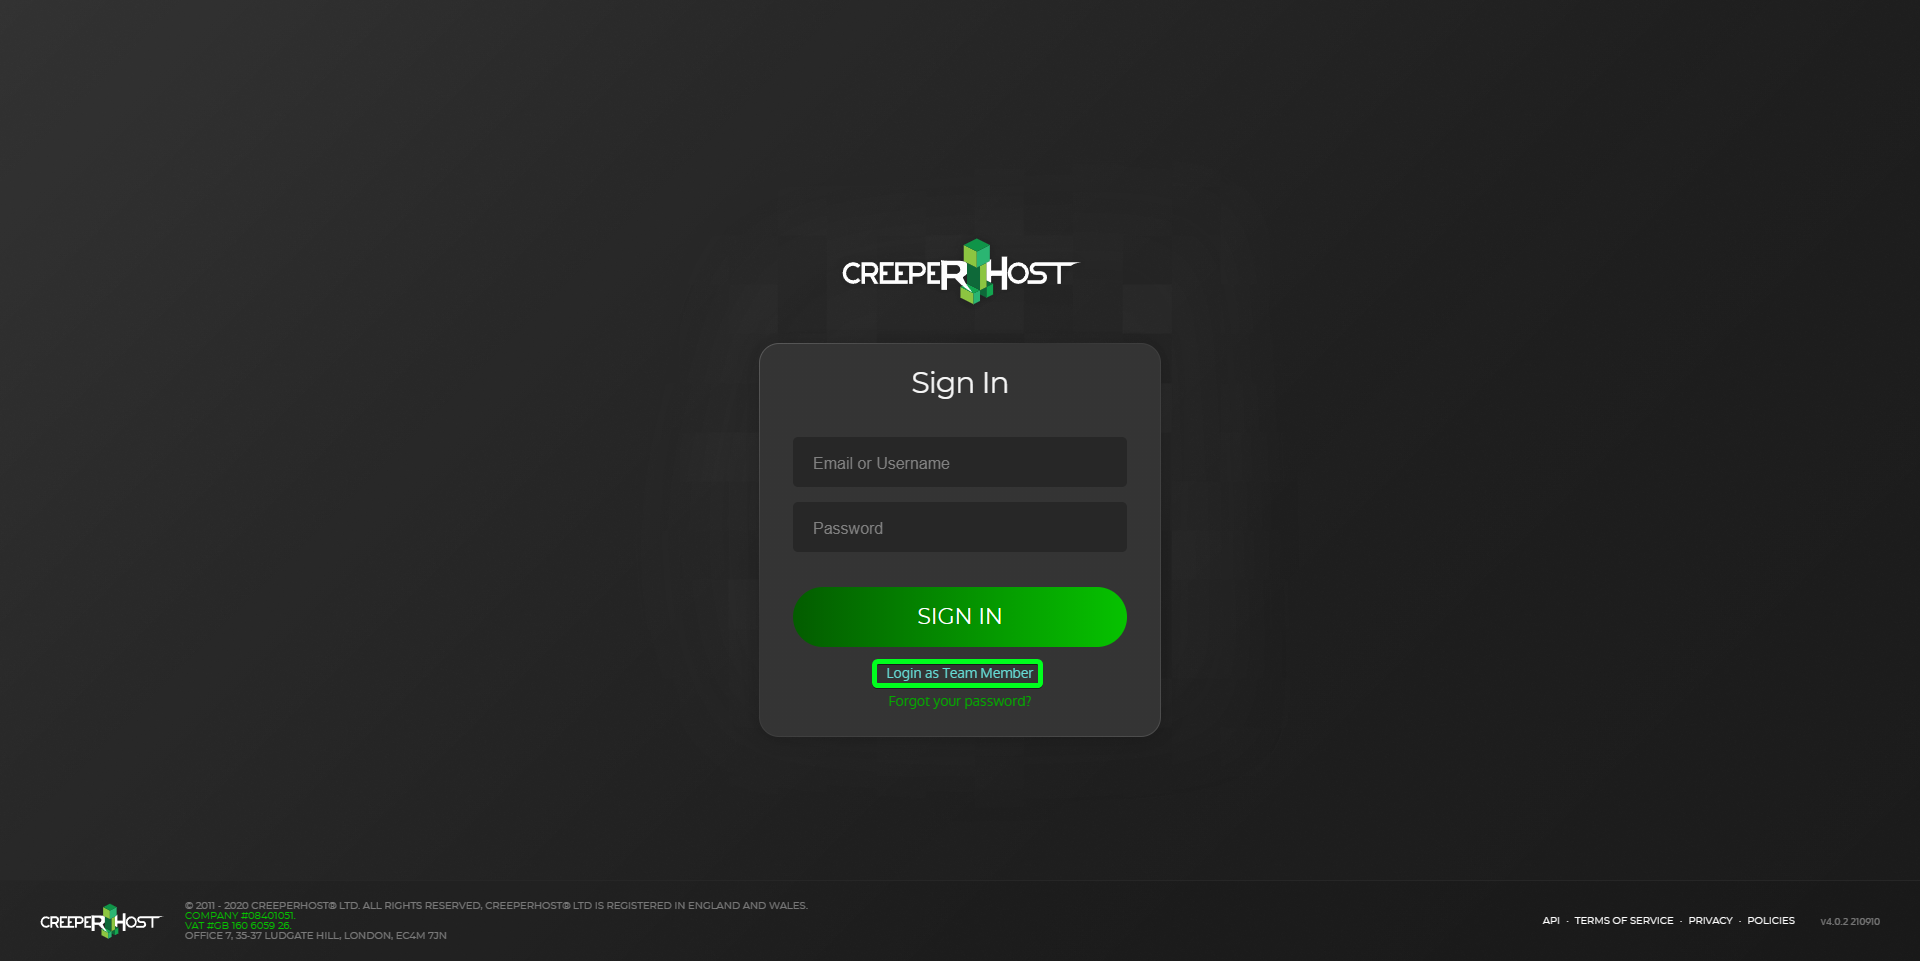
Logging into a sub-account
To login to a sub account go to https://creeperpanel.com and click on the Login as Team Member link under the sign in button.
You will now be directed to the Minetogether login page where you will need to enter your Minetogether email and password.
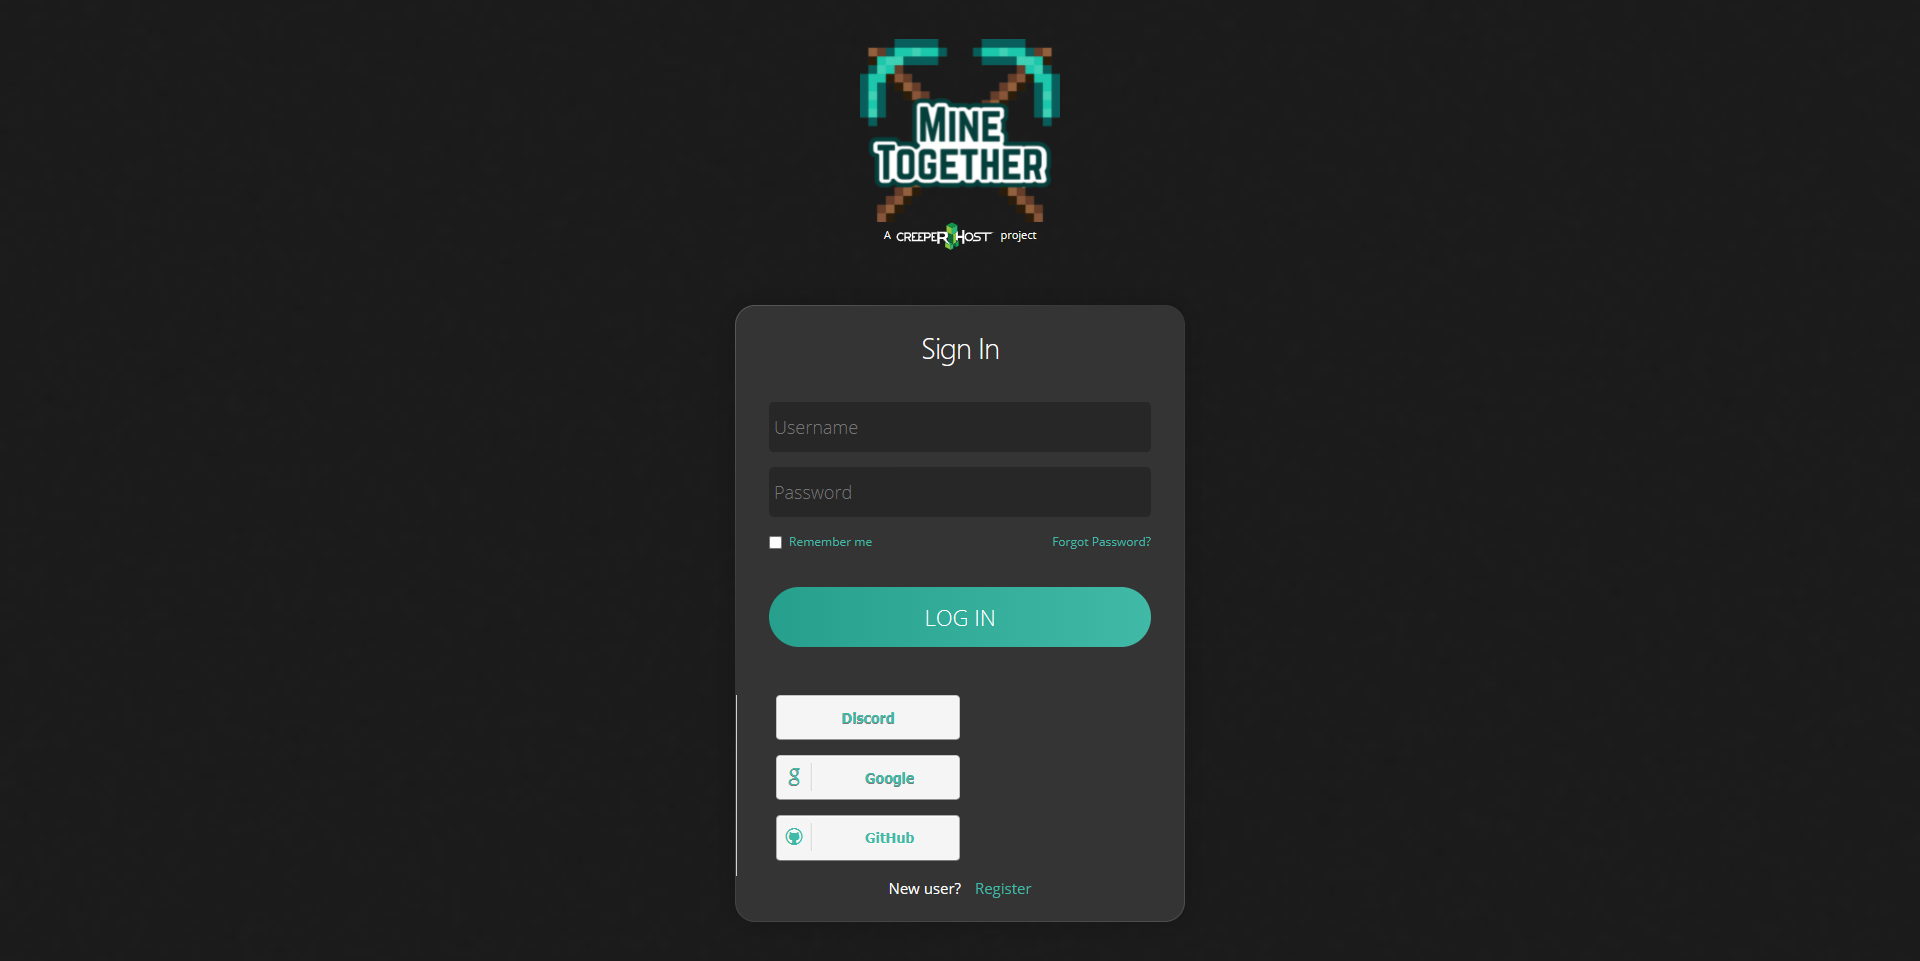
After clicking on Login you should be taken to the Creeperpanel where you will be able to manage the service.
Getting Started
Getting started with your service
We are currently working on fleshing out this getting started guide and hope to have it out soon,
In the mean time if you are stuck trying to get something working we have various guides for different games at https://www.creeperhost.net/wiki/books if you are unable to find anything that helps resolve your problem do get in touch with us using the Support link on the panel or using the LiveChat option and we can help you get started
This guide may refer to some technical terms, a quick description of those terms can be found in the Terminology section below
Useful Guides
Panel
Finding your IP address https://www.creeperhost.net/wiki/books/creeperpanel/page/finding-your-ip-address
Upgrading your service https://www.creeperhost.net/wiki/books/creeperpanel/page/upgrading-your-service
All of our other panel guides can be found at https://www.creeperhost.net/wiki/books/creeperpanel
Minecraft
Creating a new Minecraft instance: https://www.creeperhost.net/wiki/books/minecraft-java-edition/page/creating-a-new-instance
Useful guides on managing your Minecraft server https://www.creeperhost.net/wiki/books/minecraft-java-edition/chapter/instance-management
Terminology
Around the panel or this wiki you may come across some words that you have not seen before, the list below will break down the explanation of the word.
- Instance(s)
- An instance is like a profile, it allows you to create multiple servers for the game.
This allows you to swap between different versions, maps or modpacks
- An instance is like a profile, it allows you to create multiple servers for the game.
- Sub-menu
- In a support ticket we may refer to something called the sub-menu, this is the small menu to the side of the console window after you click on a game/instance
Adding a custom service to the panel
If you have a custom game or application that you would like to add to our panel, you can follow the guide below.
Requirements
- Knowledge of using SSH/sFTP
- You will need to upload the game files yourself
- If the game depends on additional libraries do let us know by opening a support ticket and we can get these added for you.
- Knowledge of how the game/application is configured and started.
Step 1
Firstly you will need to login into your service using SSH or sFTP and navigate to the /home/minecraft folder.
Once there create a new folder with the same name as the game/application you would like to add then open the folder (e.g yourGame)
Upload the game files to the folder you just created
Step 2
Now that we have the files uploaded go back to /home/minecraft and create a folder named .schemas and then open it.
Now create a new JSON file with the same name as your game/application such as yourGame.json
Open the file to edit it and copy-paste the following into the file.
{
"type": "game", //Will accept "other" or "game", is ignored by the API, but is used when inside .schemas dir on a service. [Optional]
"displayName: "YourGame", //Any string, only used by CreeperPanel when loaded from .schemas on a service. [Optional]
"icon": "icon", //Can be a https URL or a font-awesome icon, only used by CreeperPanel when loaded from .schemas on a service [Optional]
"daemon":"yourGame.sh", //The executable name, can include some args like in the case of srcds_run, it would be srcds_run -game <blah> to make unique [Required]
"runningCount": 2, //Amount of times it shows up in ps aux, with screen and grep it's self filtered. [Required]
"stopCommand": "", //Command that is sent into the screen to force a graceful stop, can be an array if you require to save, then stop [Required, can be blank string or empty array]
"startCommand": "./yourGame.sh", //Command required to start, is ran inside screen already. [Required]
"logLocation": "screenlog.0", //Relative location to the log we deliver. [Required]
"stopWait": 30, //Amount of time from 'requested' stop to when we kill the executable, recommend omitting unless you have issues. [Optional]
"path": "" //Base path of the service, recommend omitting unless you have issues. [Optional]
"steam": { //Only for API schemas, required if you want versions to be imported. [Optional]
"id": 0, //Steam app id
"name": "Game Dedicated Server", //The name of the dedicated server app from steamdb
"minPackage": 17, // ID of minimum CreeperHost plan
"icon": "<https://aniconurlhere.jpg>", //Icon url location, preferably from our own cdn. MUST be https.
},
"argSeperator": " ", //What to seperate each key value pair with before the next in the start arg parsing (gamecode.config) [Optional]
"kvSeperator": "=", //What to seperate each key and value with. So key=value in the default case. [Optional]
}
Edit the contents as needed such as changing the display name and the deamon and start command.
Once you are happy with the file save and make sure the file is uploaded then refresh or log out and back into the panel.
If all went well you should now see the game/application in the Games & Software section of the sidebar and if you click on it it should load the console page where you will be able to start it up.
If you have any questions or issues in getting your game/application to show up in the panel do let us know by opening a support ticket!
You may also submit your custom game to us either through the bounties page on the panel or by opening a support ticket.
Live Chat using Discord
We now offer live chat support through Discord, to activate this option you will need to follow the steps below.
Note: You require an account with an active service to access this feature.
1. You will need to login or create a MineTogether account, a guide on creating an account can be found at https://www.creeperhost.net/wiki/books/minetogether/page/creating-an-account
The following step is important or you wont be able to see the support section in discord.
2. After logging into your account, you will then need to link your CreeperHost, Minecraft and Discord account to your MineTogether account, a guide on linking your accounts can be found at the following links:
https://www.creeperhost.net/wiki/books/minetogether/page/linking-your-creeperhost-account
https://www.creeperhost.net/wiki/books/minetogether/page/linking-your-minecraft-account
https://www.creeperhost.net/wiki/books/minetogether/page/linking-your-discord-account
3. Join the MineTogether Discord using the link below
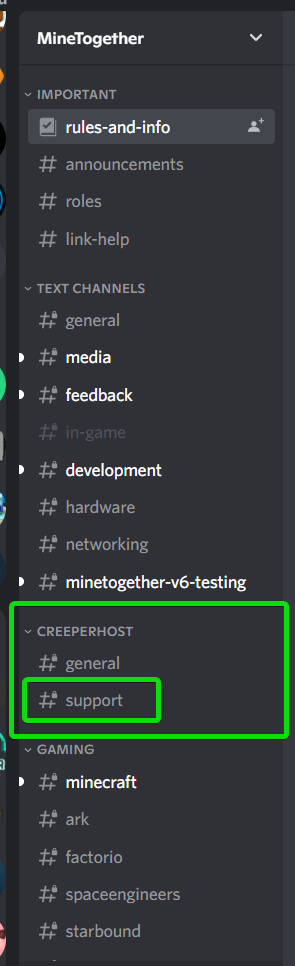
4. After reading the information in the #roles channel you should now see a CreeperHost category and in there you should see a channel named Support.
If you do not see the category, please try running the following Discord command /update-me this should update your roles and allow you access to the CreeperHost section.
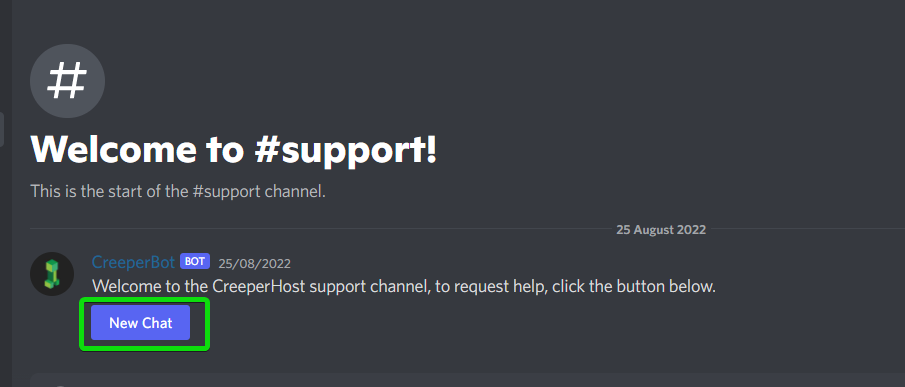
5. If you click on the Support channel you should see a button called New Chat, if you click on the button it will open a private chat with us where we can help troubleshoot your issues and questions.
Setting up/editing a schedule
Creating a schedule
To create a schedule to restart/send a command or make a backup of your server, click on the Schedule link in the sidebar of the panel.
Once on the scheduler page, click on Add Task button thats on the right of the page
You will now be asked to select the server you want to create a schedule for, if you select Minecraft, you will then be asked to select the instance you want to create the schedule for.
After selecting the server you will now be given options on which task you want the schedule to perform.
Once a task is selected, you can now select how often you want the task to run, selecting one of the options (other than advanced) will then let you select the time/day that the task will run at.
If you select advanced, you will be shown a page that allows you to set the schedule using the cron format, you can use a website such as https://crontab.guru/ to help you create the desired schedule.
After you have set the desired schedule, click on the text that says Every X then you will be asked to confirm the schedule is correct and upon clicking save, your schedule will be active